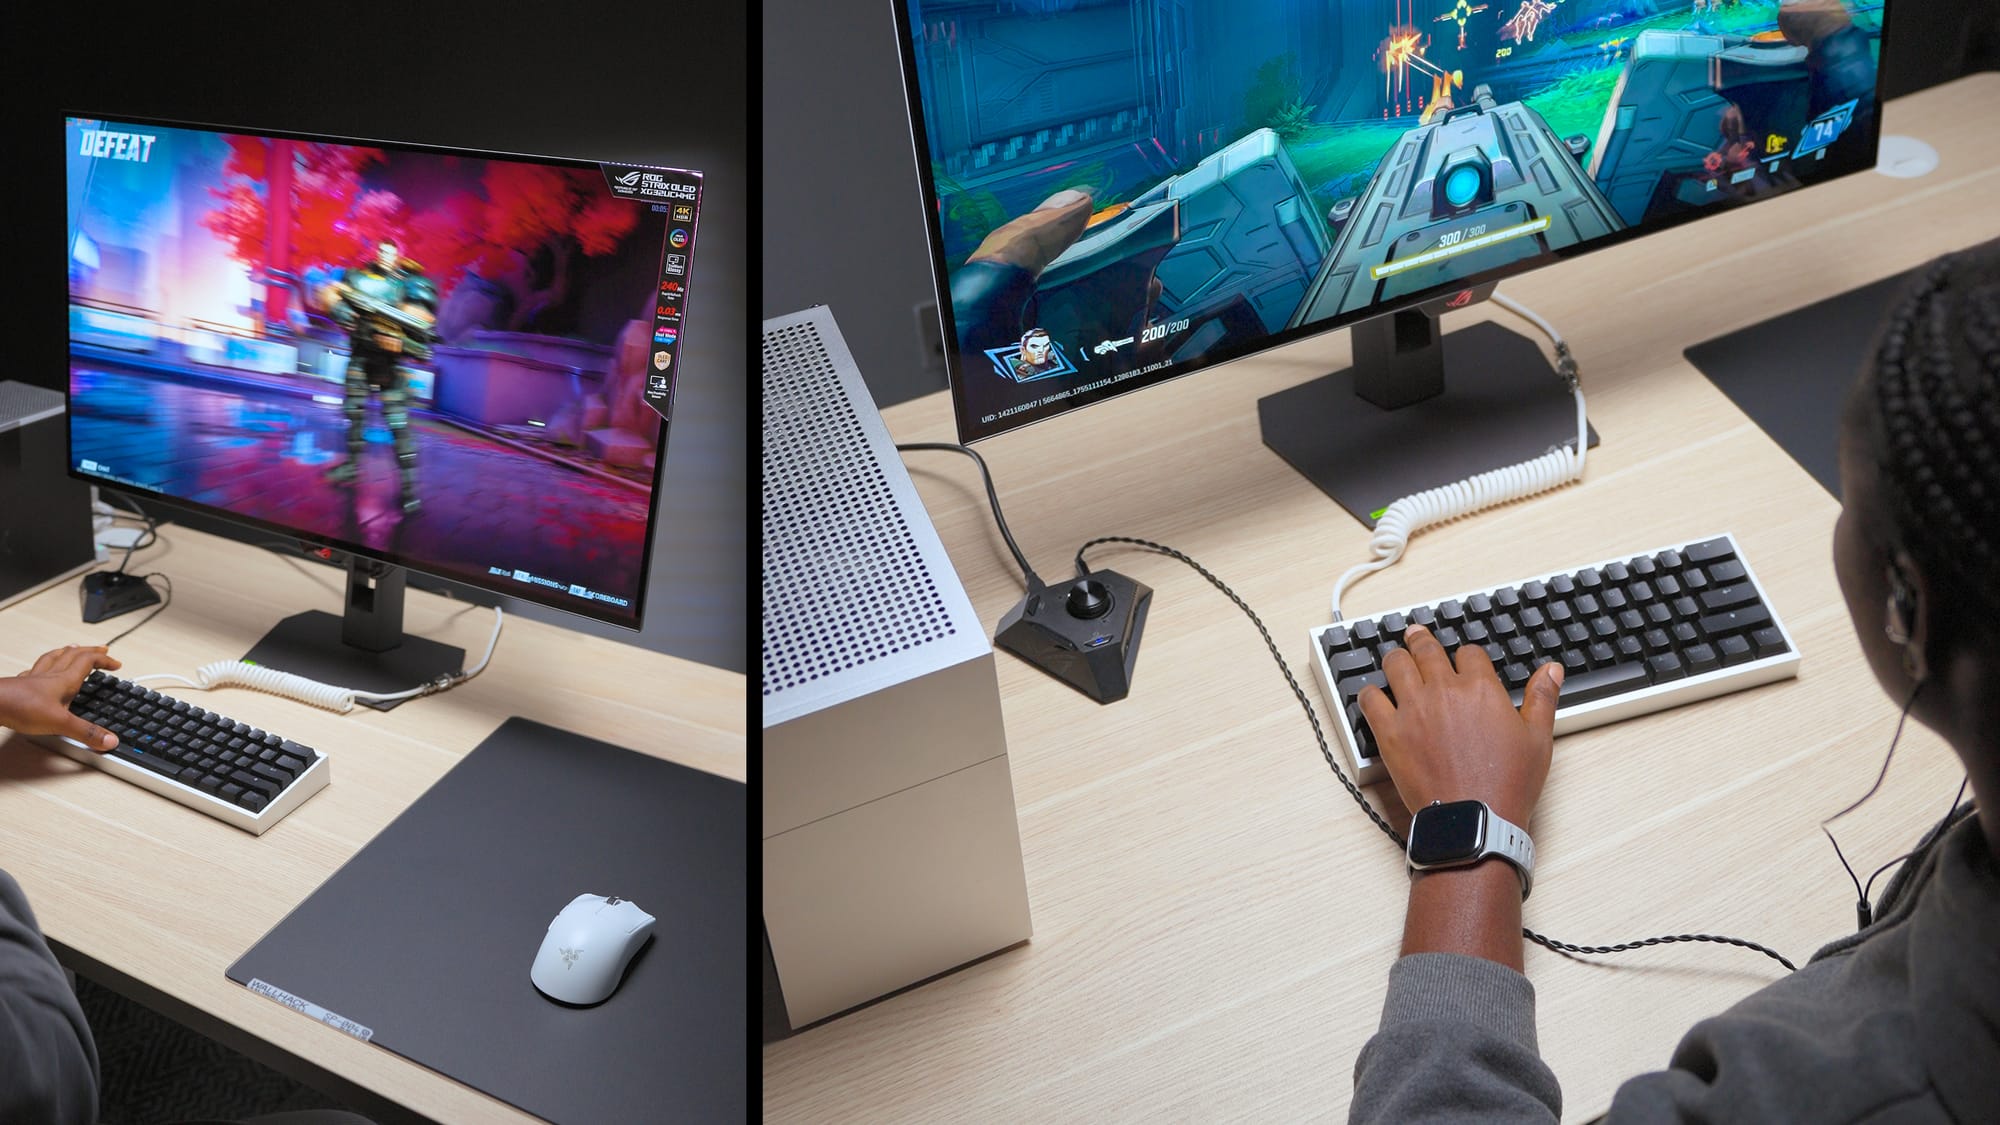
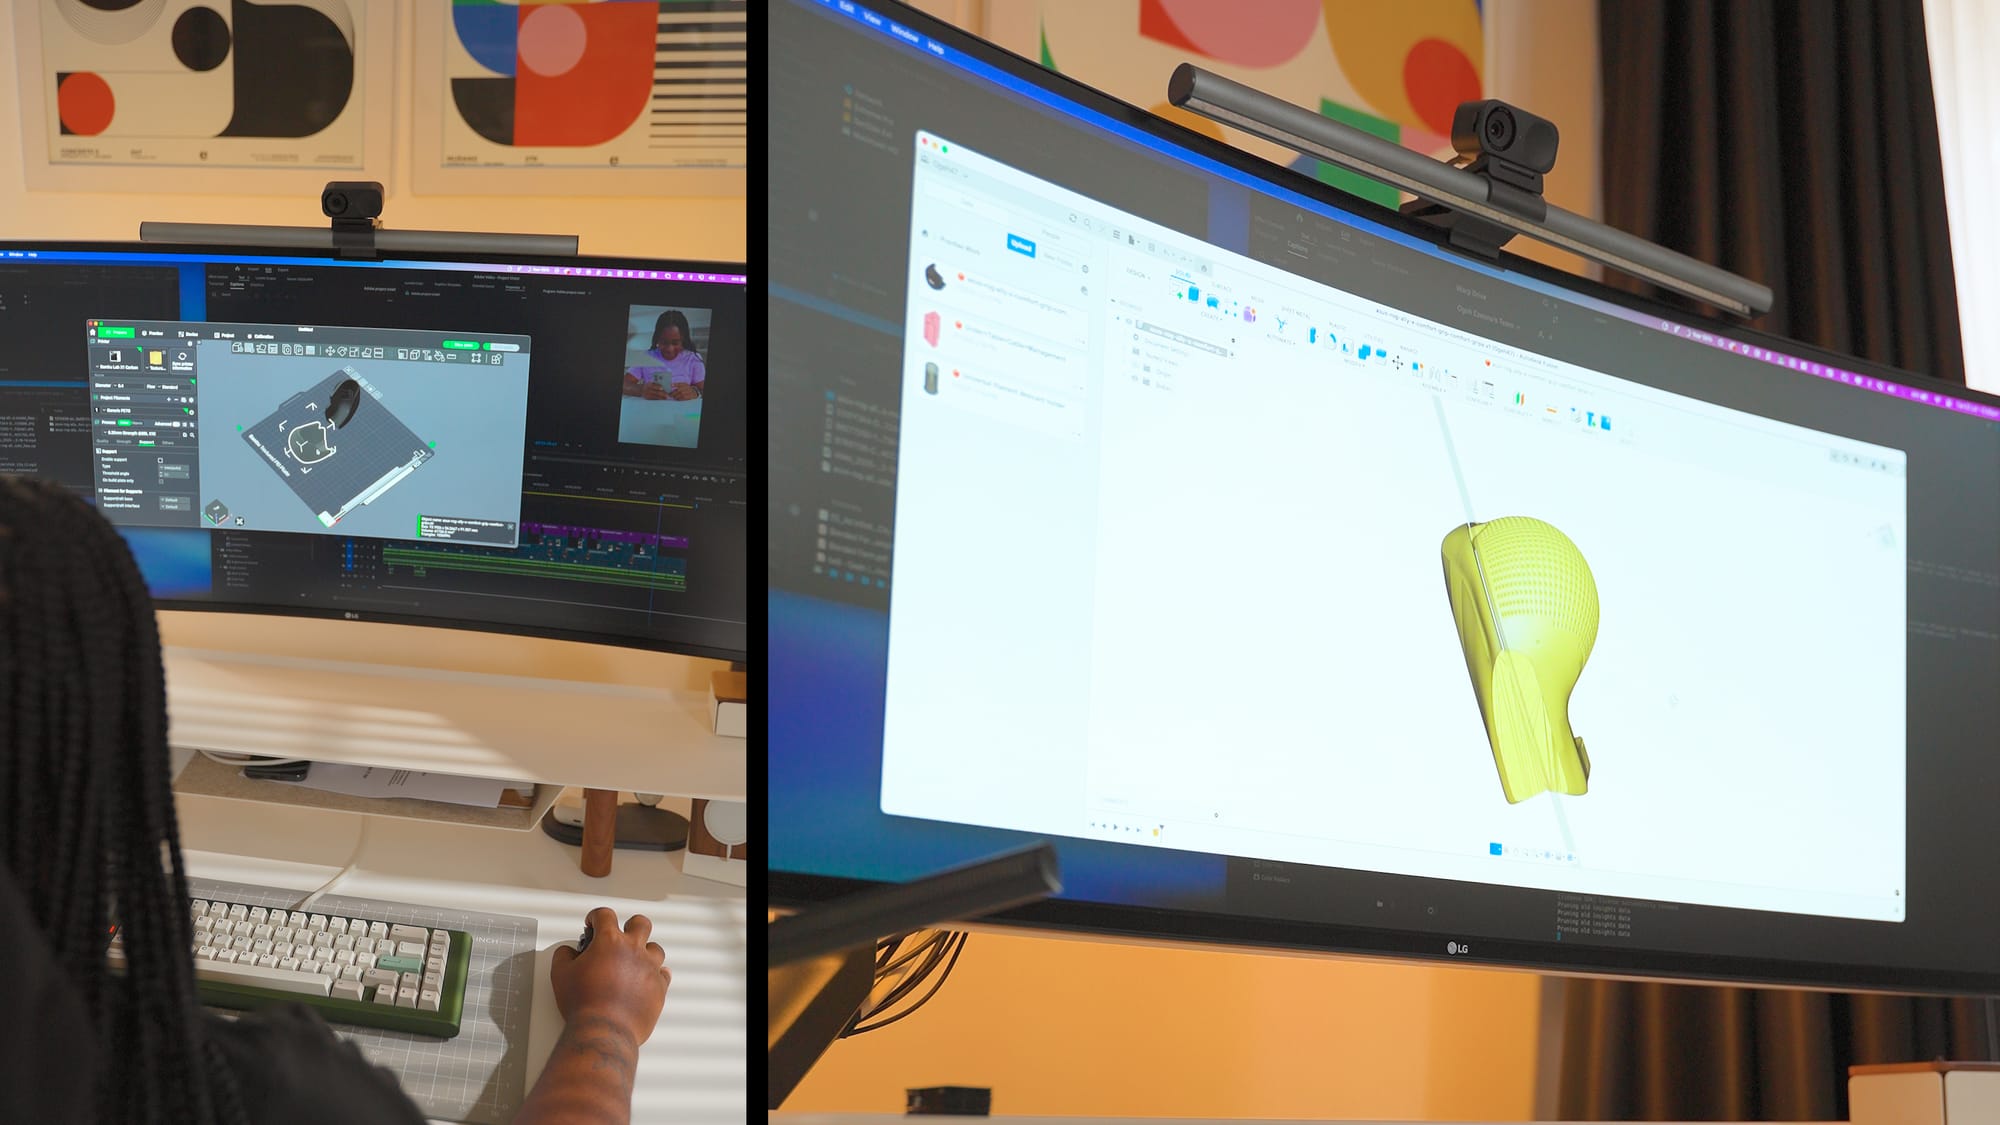
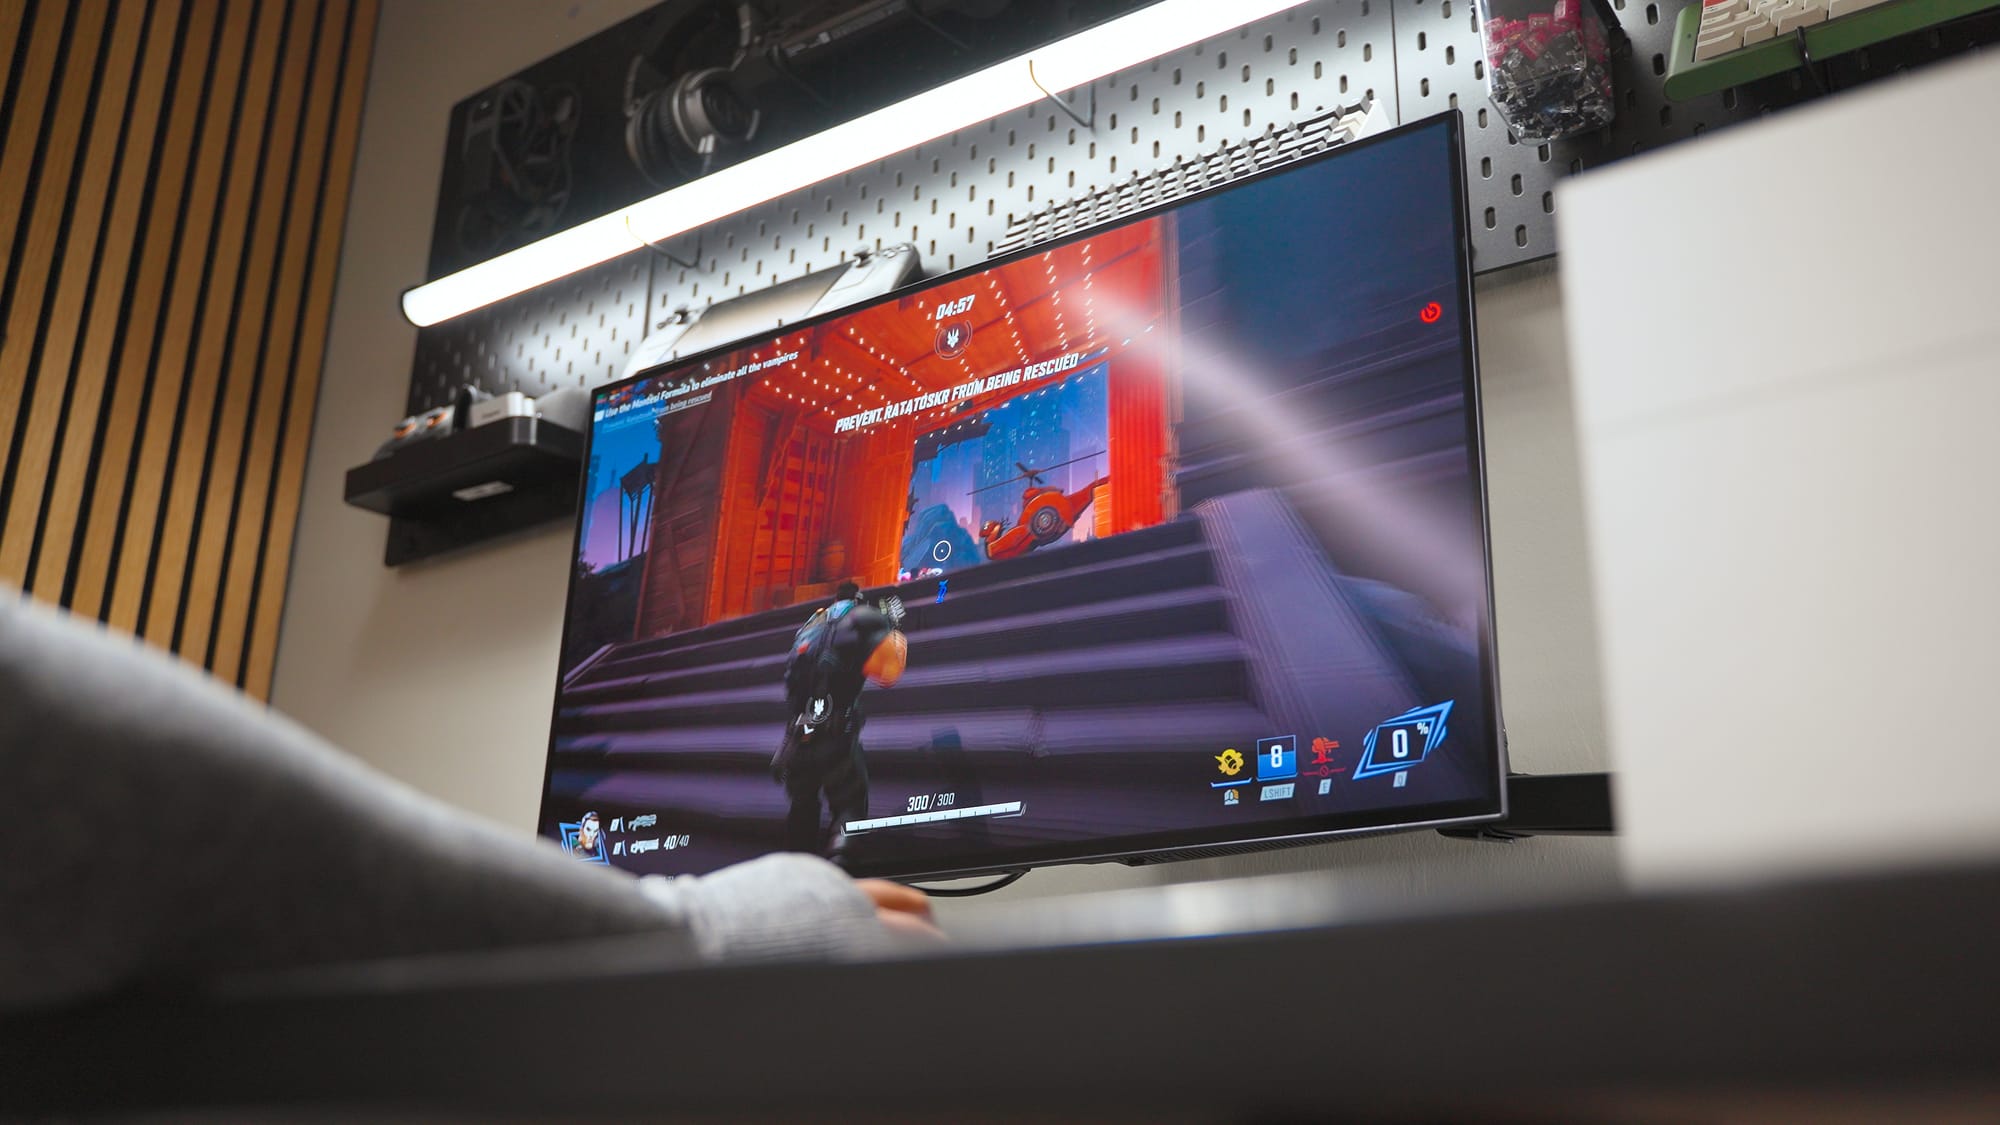
I rebuilt my PC to outlast the current RAM crisis with an RTX 5090 Founders Edition, Ryzen 7 9800X3D, 96GB of DDR5 RAM, and 6TB of NVMe storage, all inside the FormD T1. Every component was chosen so I wouldn't need to upgrade for a long time. I use this build for gaming, video editing in Premiere Pro, audio work in Audition, and to learn 3D design in Fusion 360. Below is a breakdown of every component, why I chose it, and what you should know if you're building something similar.
Some of the links included in this post are affiliate links, which I receive a small commission for at no extra cost. Thanks for supporting my content.
Watch the full build video on YouTube, then scroll below for details and links.
Full Parts List
Case: FormD T1 (Silver)
GPU: NVIDIA RTX 5090 Founders Edition
CPU: AMD Ryzen 7 9800X3D
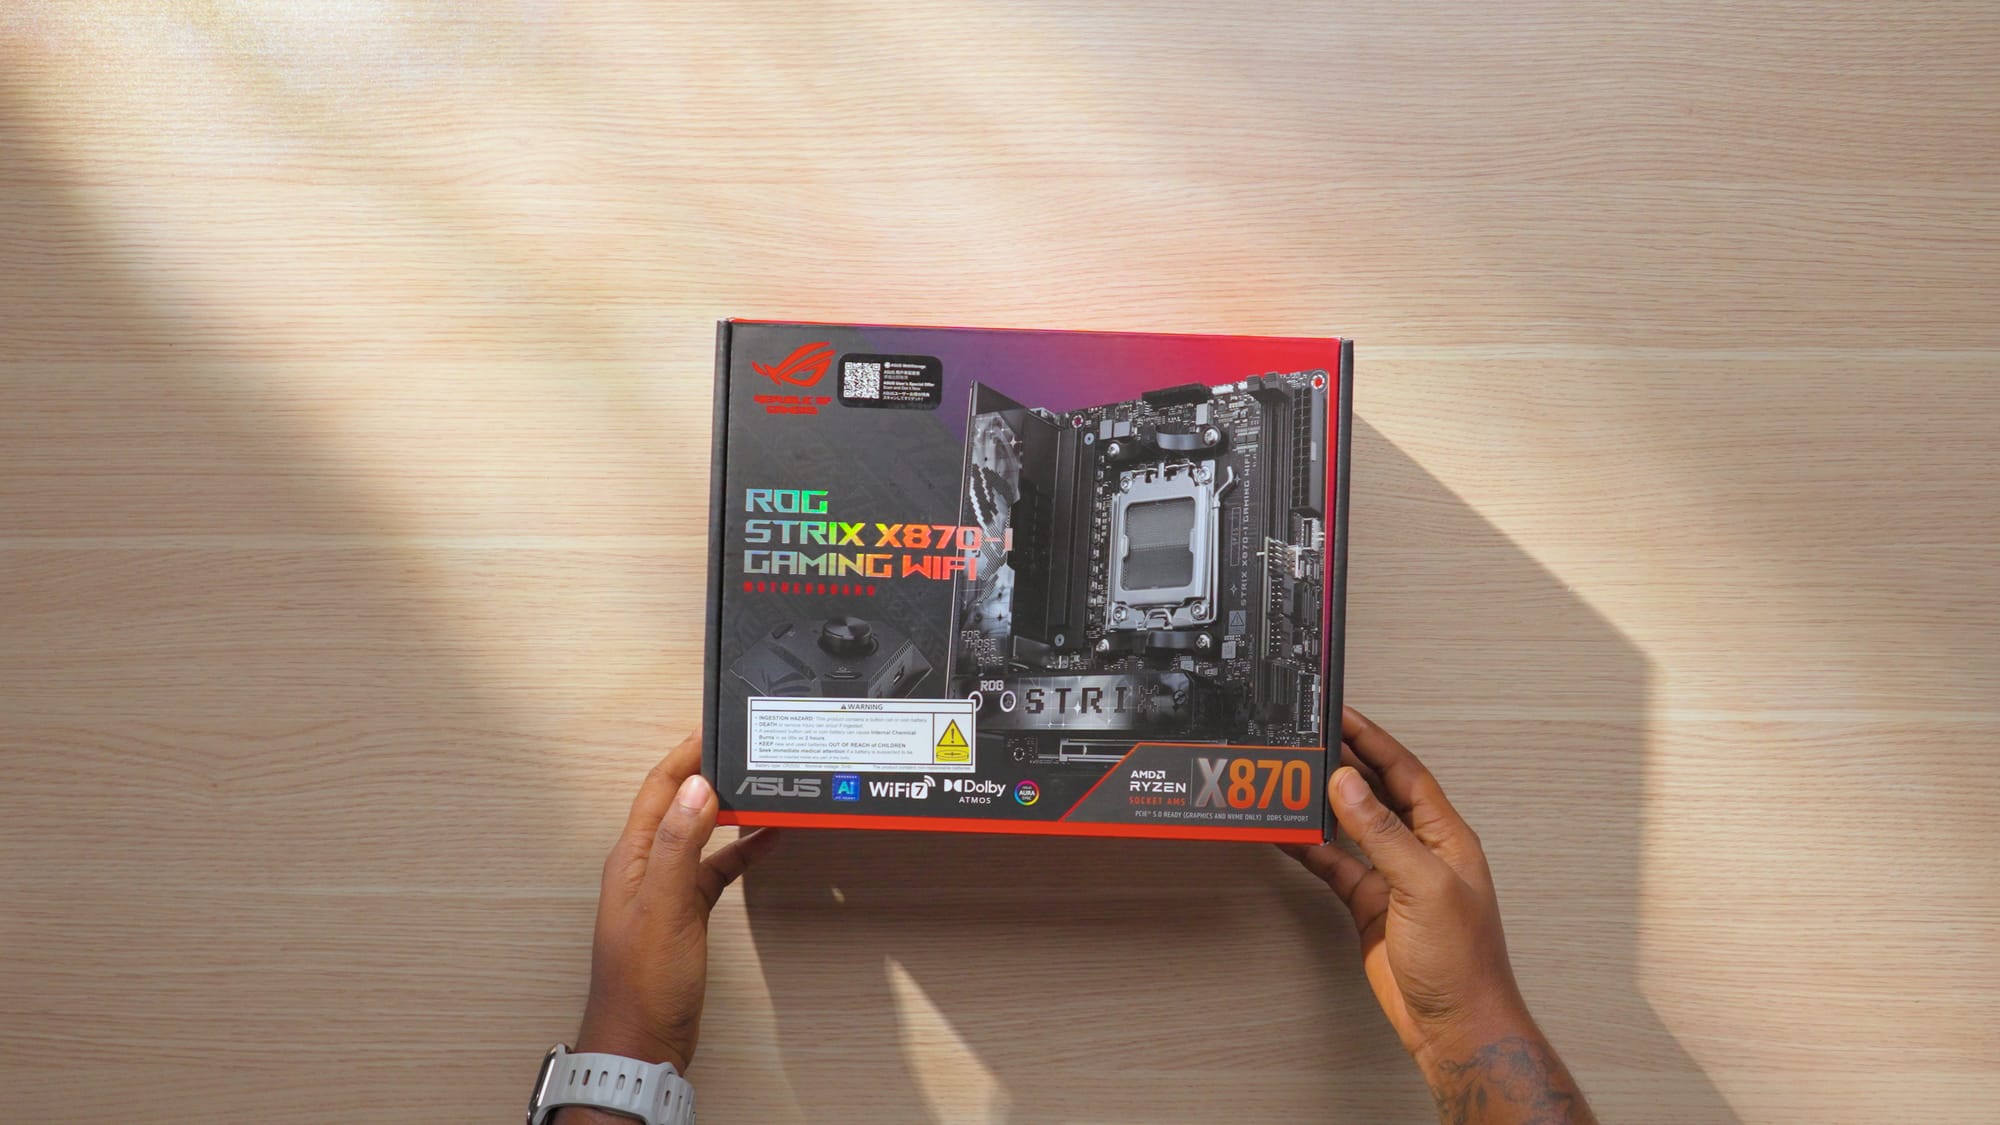
Motherboard: ASUS ROG Strix X870i Gaming WiFi
Motherboard alternative: Asus ROG Strix b650e-i gaming wifi
RAM: Corsair 96GB DDR5
Storage: Samsung 990 Pro 4TB + 2TB (6TB total)
PSU: Corsair SF-1000W Platinum
Cooler: Thermalright X47 full copper CPU cooler
Alternative 92mm fan: Noctua 92mm fan
Alternative 120mm fan: silverstone slim 120mm fan
Top Fans: Phanteks T30 120mm (x2)
Extras: FormD T1 Travel Kit (RTX 5090), Thermalright AM5 Contact Frame, 3D Printed Exhaust Shrouds (PETG-CF), ASUS ROG Hive 2 Audio Interface (included with motherboard).
Offset Bracket for AM5 120mm fan: Dingkey AXP90 AM5 Offset Bracket
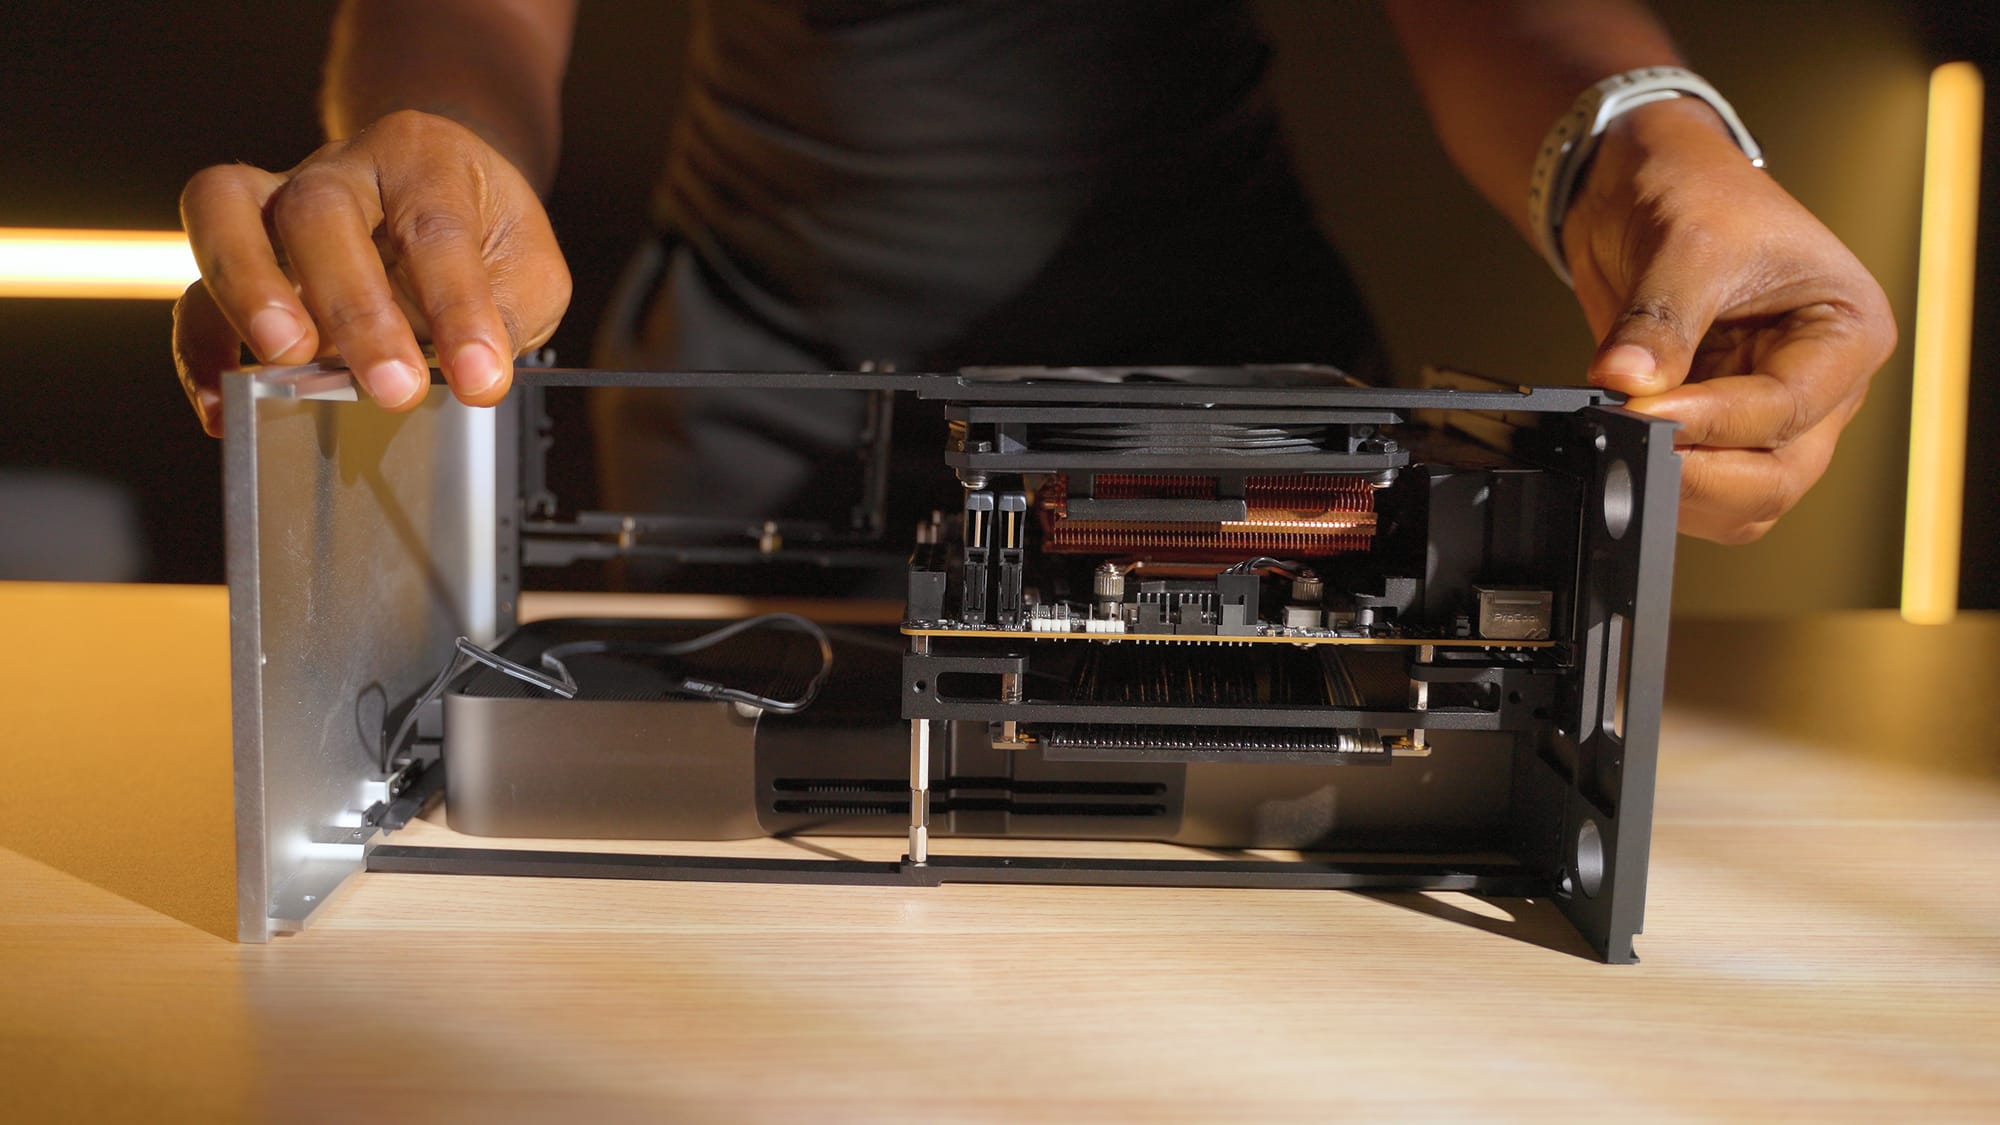
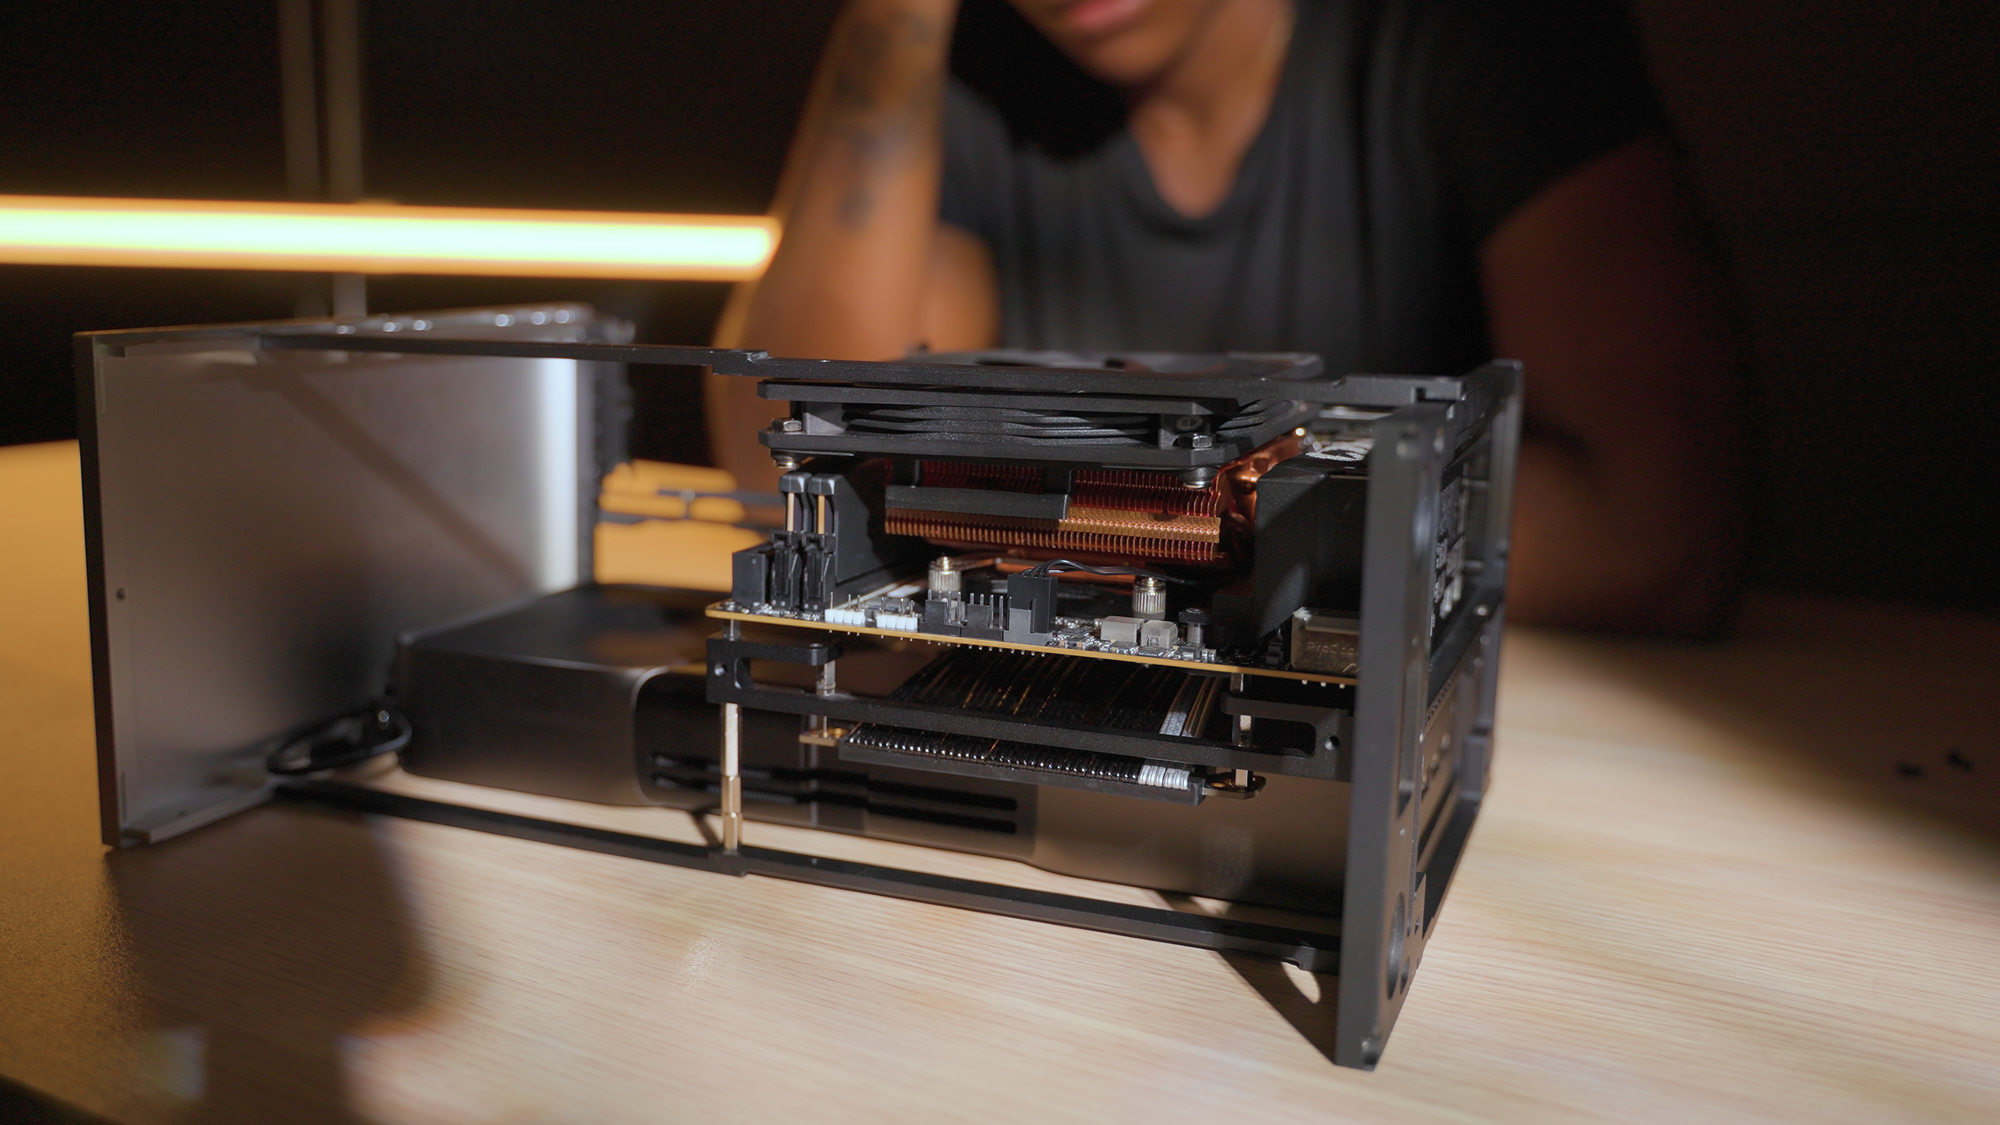
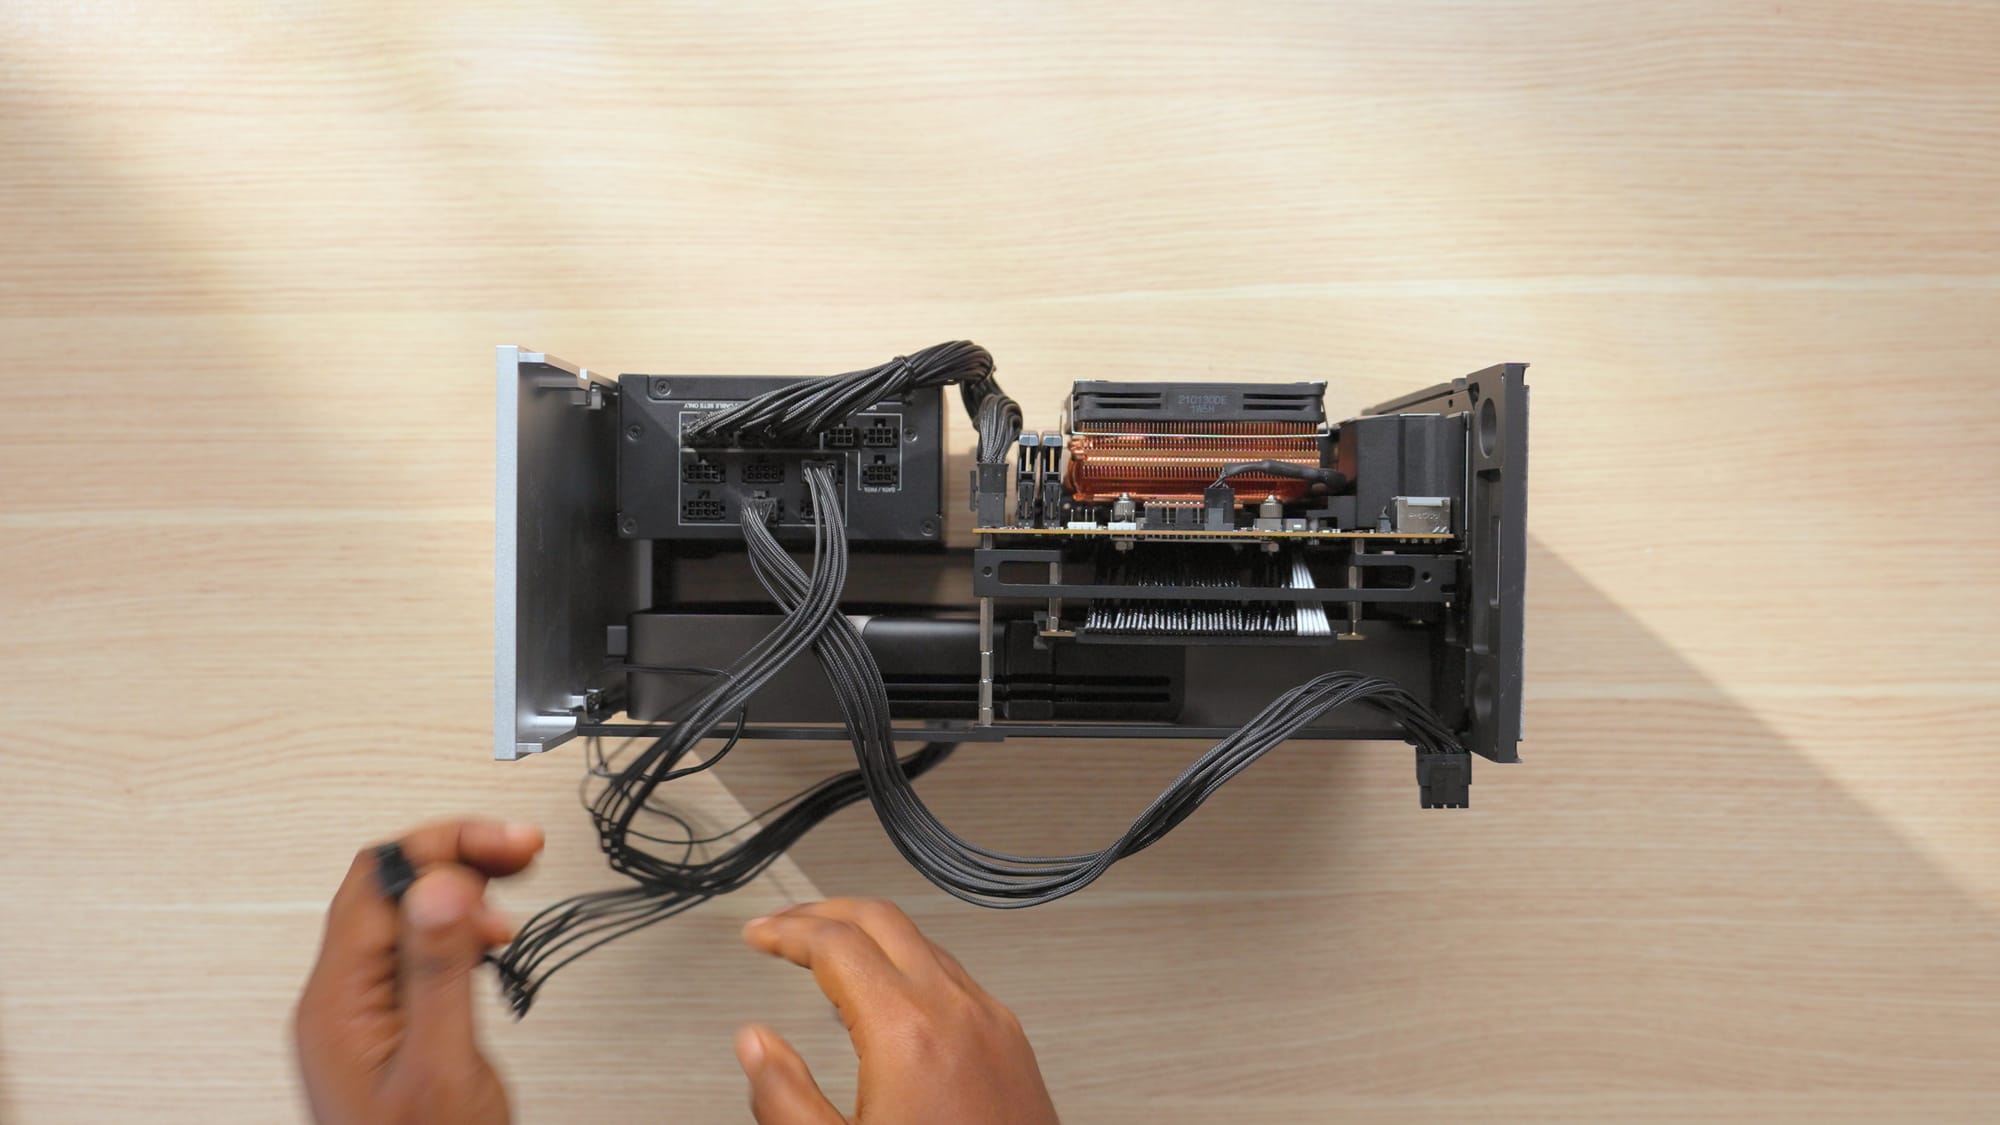
The Case: FormD T1
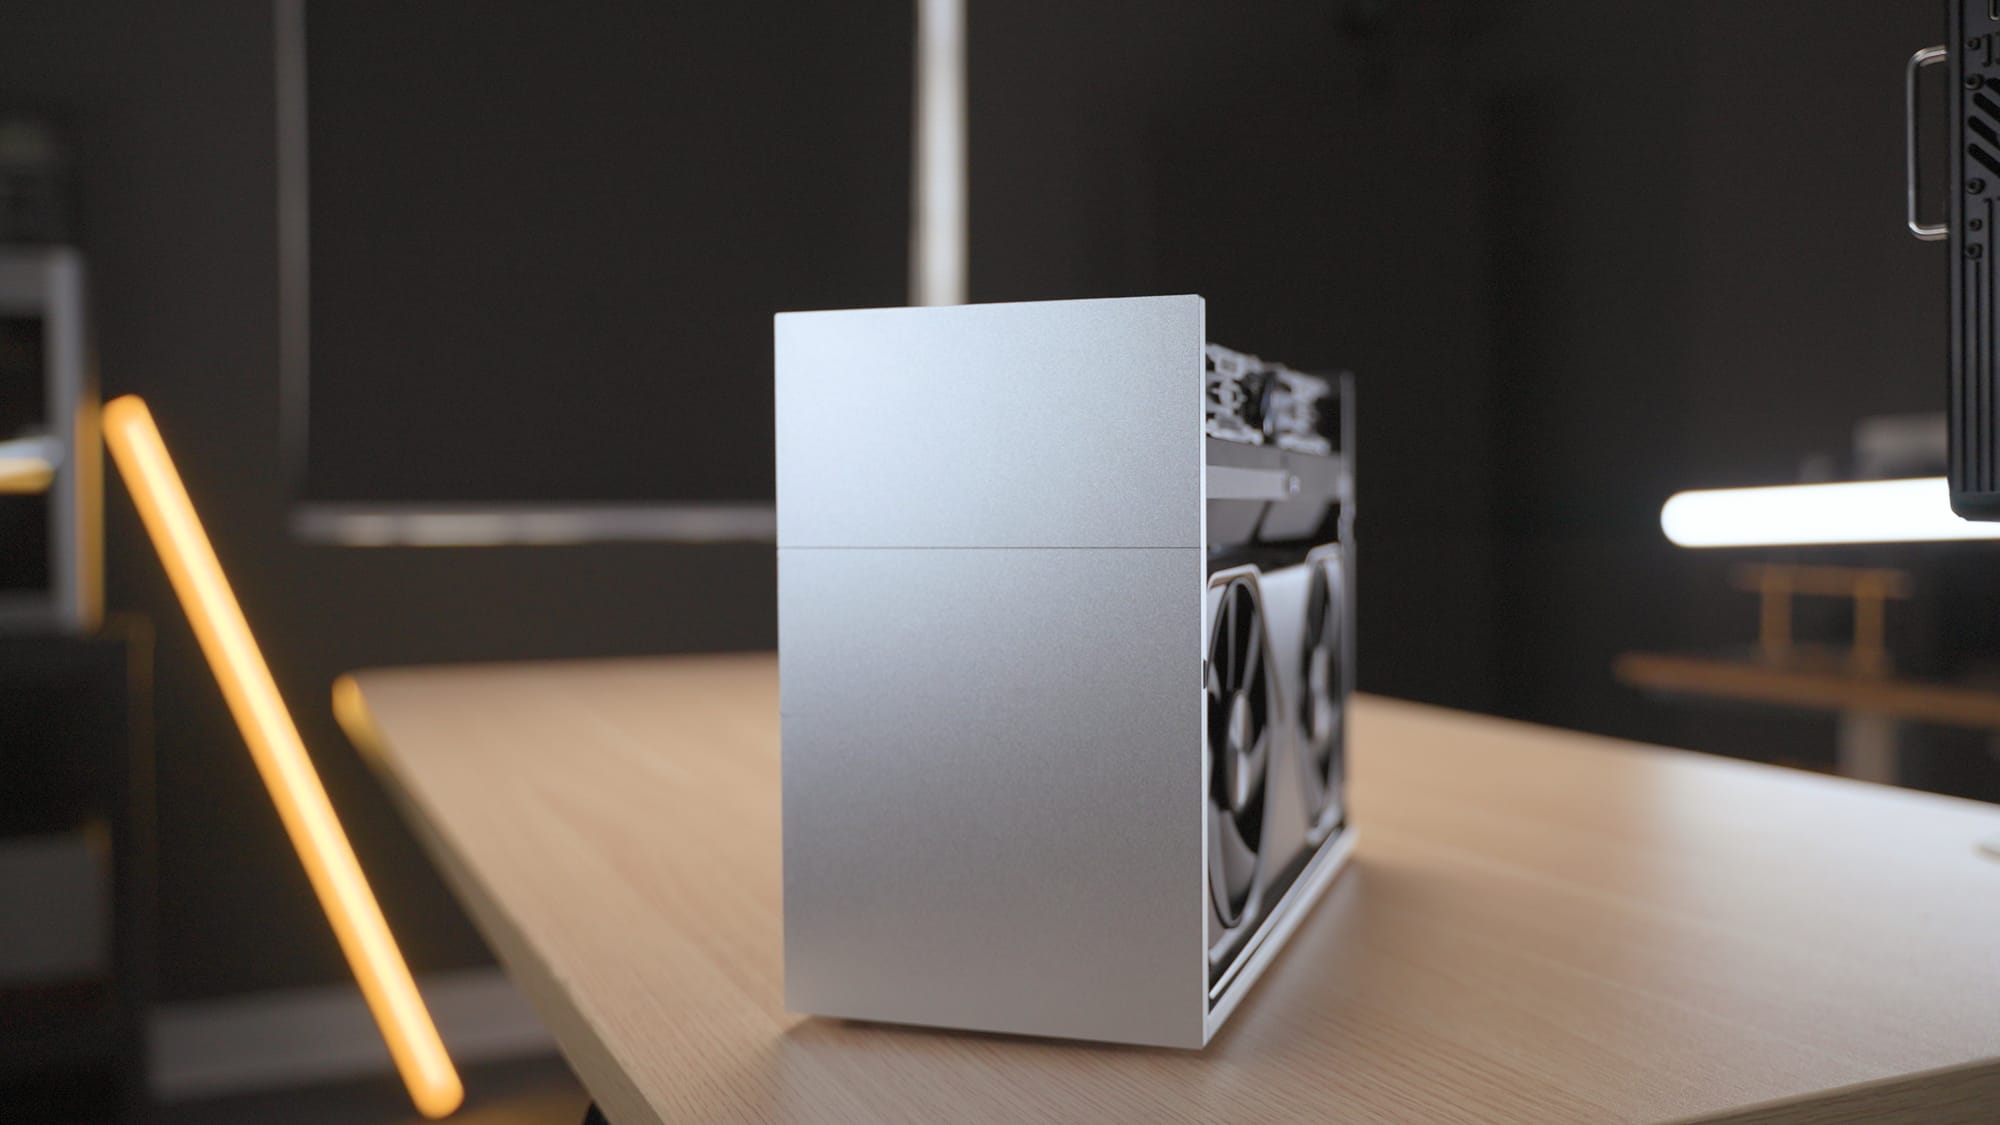
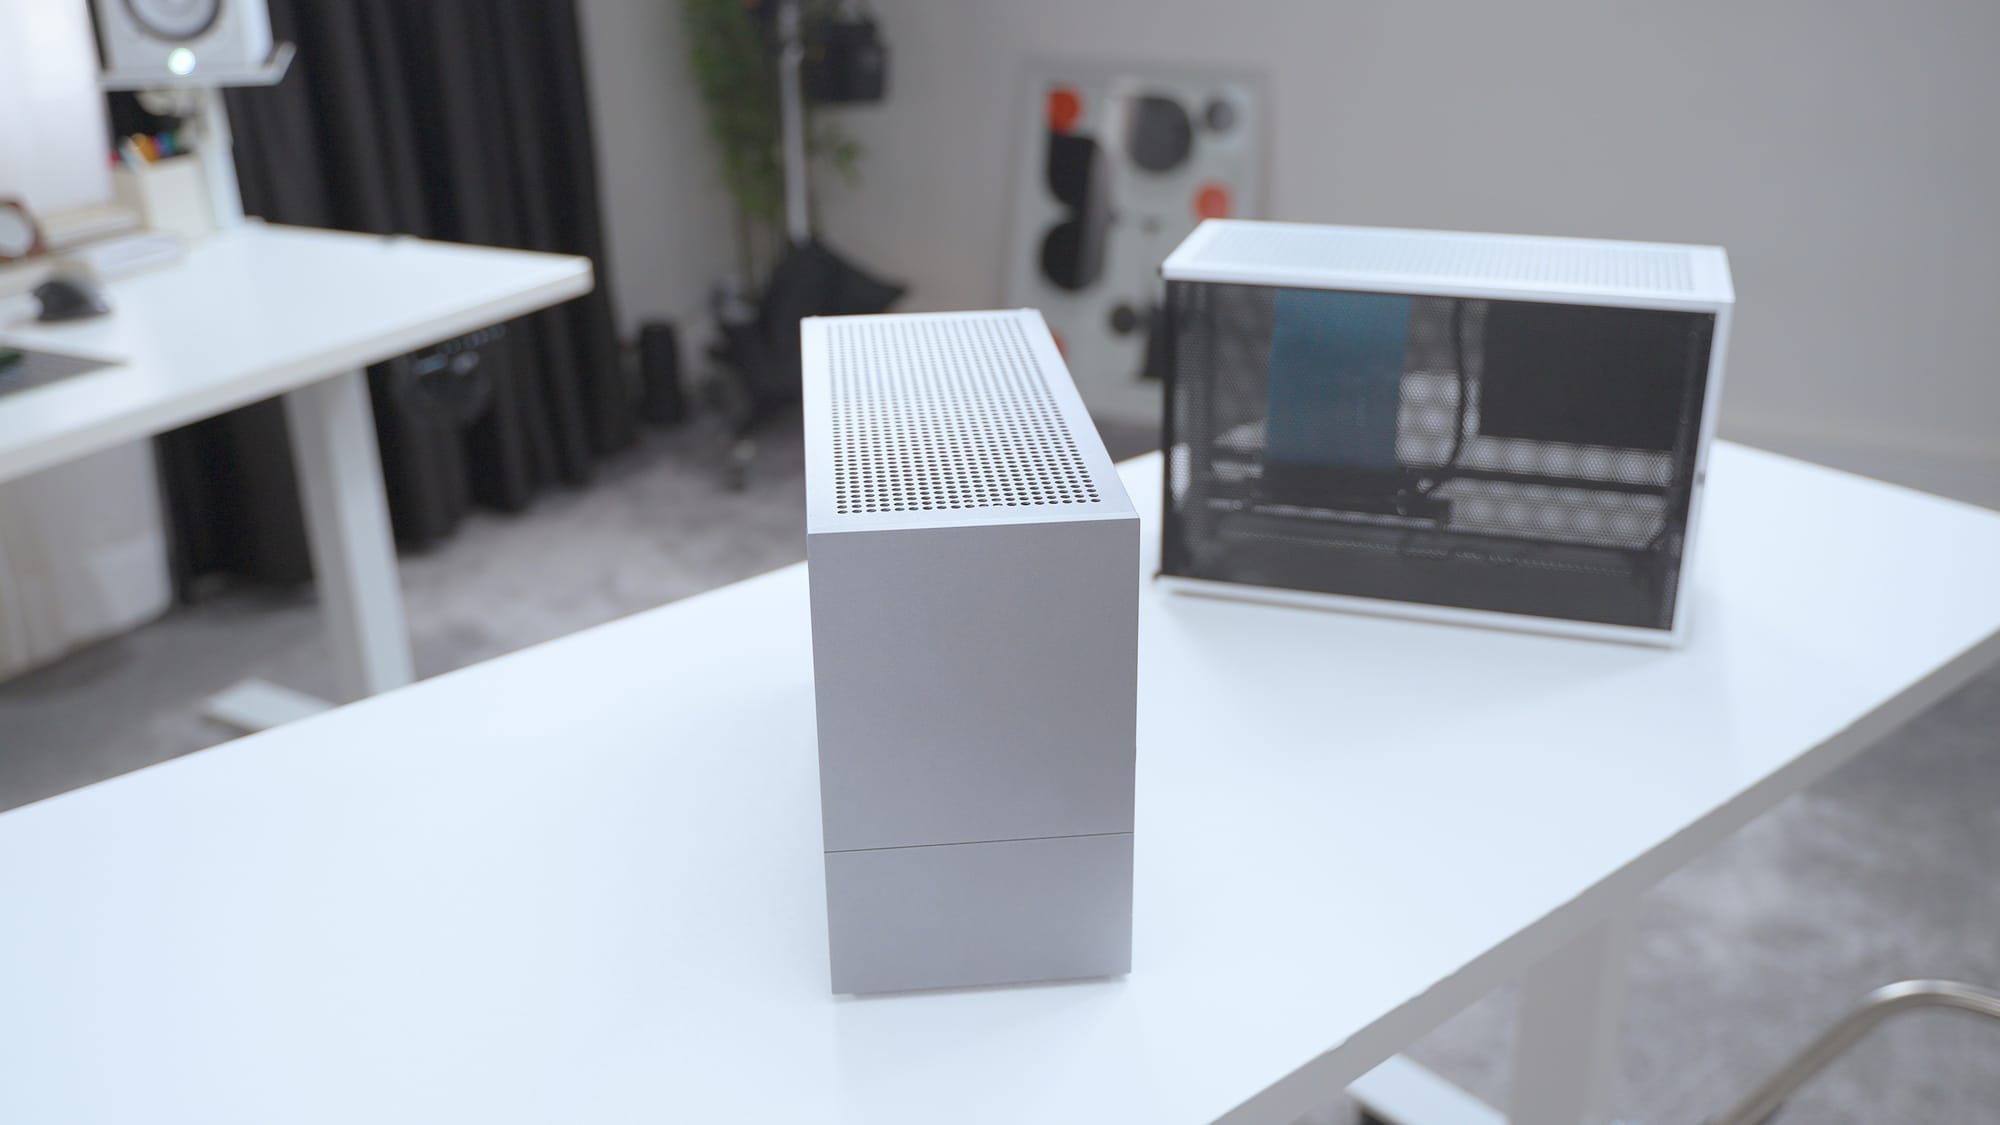
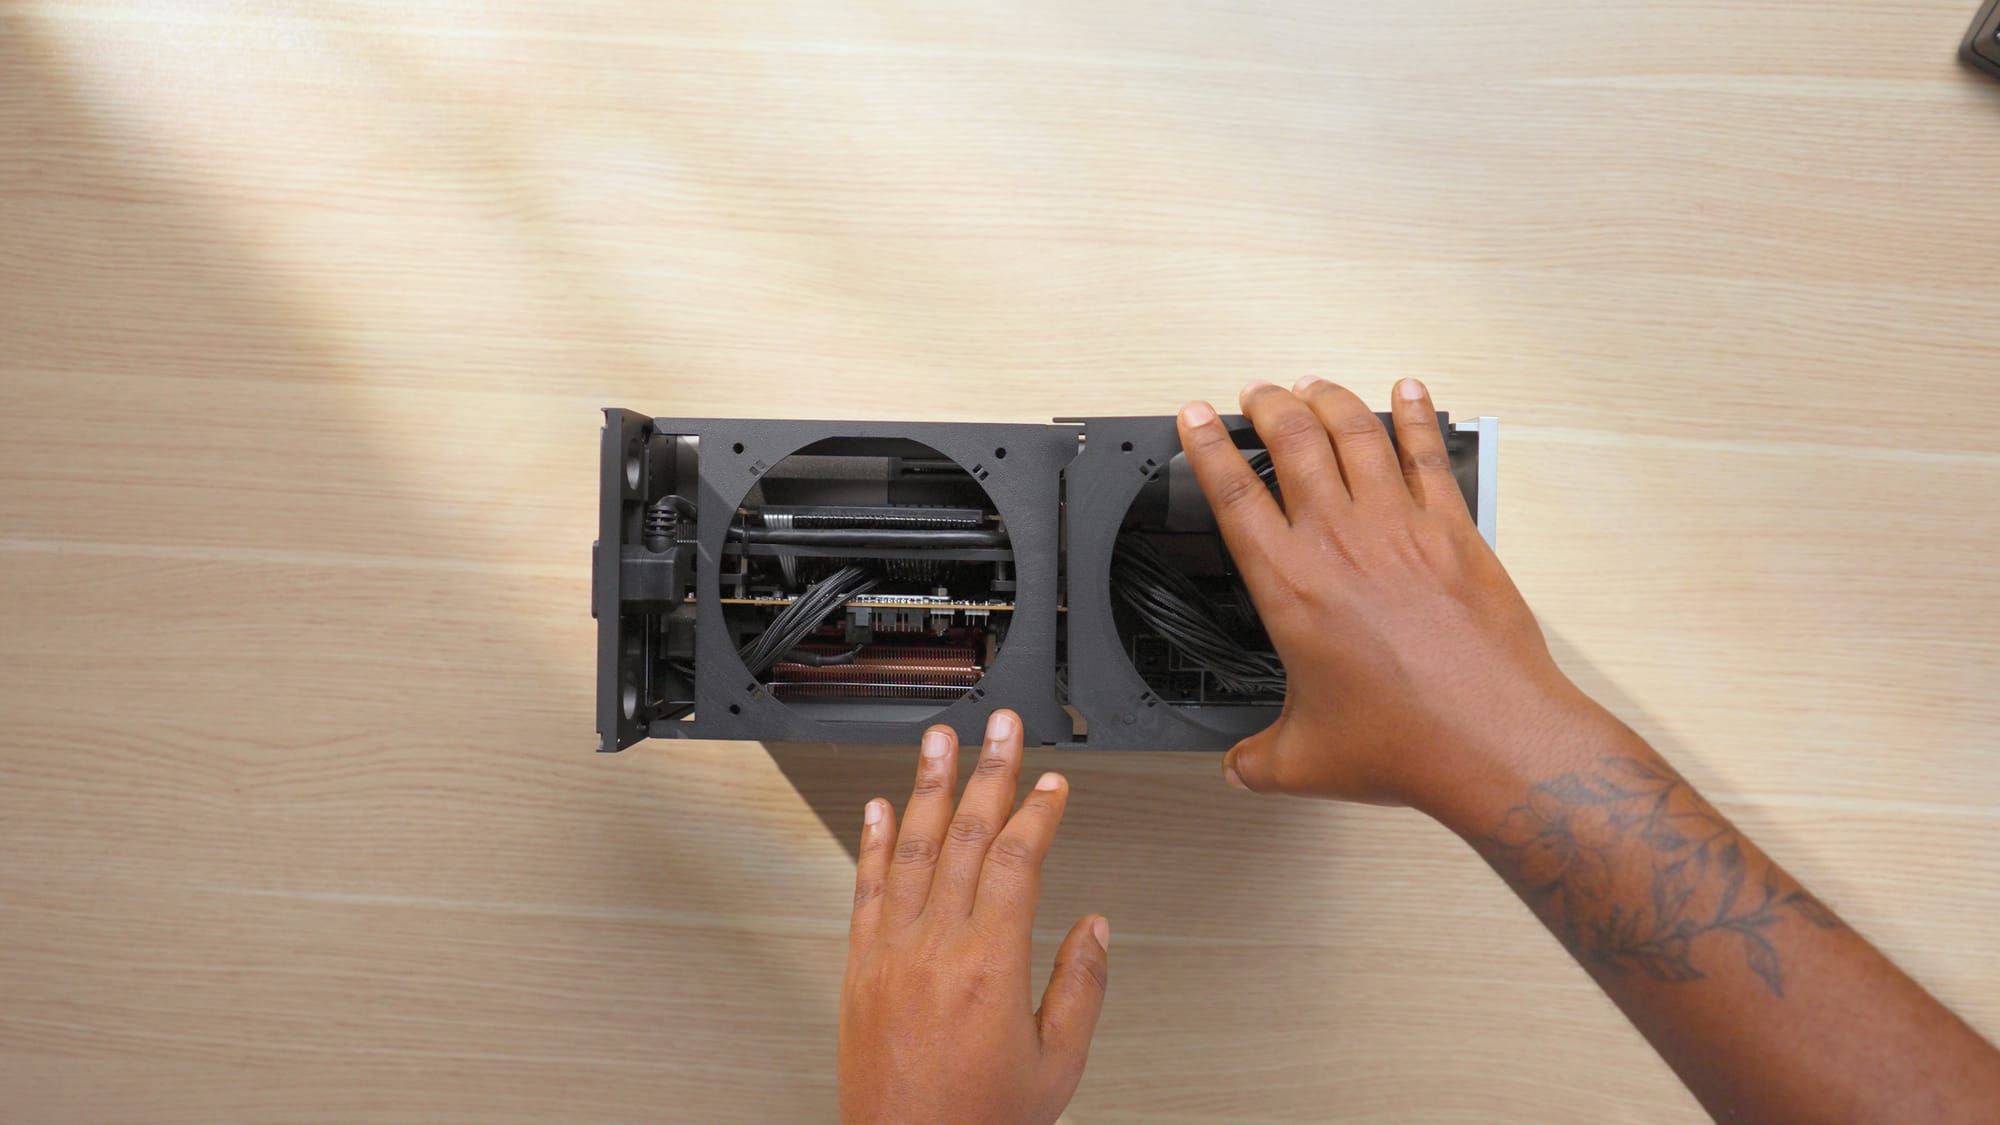
I've been building in the FormD T1 for a while now. It's a sandwich-style Mini-ITX case with CNC aluminium panels that comes in around 10 litres. The silver colour way has a clean, minimal look that I keep coming back to. I also travel with this PC from time to time since it fits in a backpack, which is one of the main reasons I chose an SFF case in the first place.

Formdt1 case in titanium (left) and silver (right)
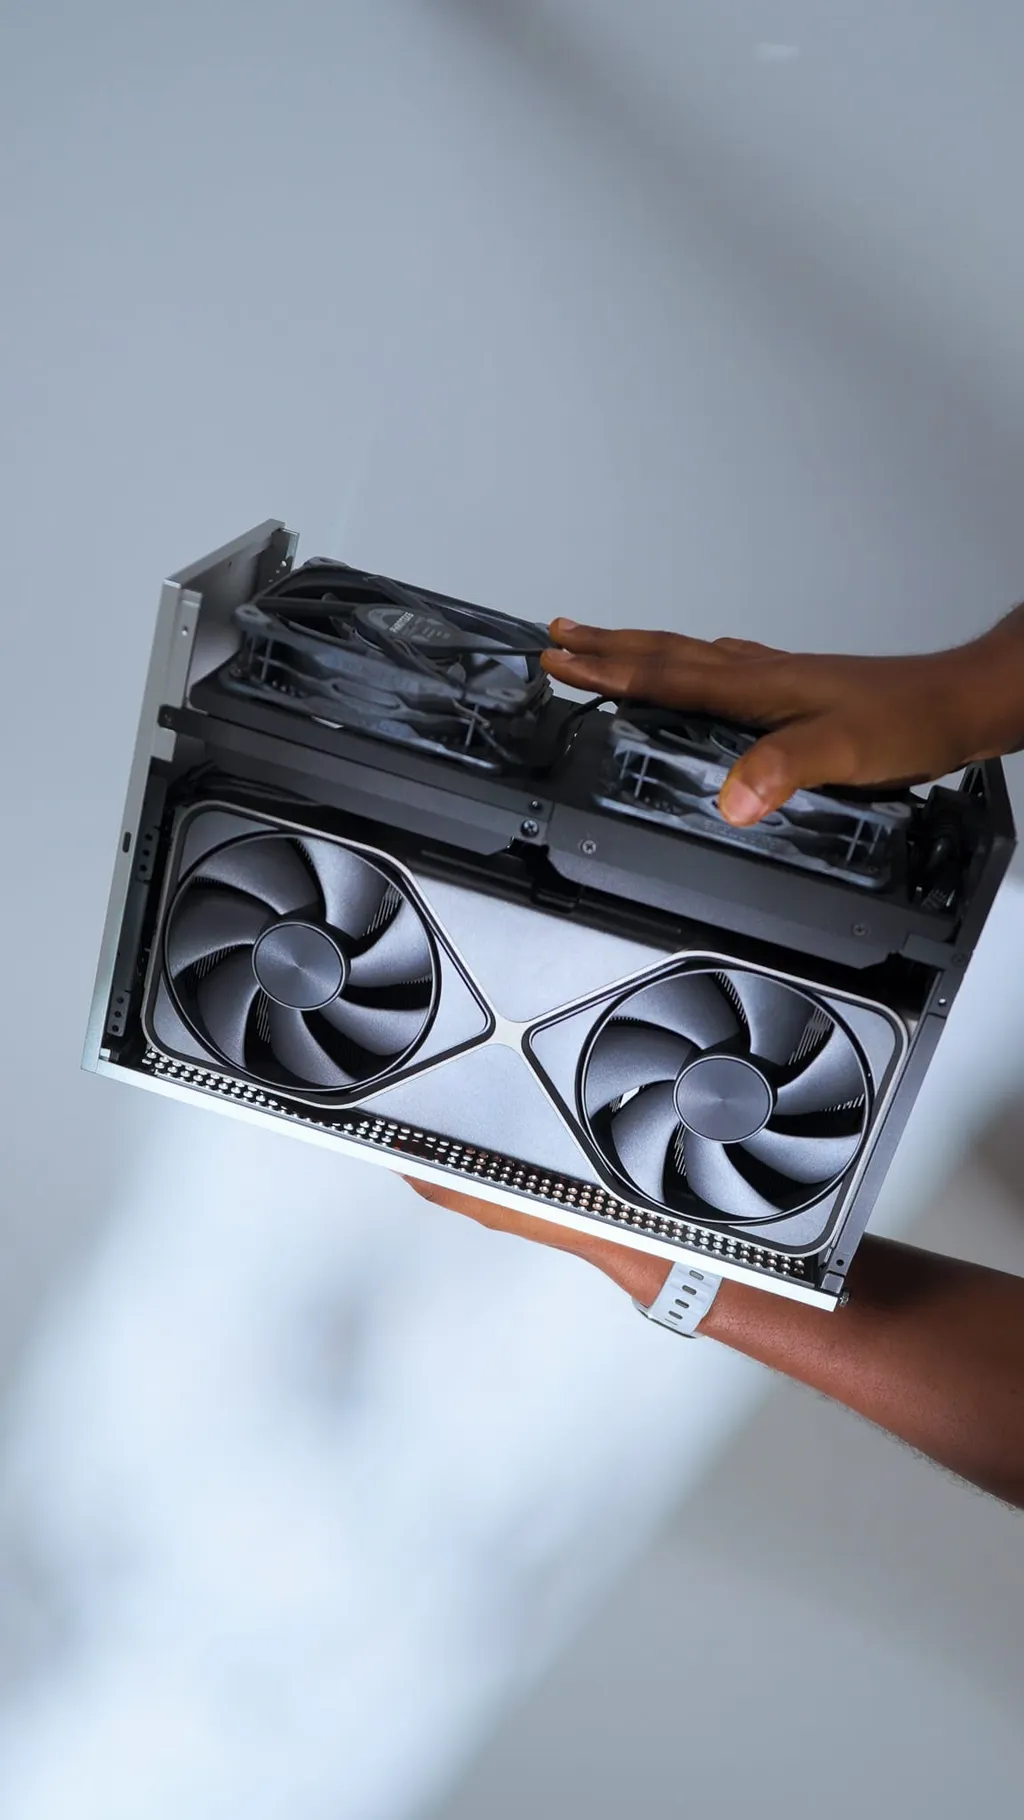
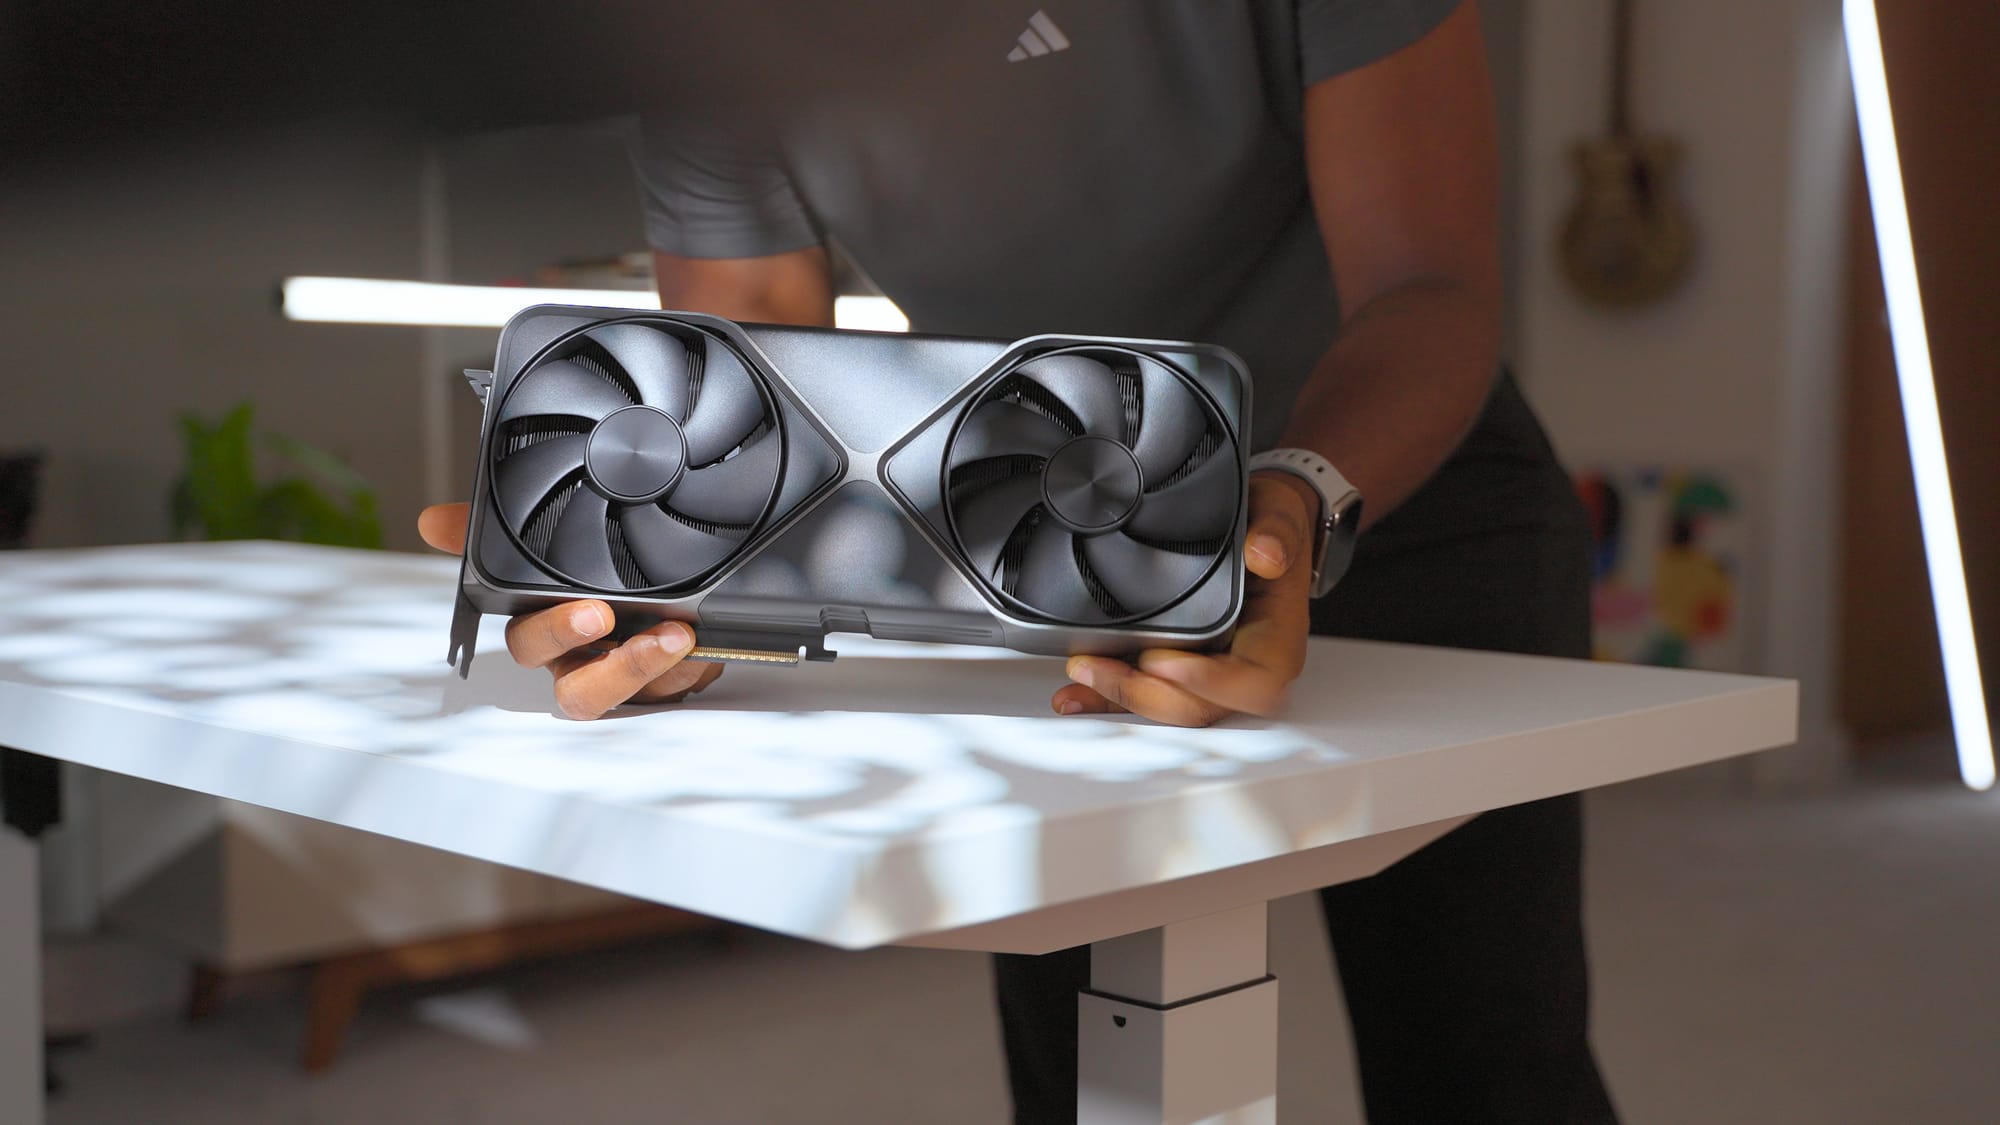
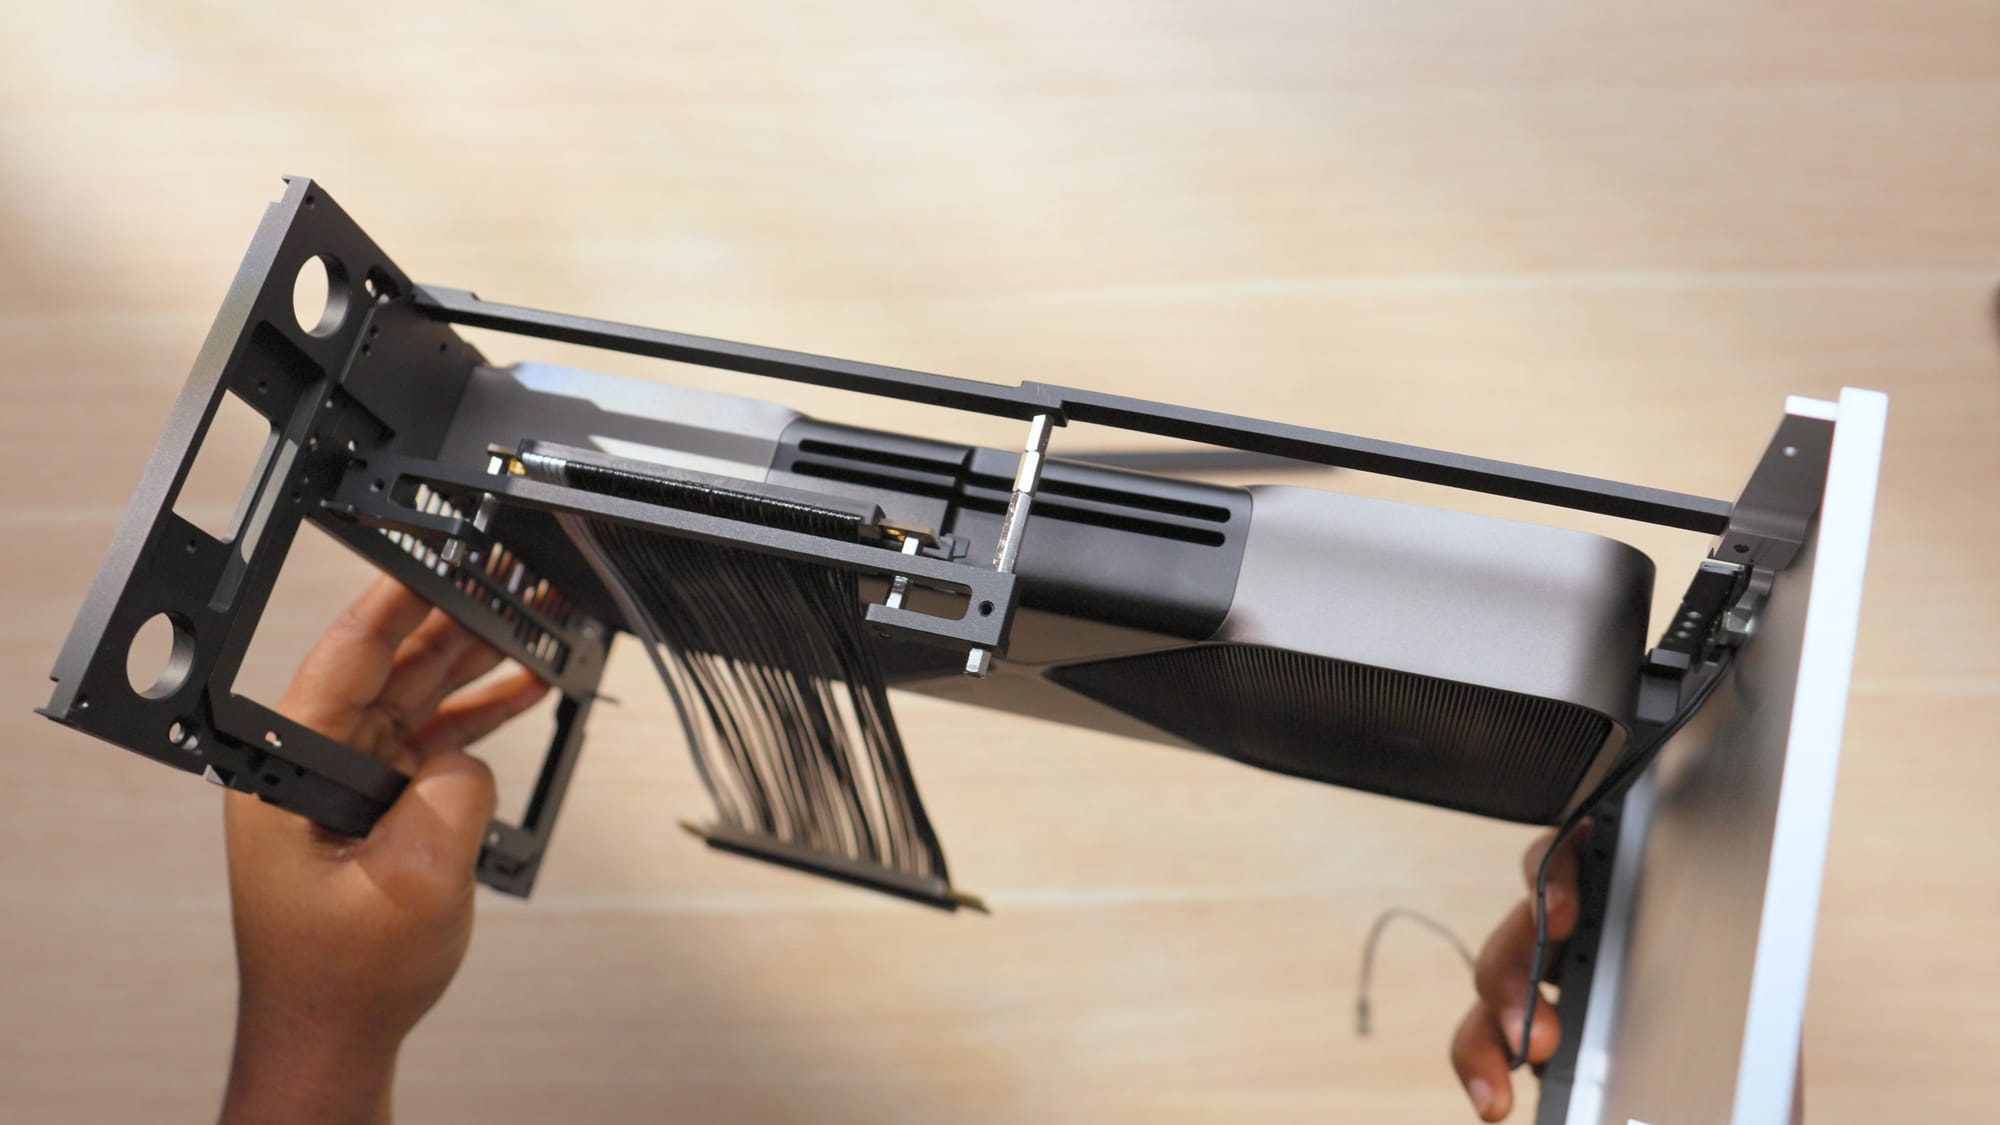
The dual-slot design of the RTX 5090 Founders Edition is what makes this build possible. The previous 4090 Founders Edition was a tight fit, it worked but that meant I had to be really considerate and careful when choosing a CPU.
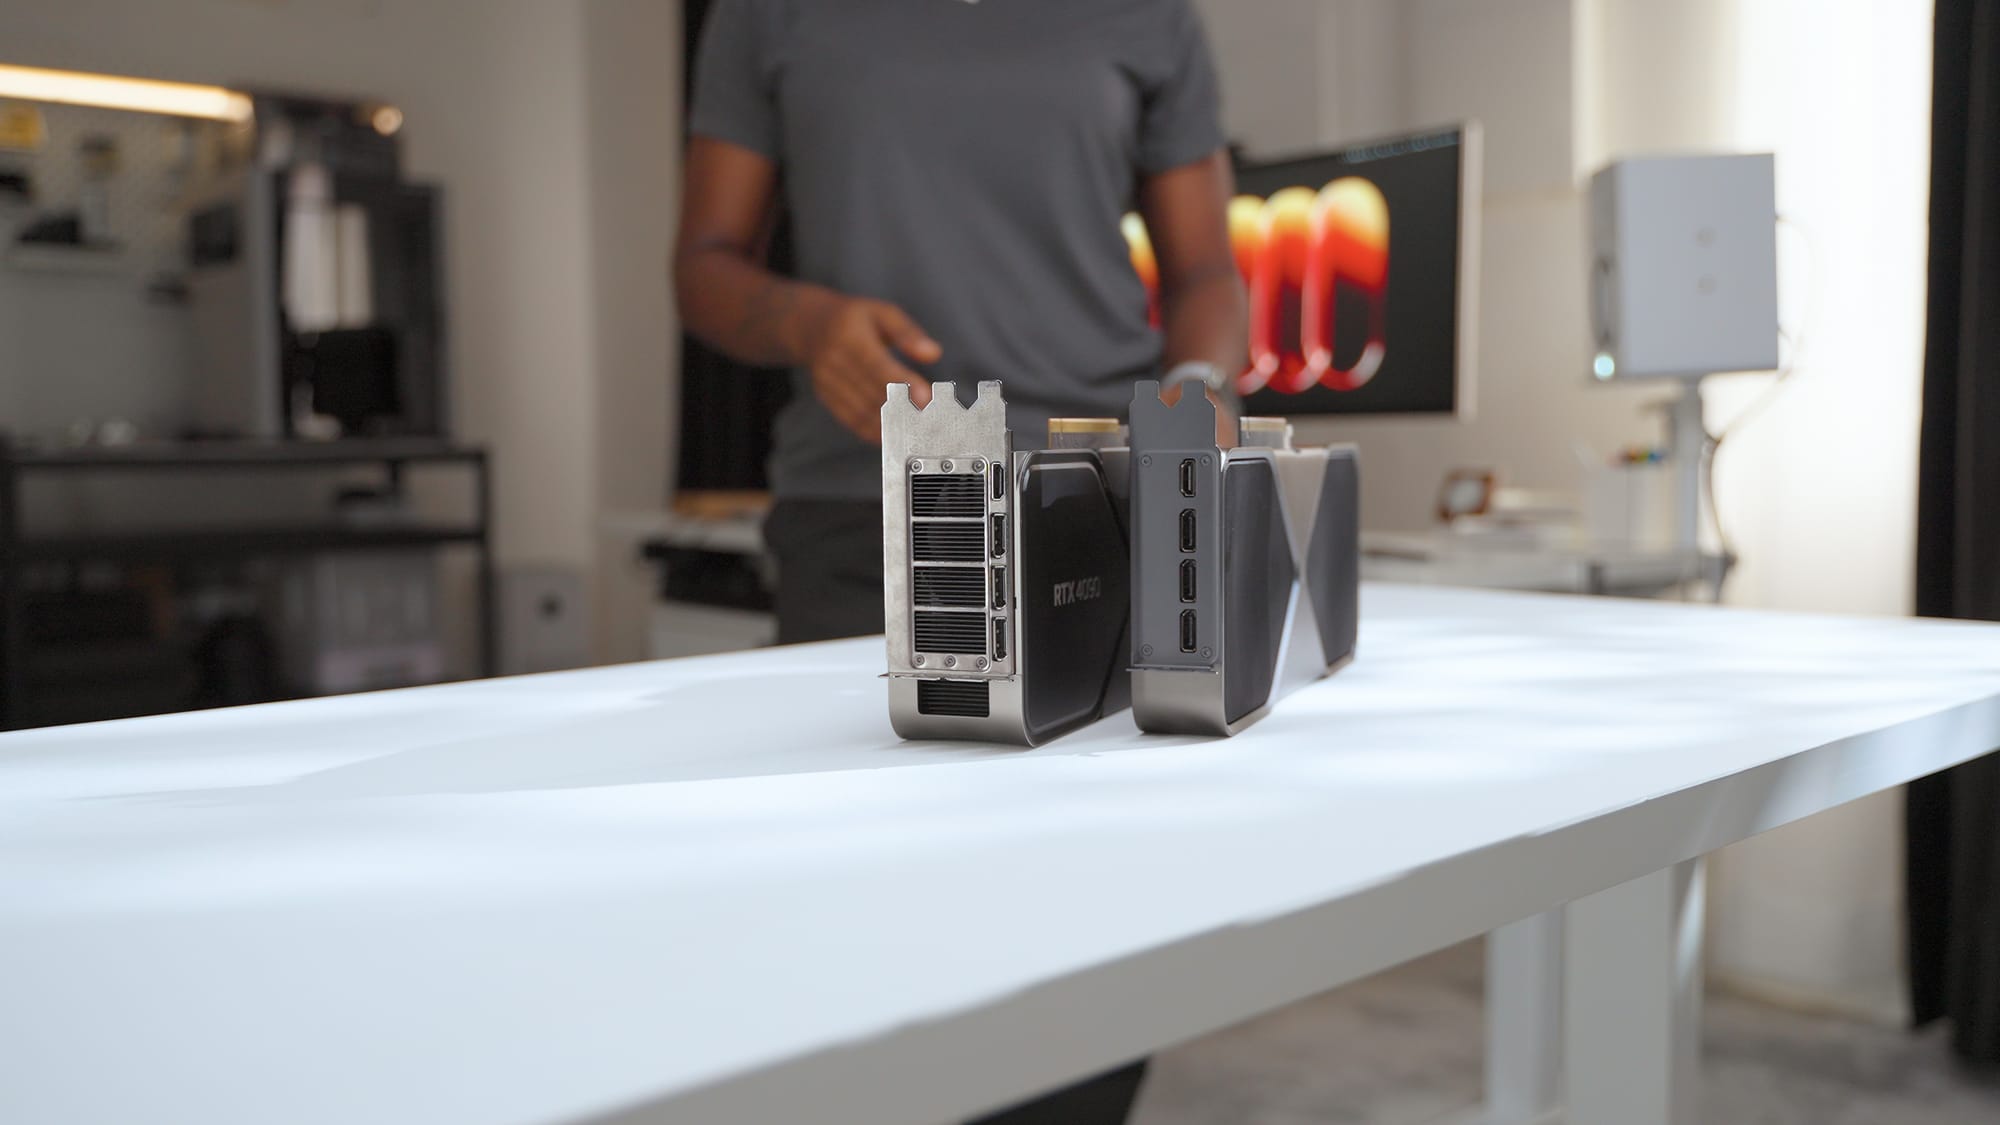
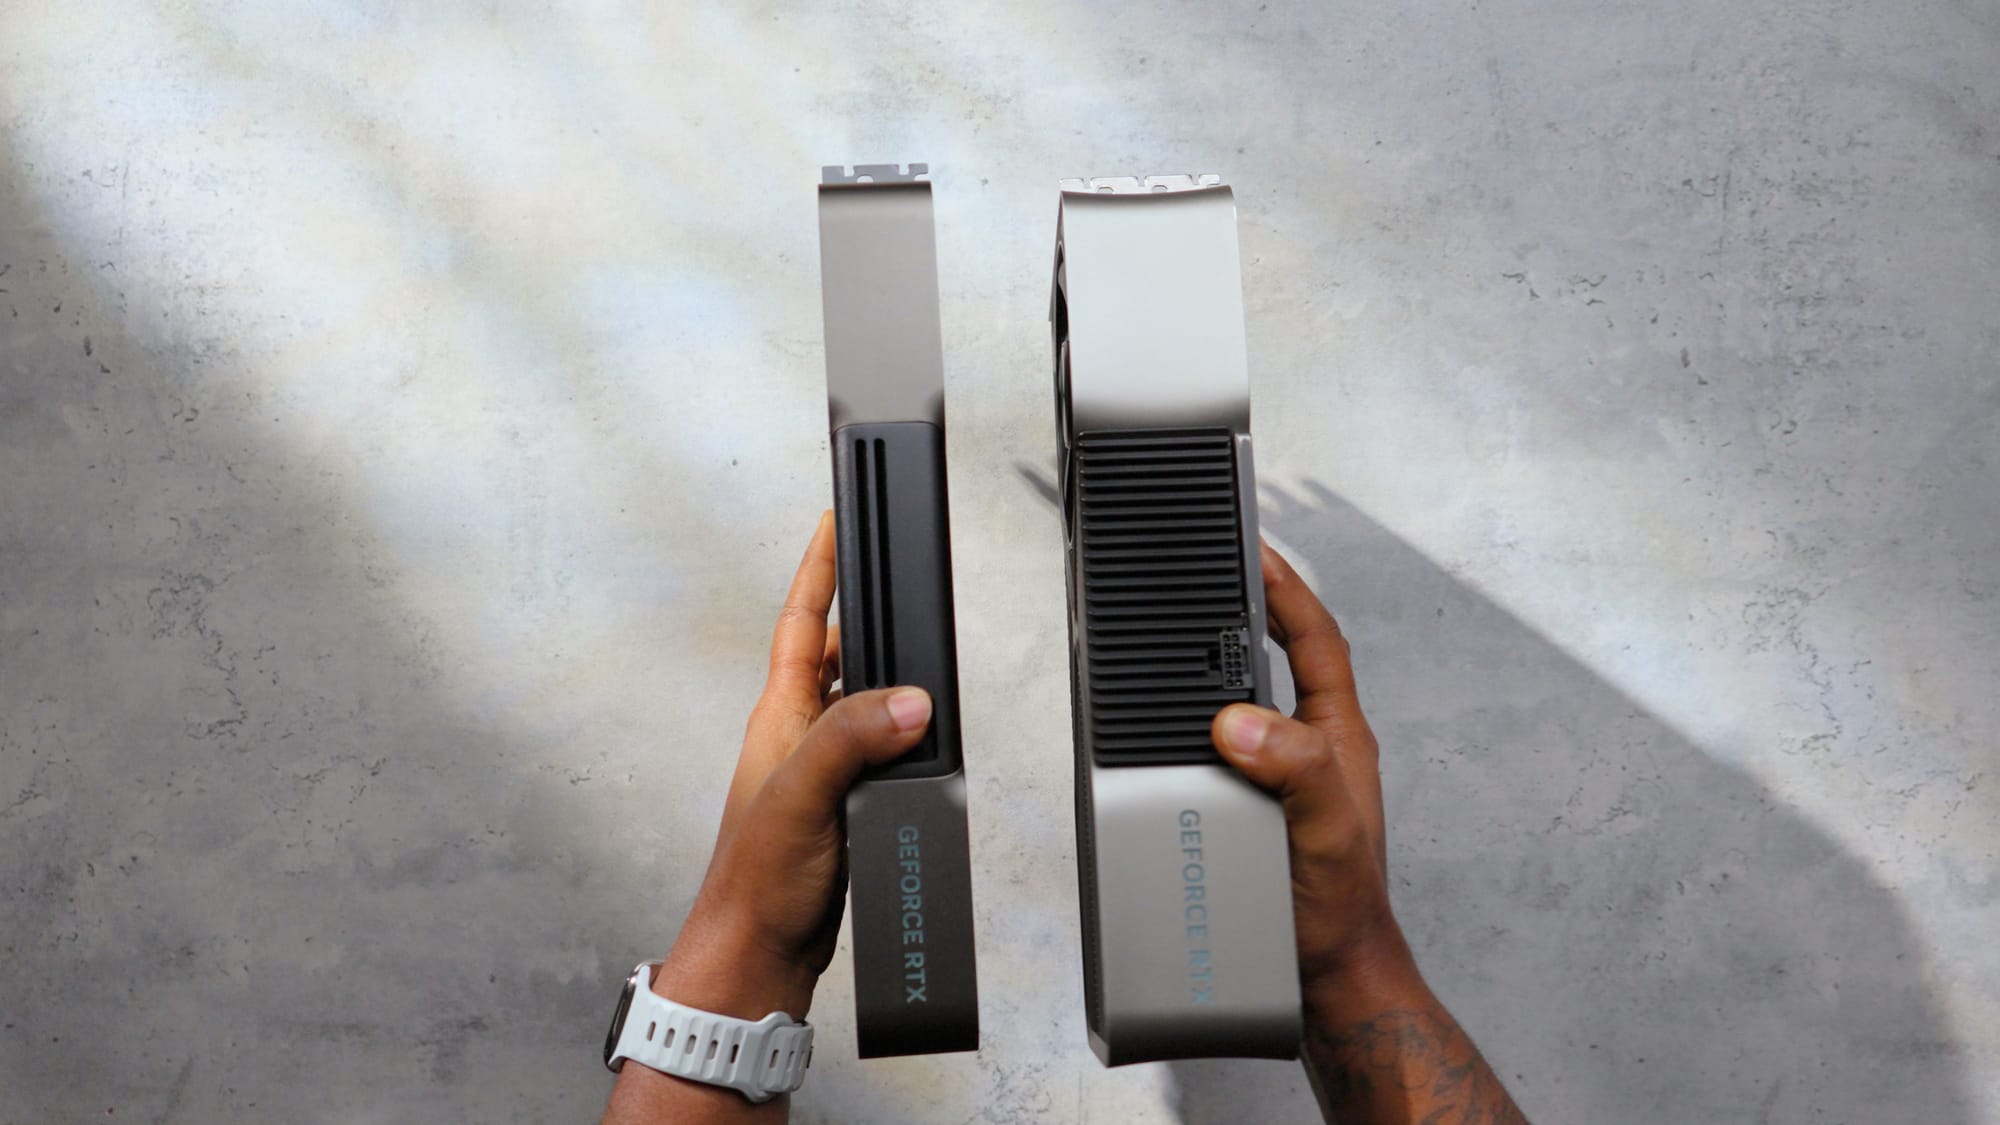
Size comparison between the RTX 4090 and the RTX 5090
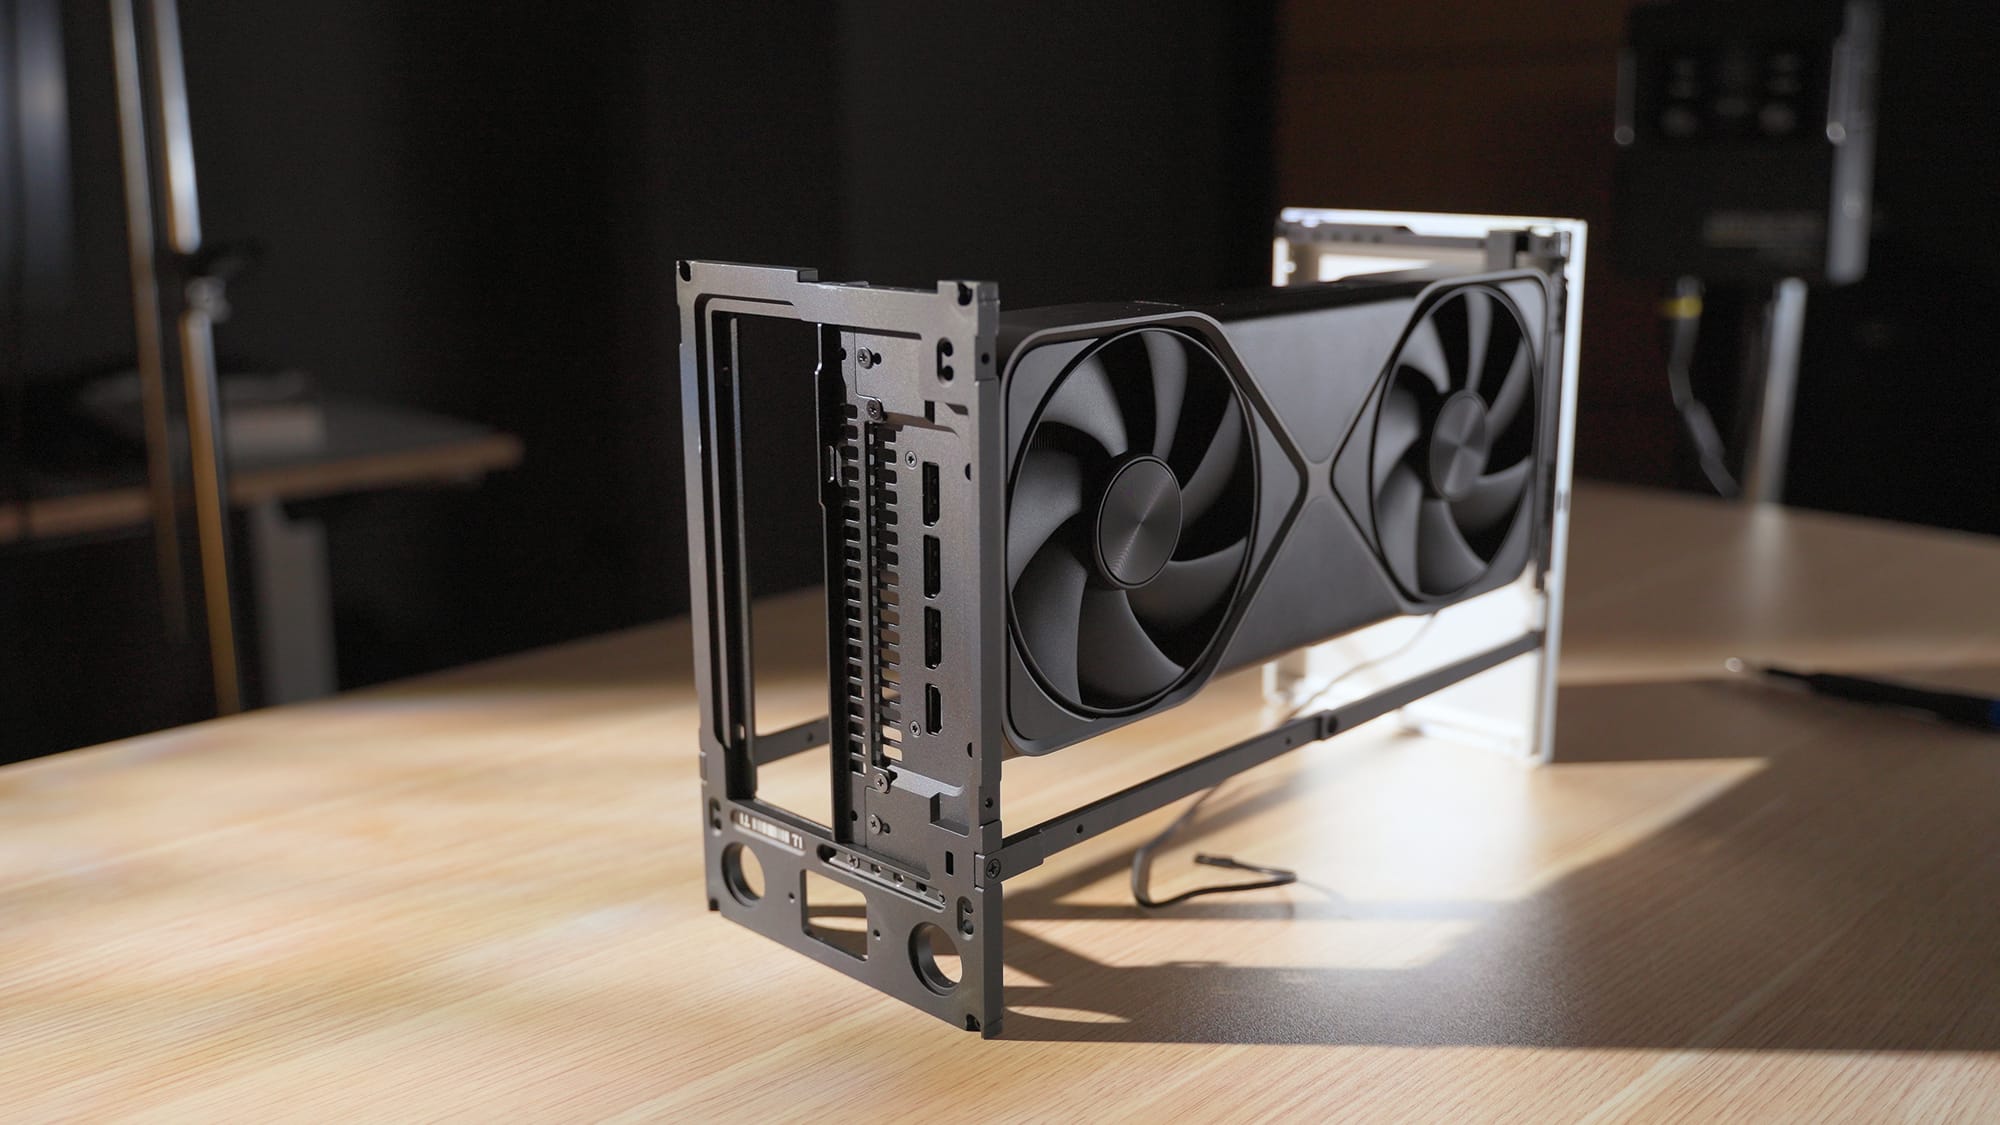
Here's the thing about building in the Formd T1, the riser bar standoffs control the gap between the GPU side and the motherboard side. More room for the GPU means less clearance for your CPU cooler, and vice versa. You have to decide where you want the space based on your cooling setup, see what i mean below.
Showcasing the CPU and GPU clearances in the Formd T1. Source: formdt1.com
The 5090 being a dual-slot card gives noticeably more clearance for taller CPU coolers but also leaves some space between the GPU and the motherboard tray, which helps with airflow.
Case Links
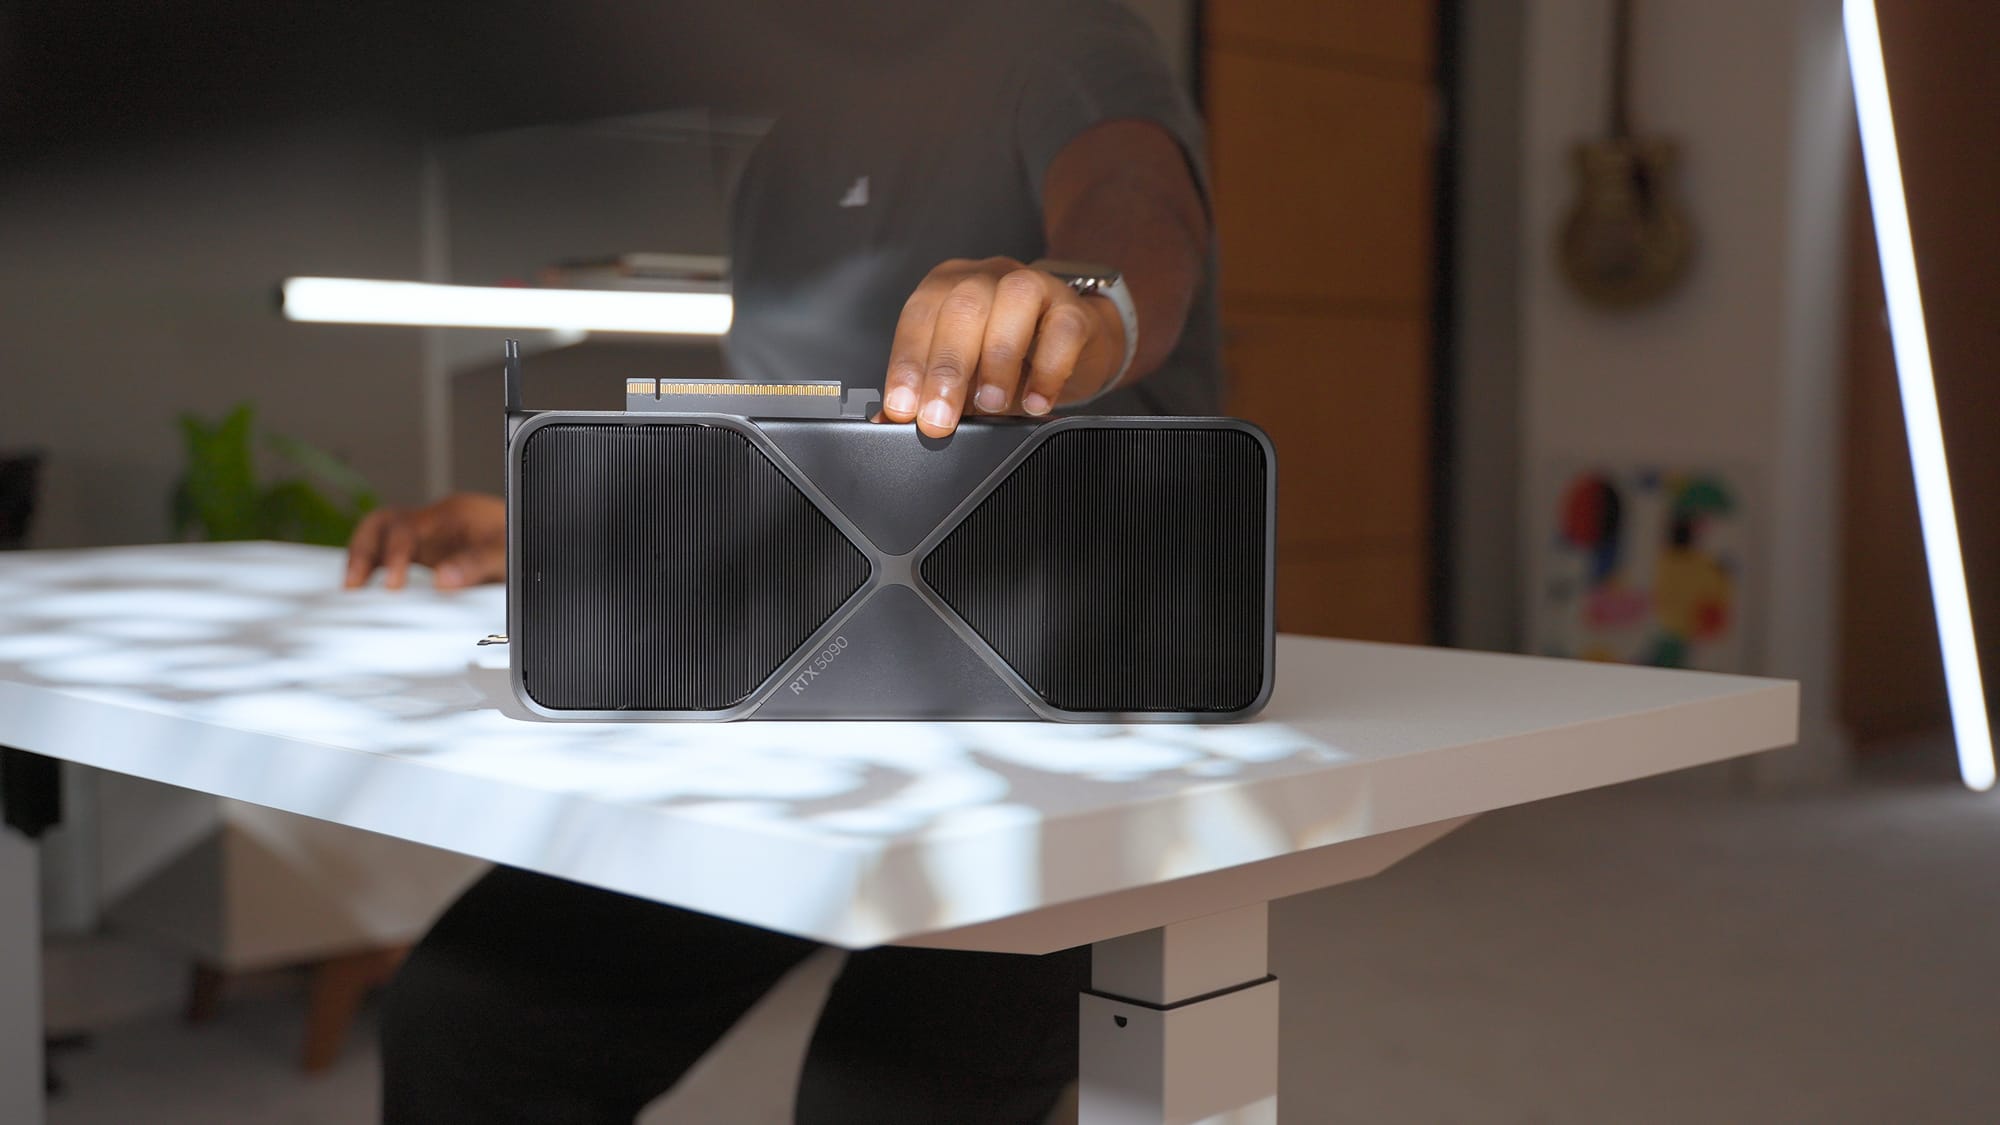
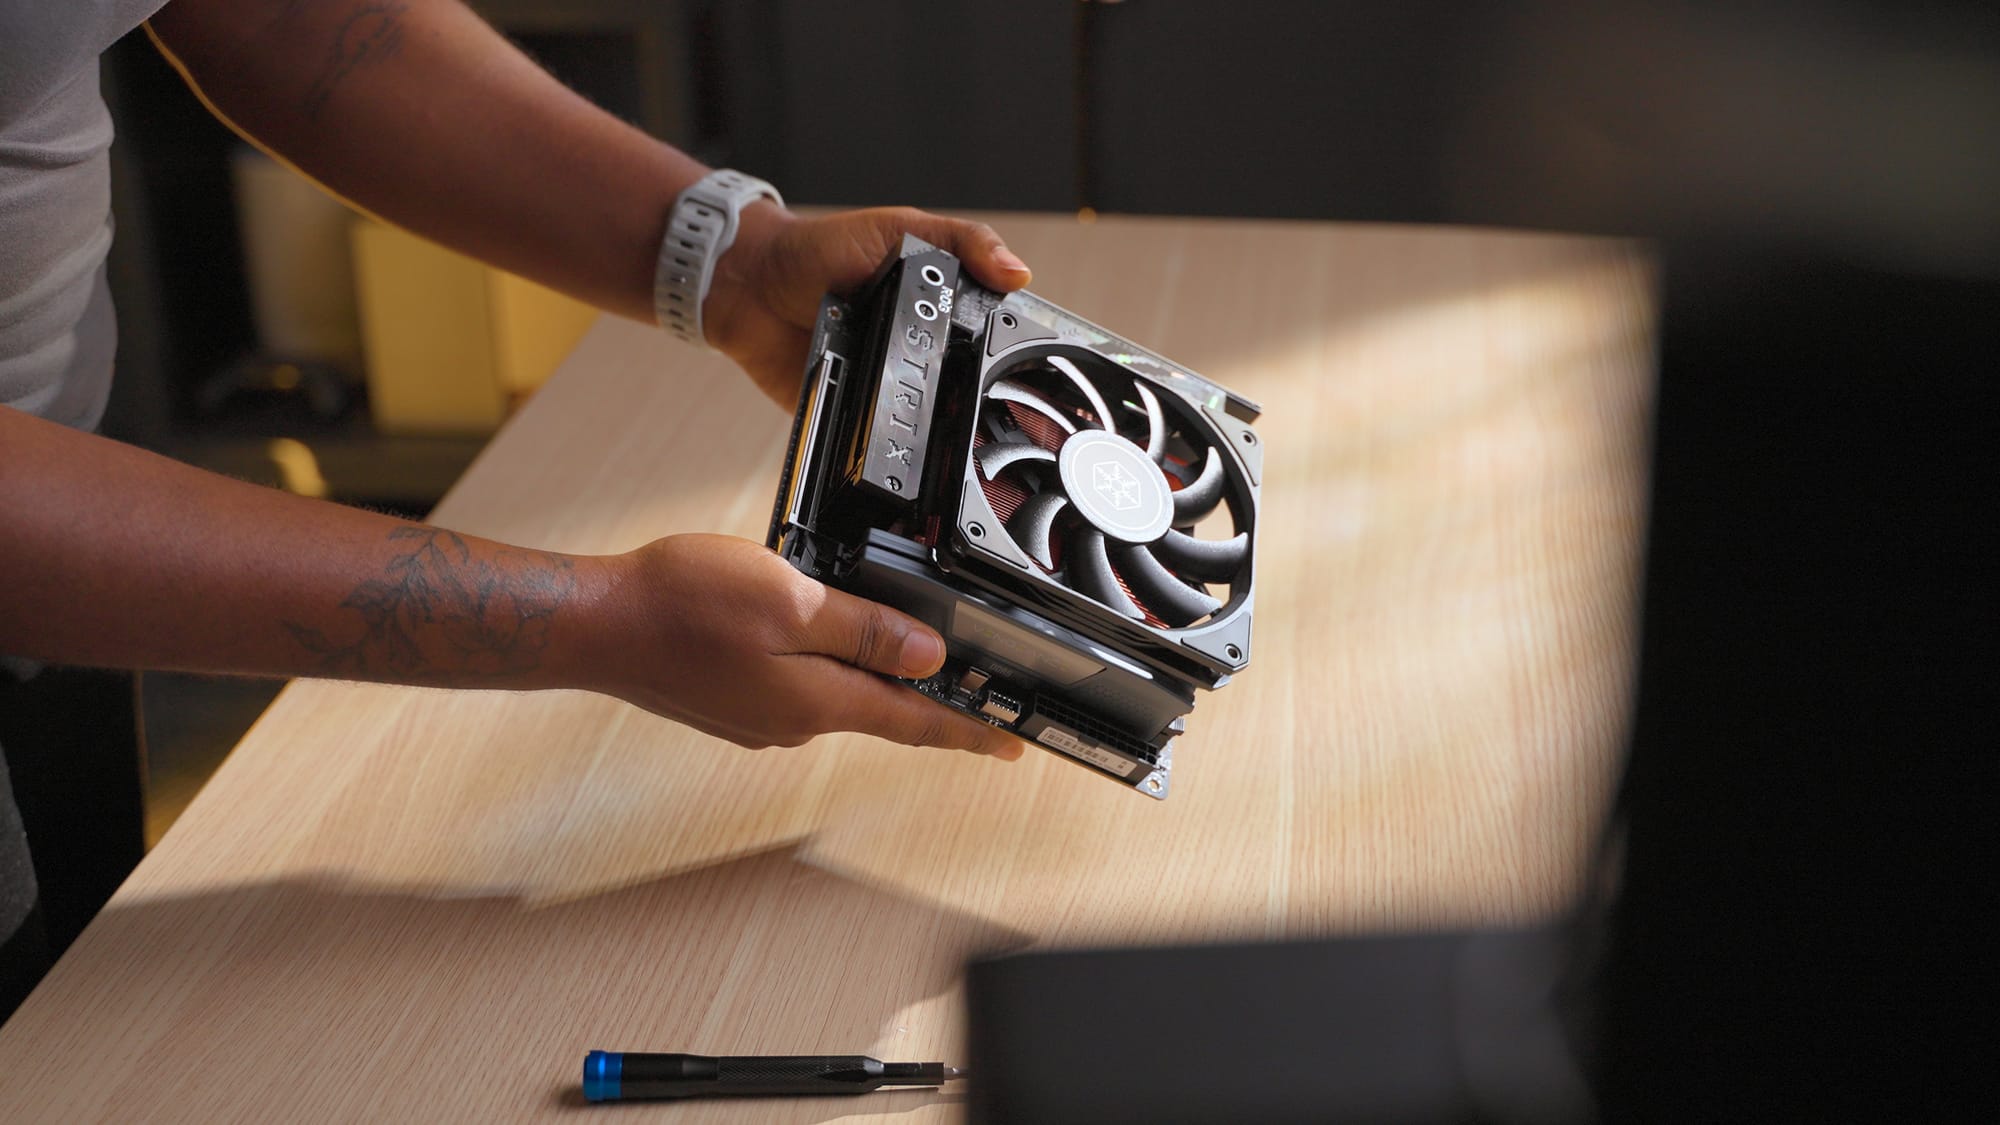
GPU: RTX 5090 Founders Edition
The RTX 5090 FE is a dual-slot card with more power than the 4090 in a smaller form factor. That's the reason this build exists. When I saw it was a two-slot card, I knew it would fit in the Formd T1 case.
Getting one at retail took months. Newegg was overpriced, Micro Center was sold out for weeks. I found mine on Amazon in July, 2025 at close to retail price.
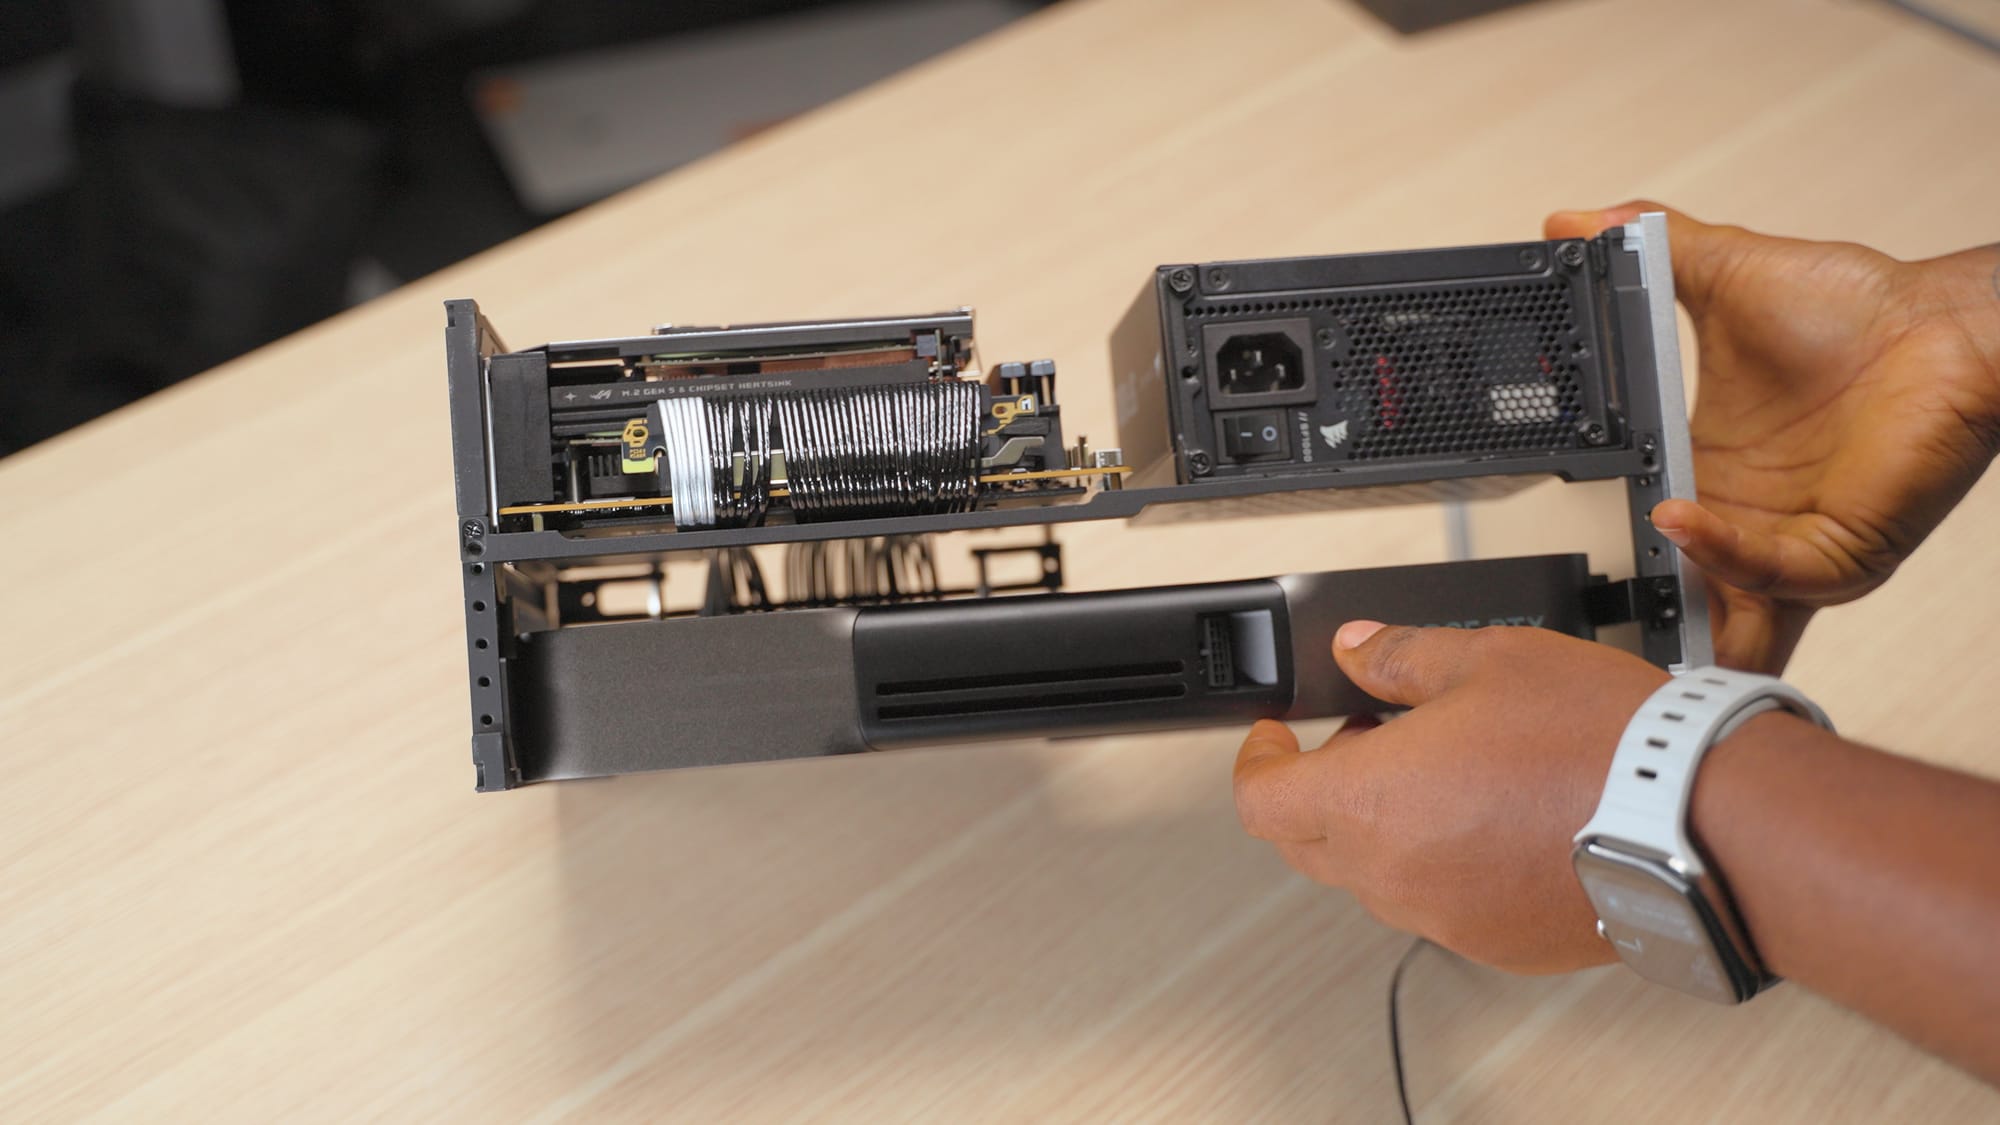
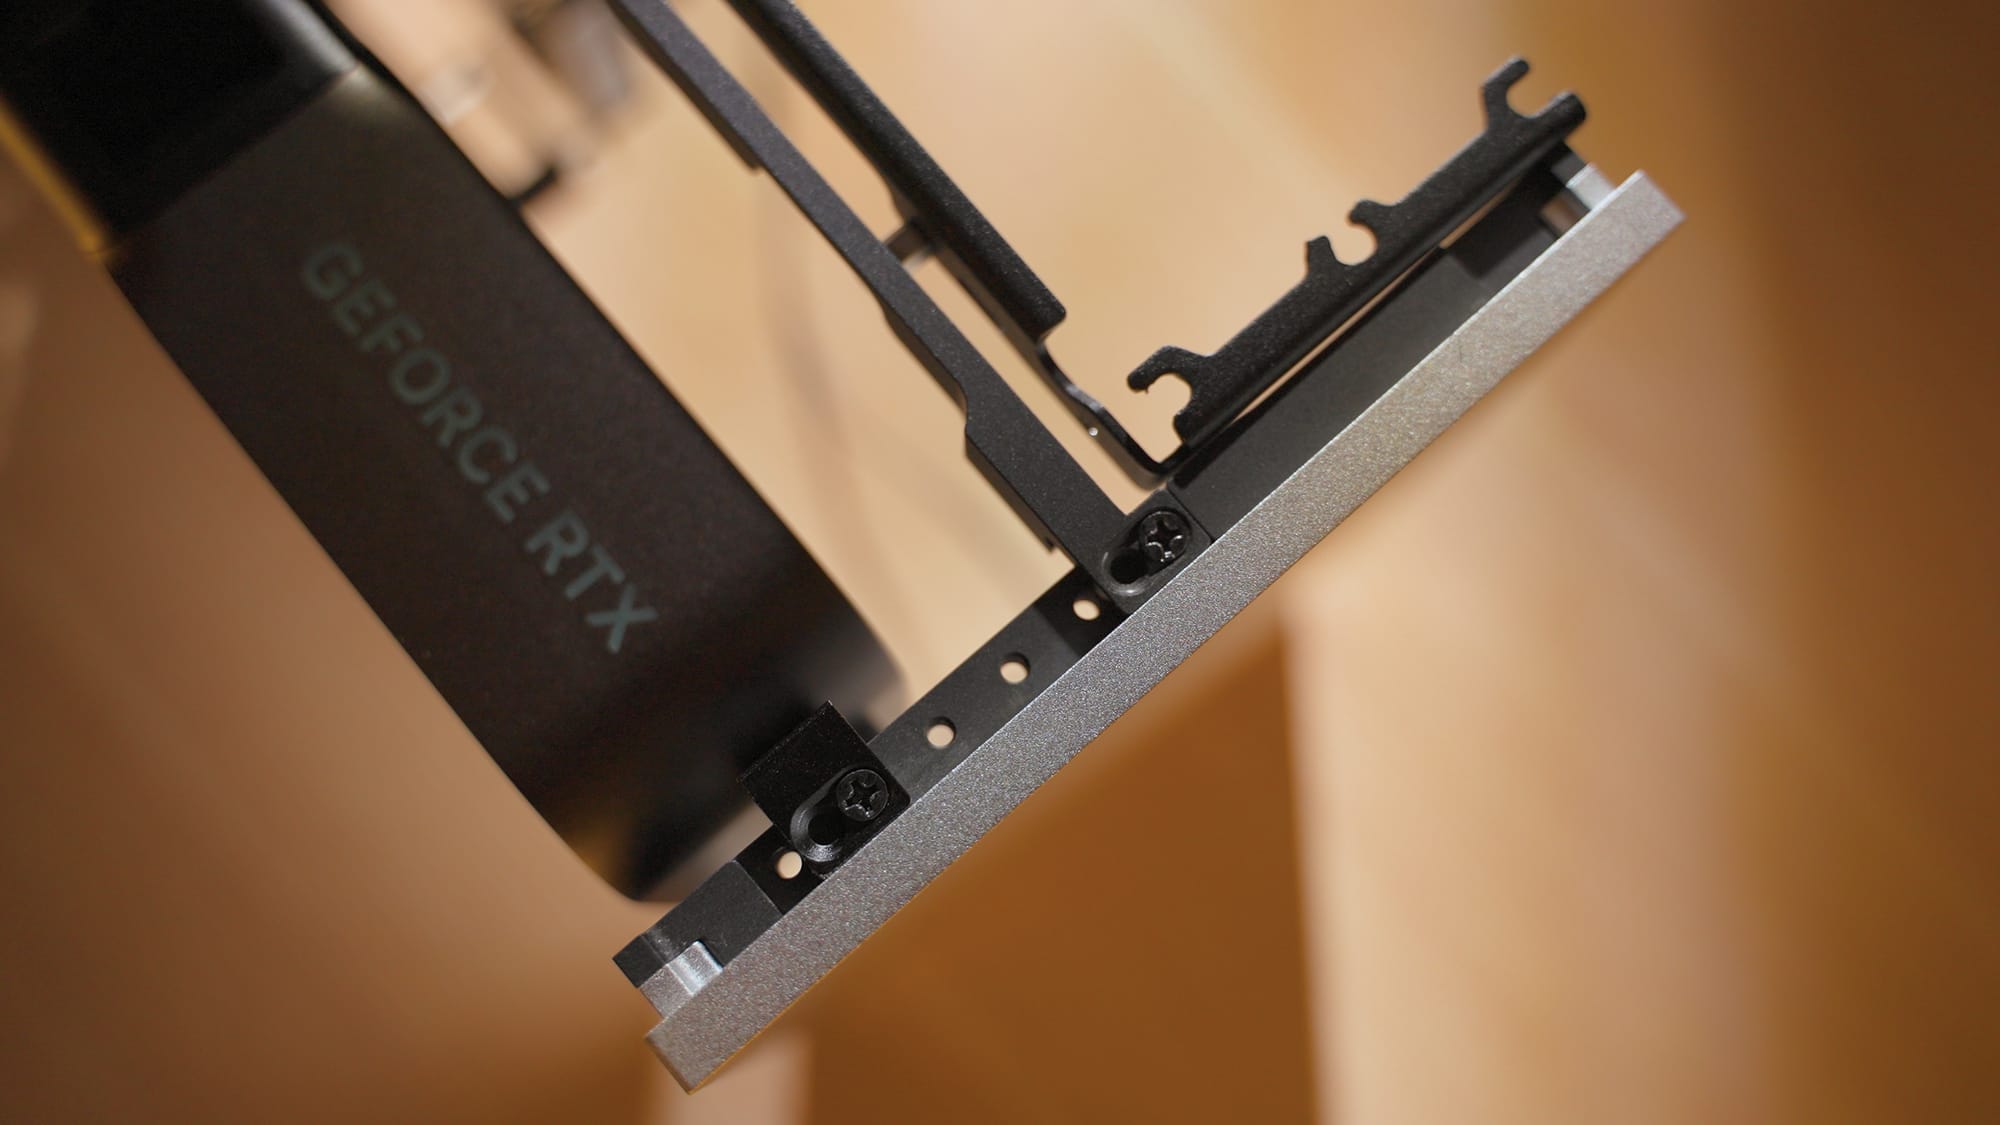
I also got the FormD T1 Travel Kit specifically for the 5090. It includes replacement IO brackets that match the case aesthetic, a riser lock bar to keep the riser cable connected properly, and an anti-sag bracket. The anti-sag bracket has small slots to store the original GPU screws, which is a nice detail. If you plan on traveling with this PC or moving it around at all, the travel kit is worth it.
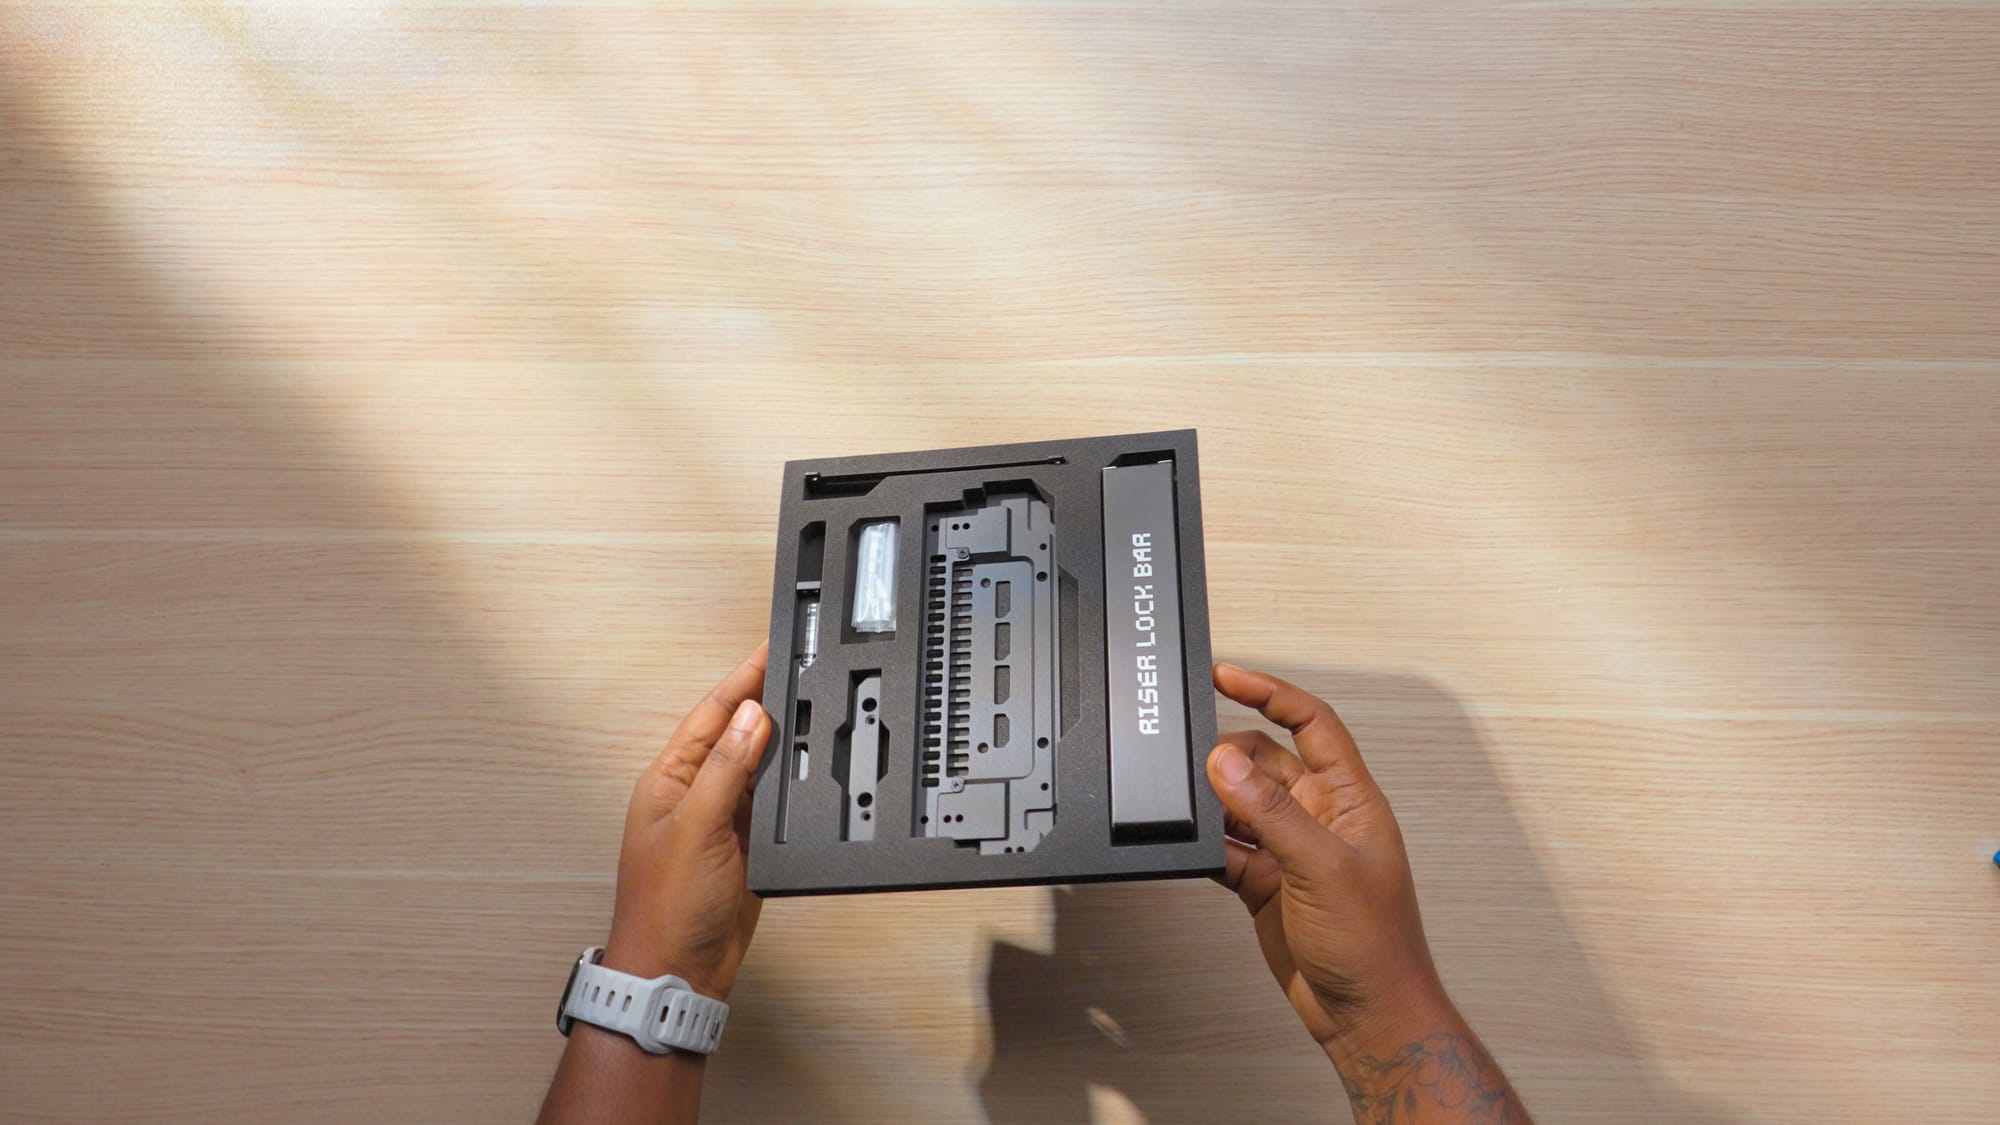
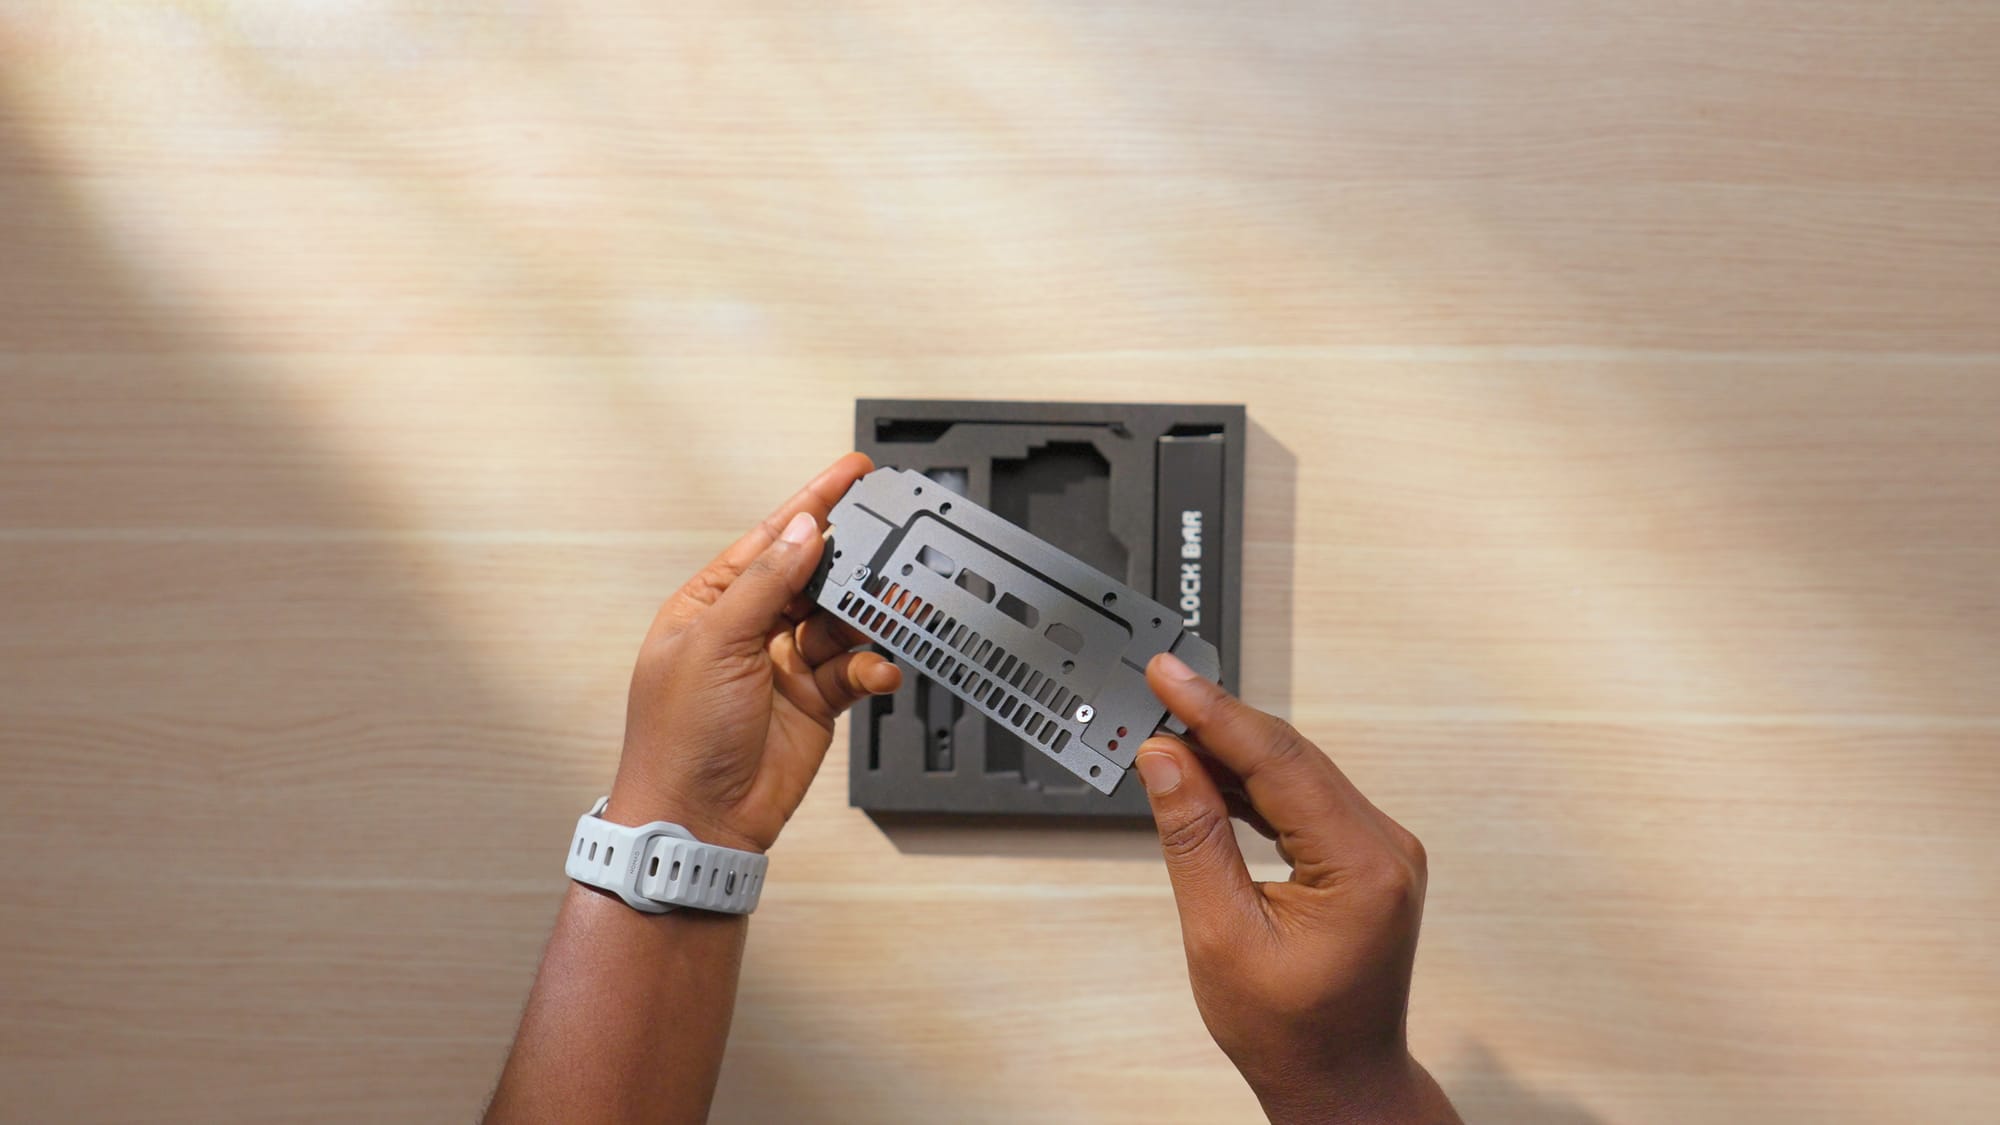
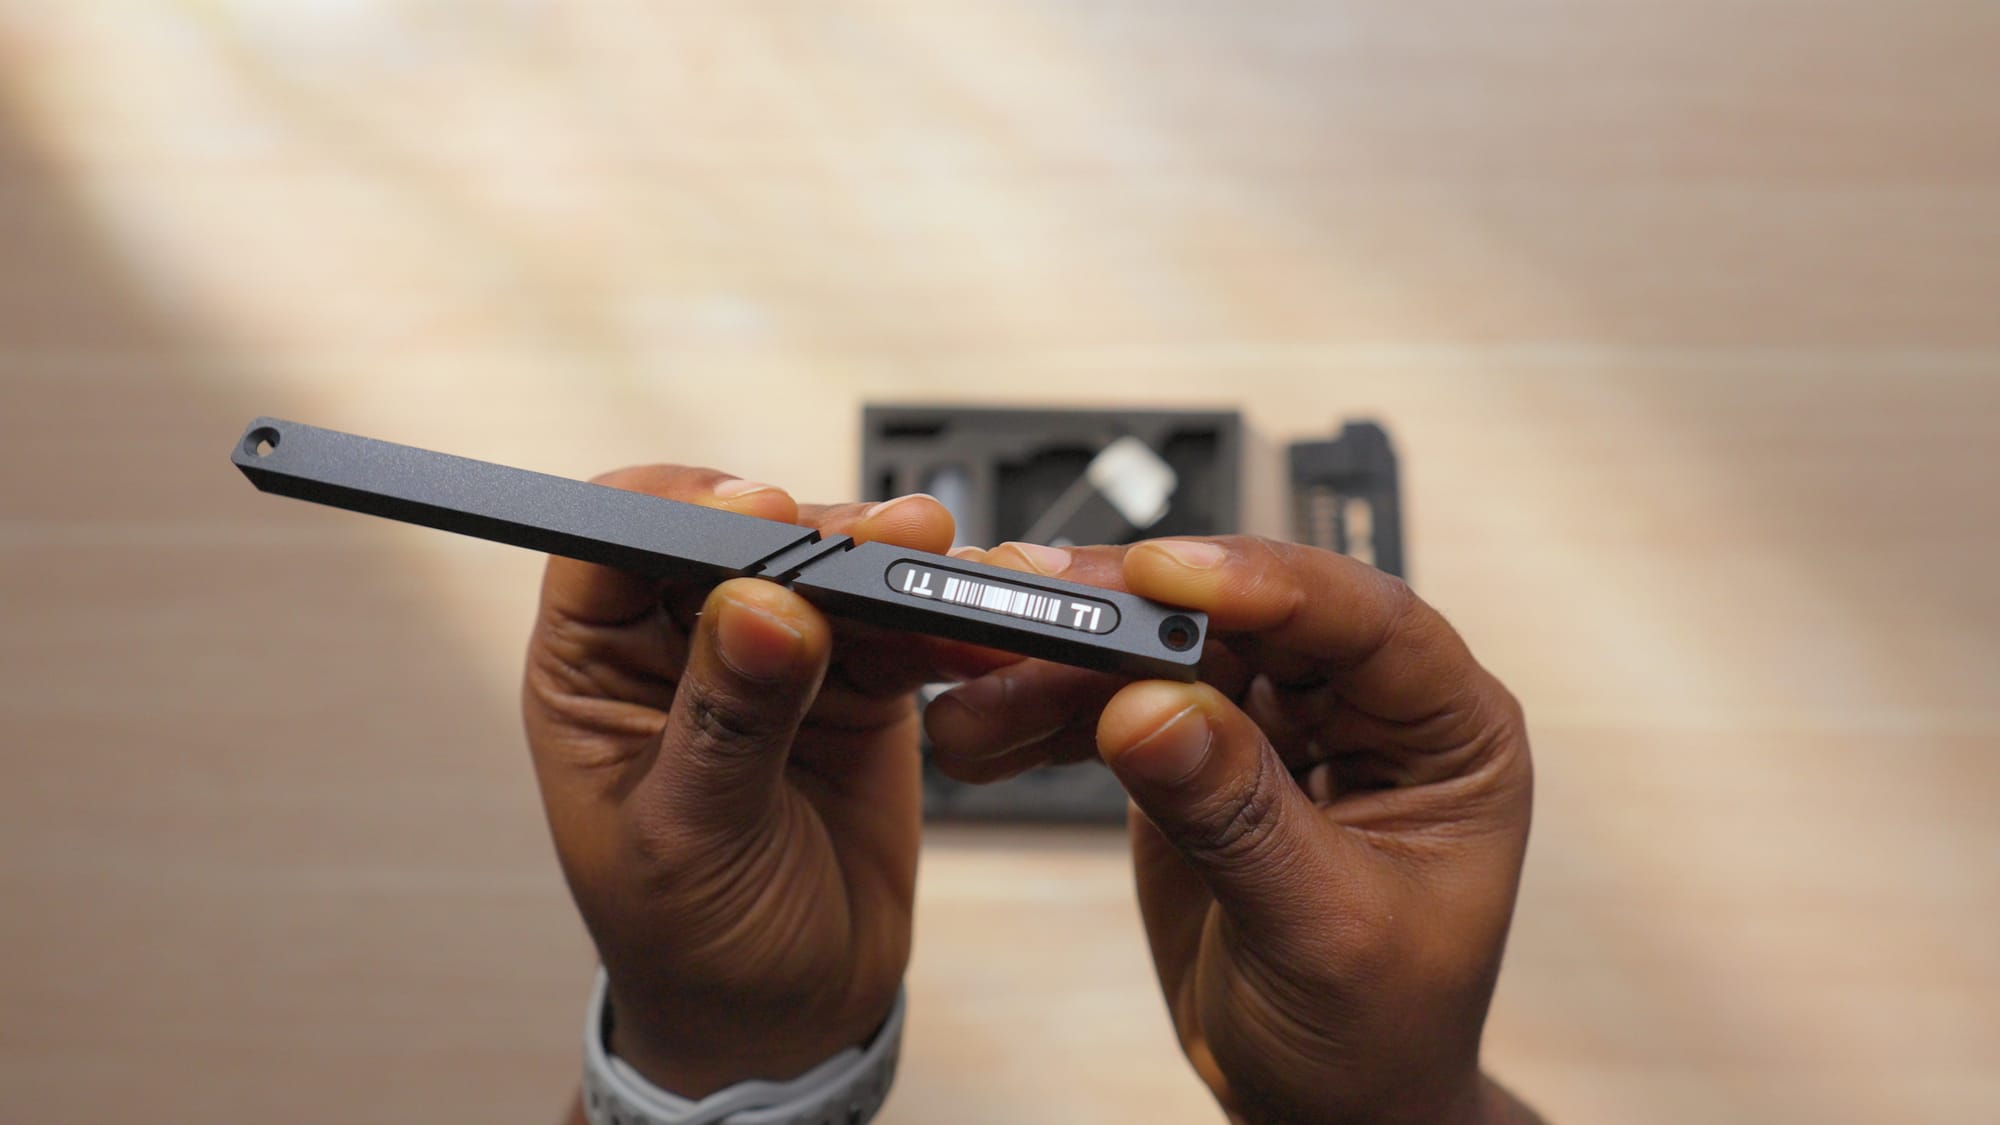

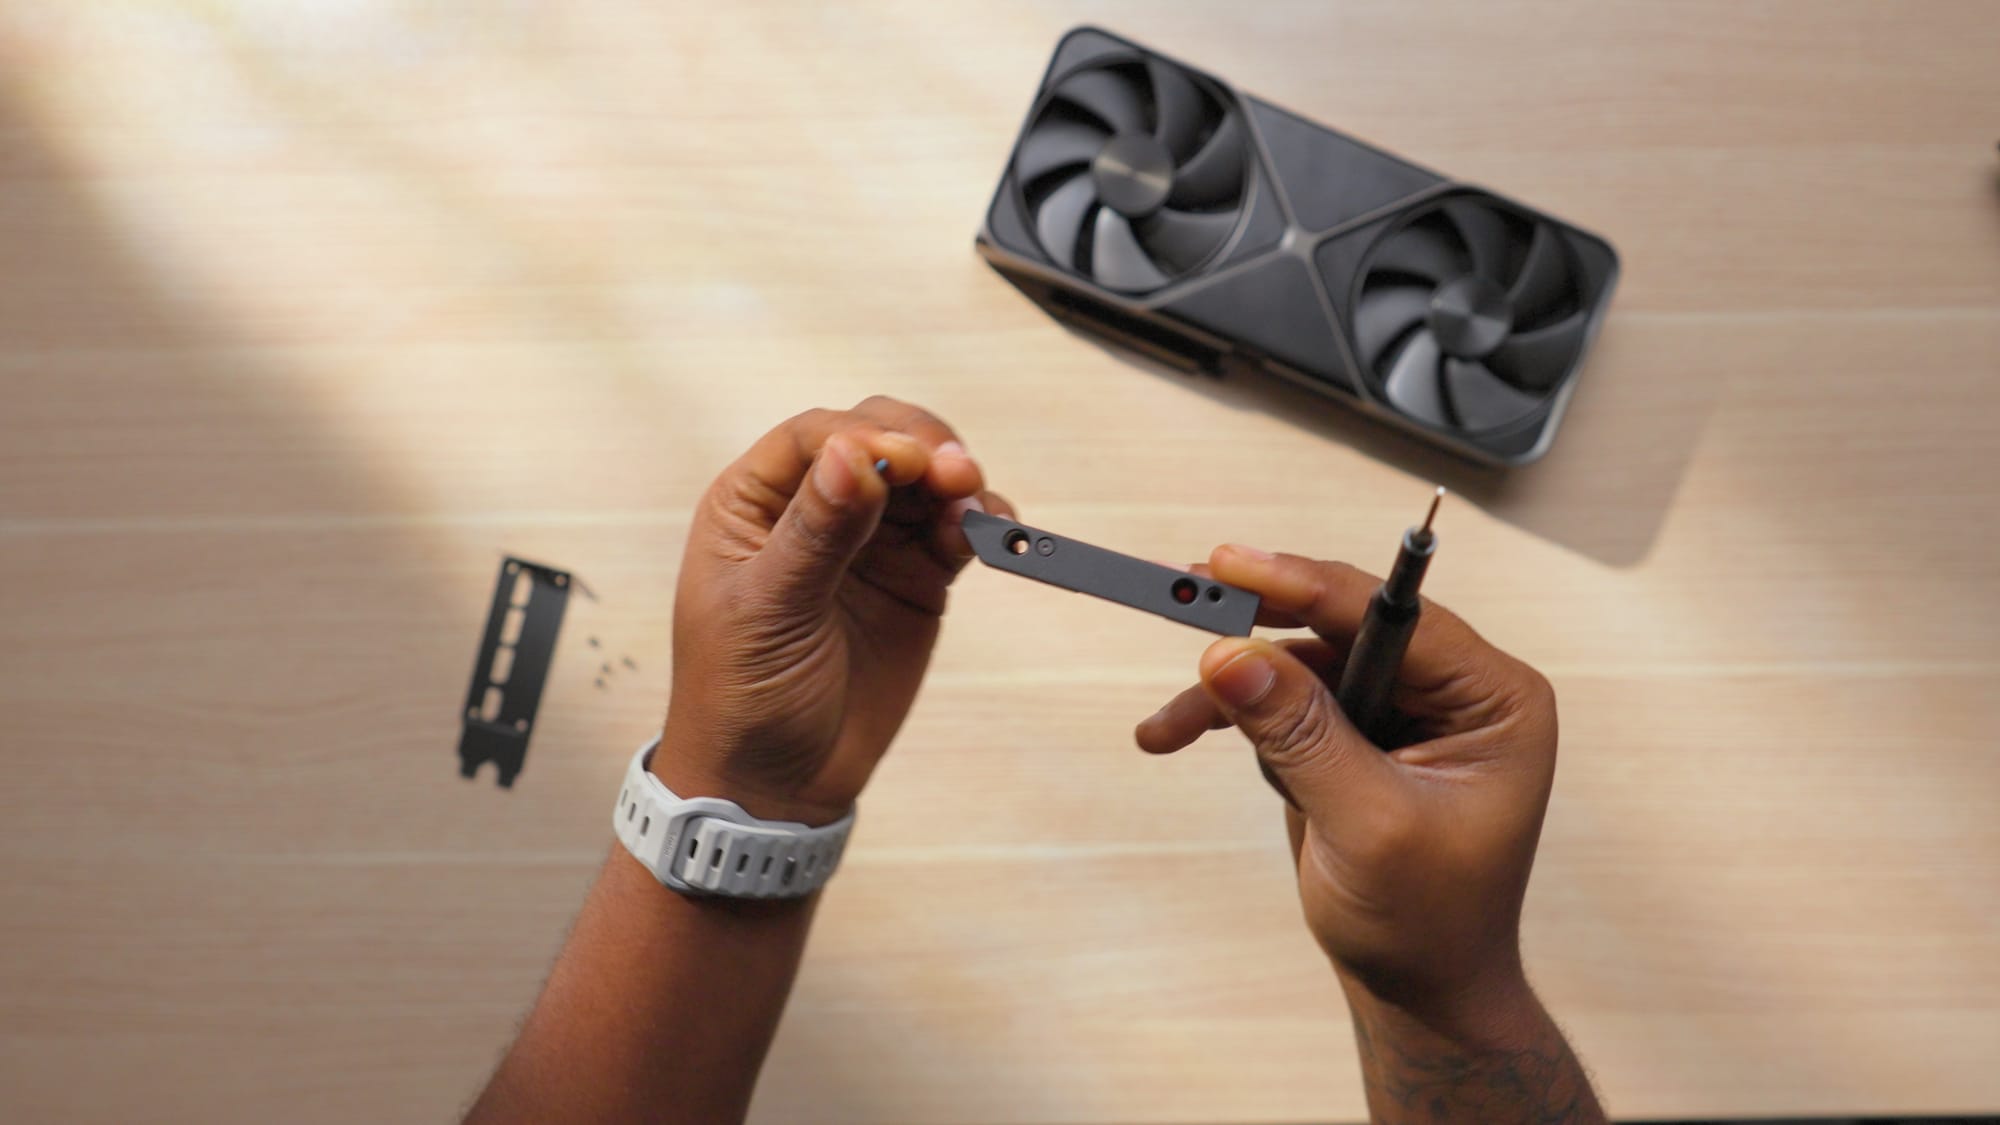
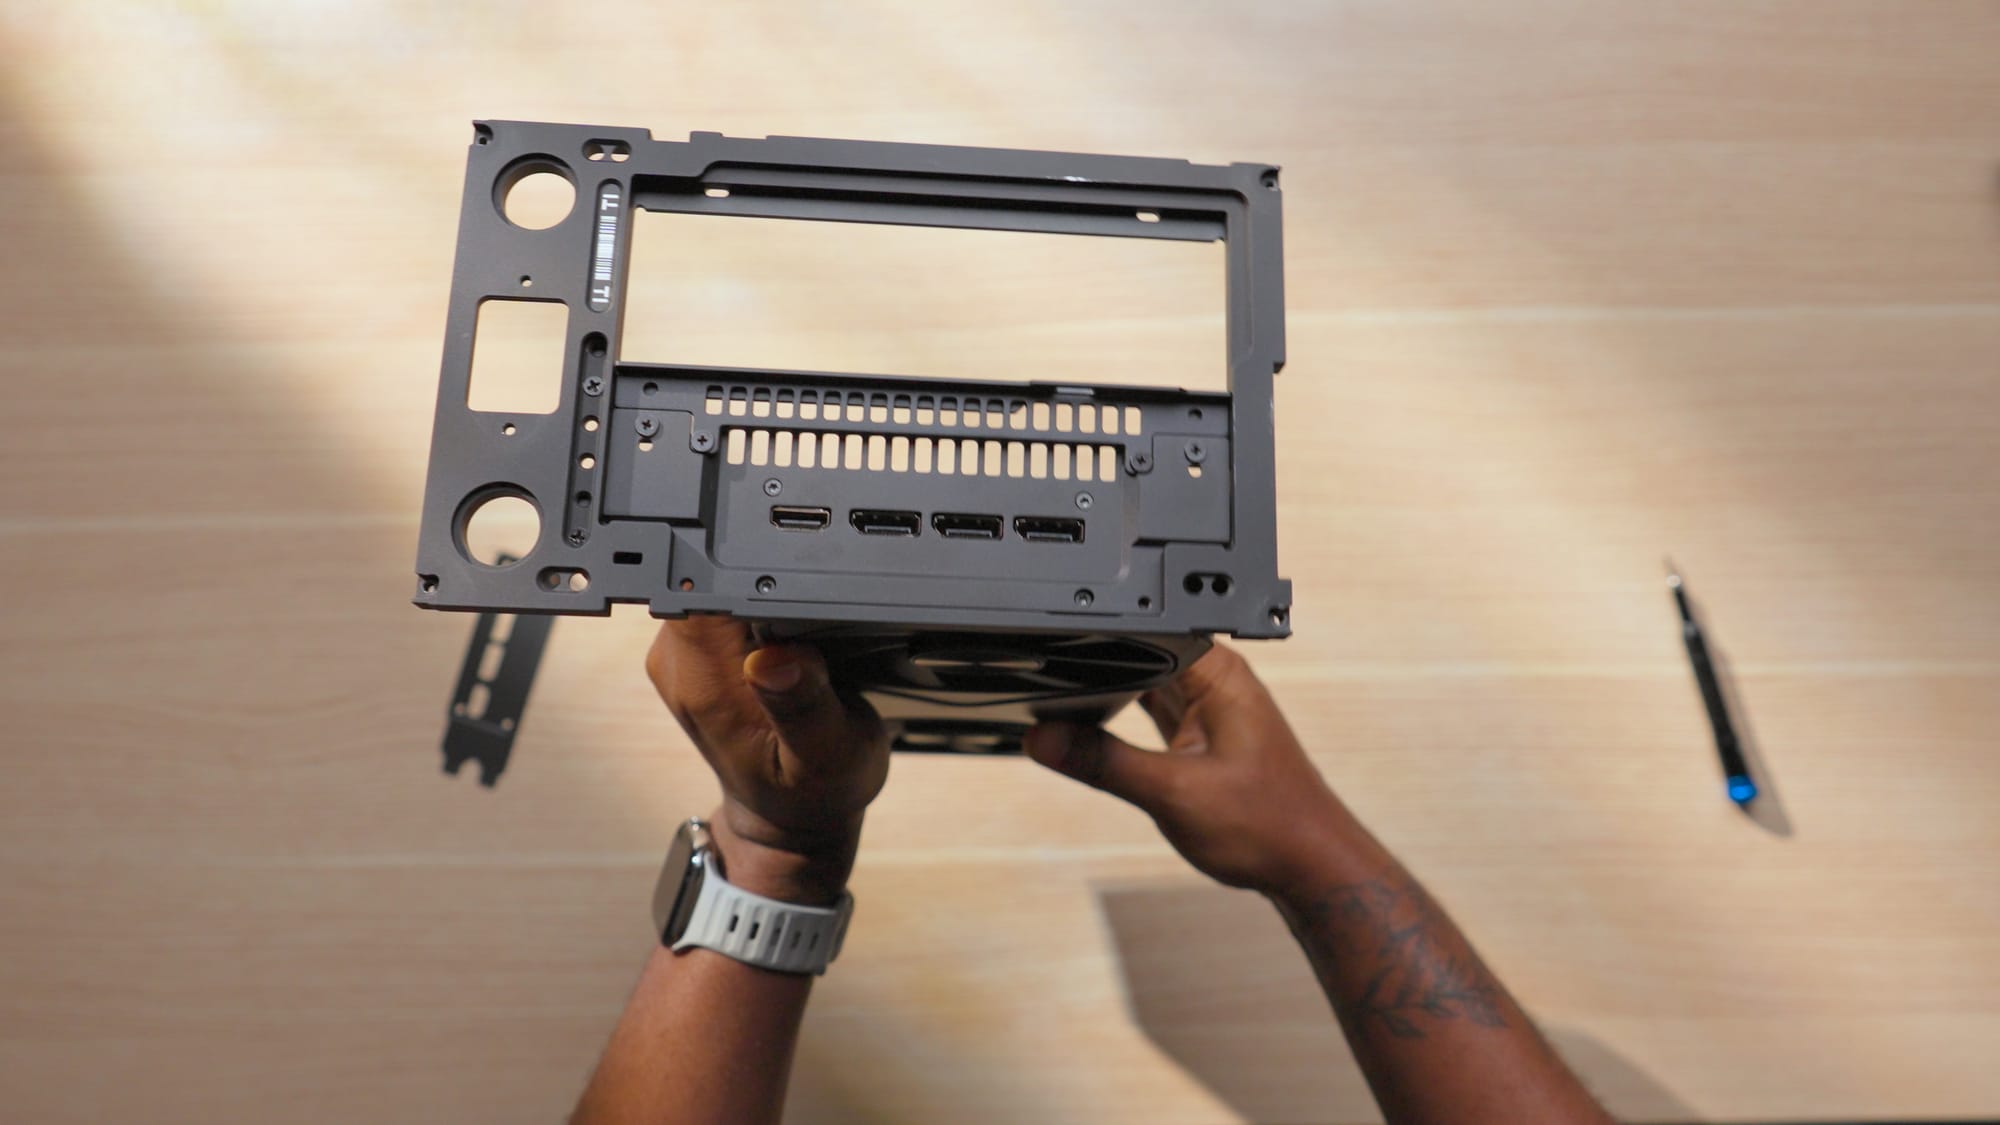
The Formd T1 Travel kit for the 5090 founders edition card
GPU Links
CPU: AMD Ryzen 7 9800X3D
The AMD Ryzen 9800X3D is the best gaming CPU on the market right now. It also handles my creative workloads really well. I frequently run Premiere Pro, Audition, and Fusion 360 at the same time, and the 9800X3D keeps up.
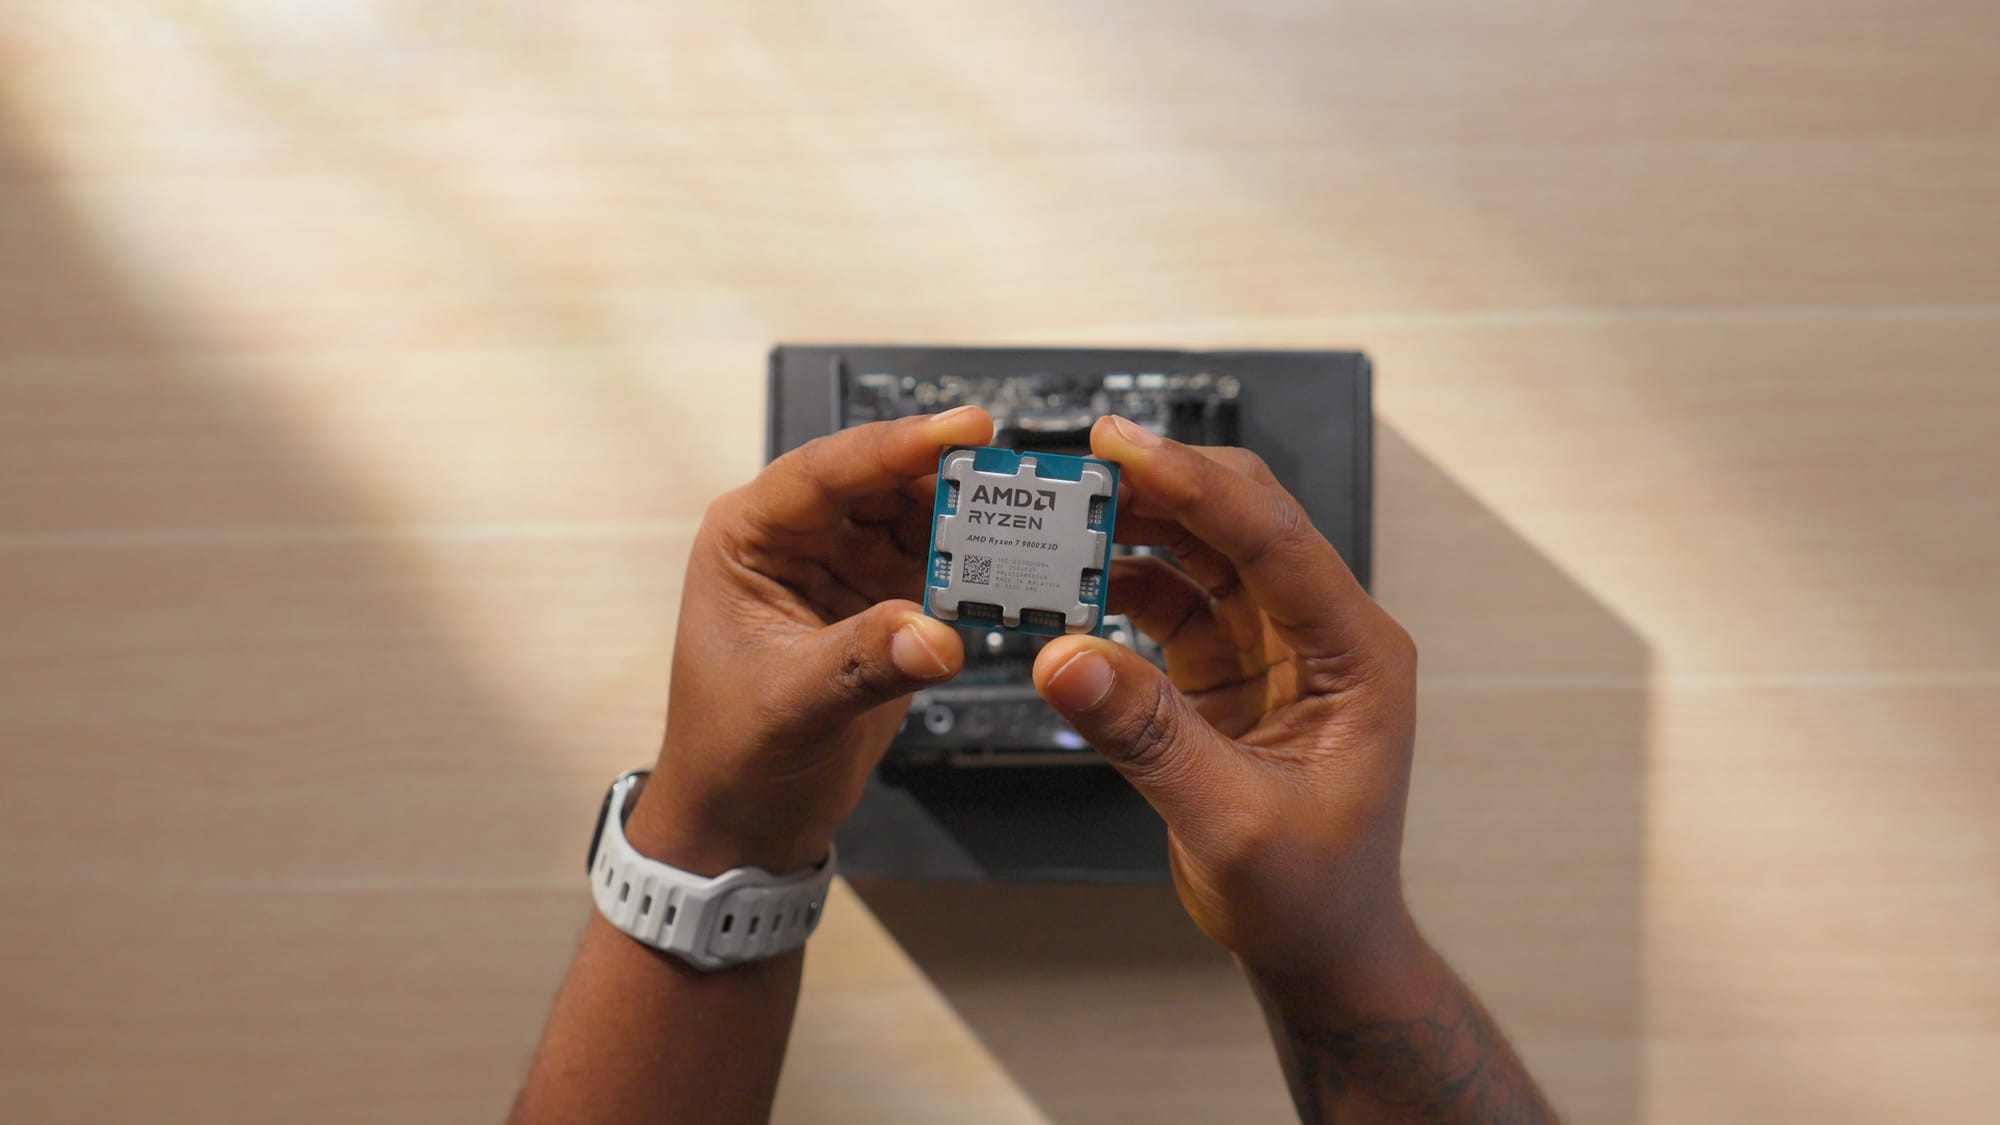
I swapped the stock AM5 mounting hardware for a Thermalright AM5 contact frame. This helps distribute pressure more evenly and prevents overtightening the cooler onto the CPU and socket pins. I do this on all my personal AM5 builds now.
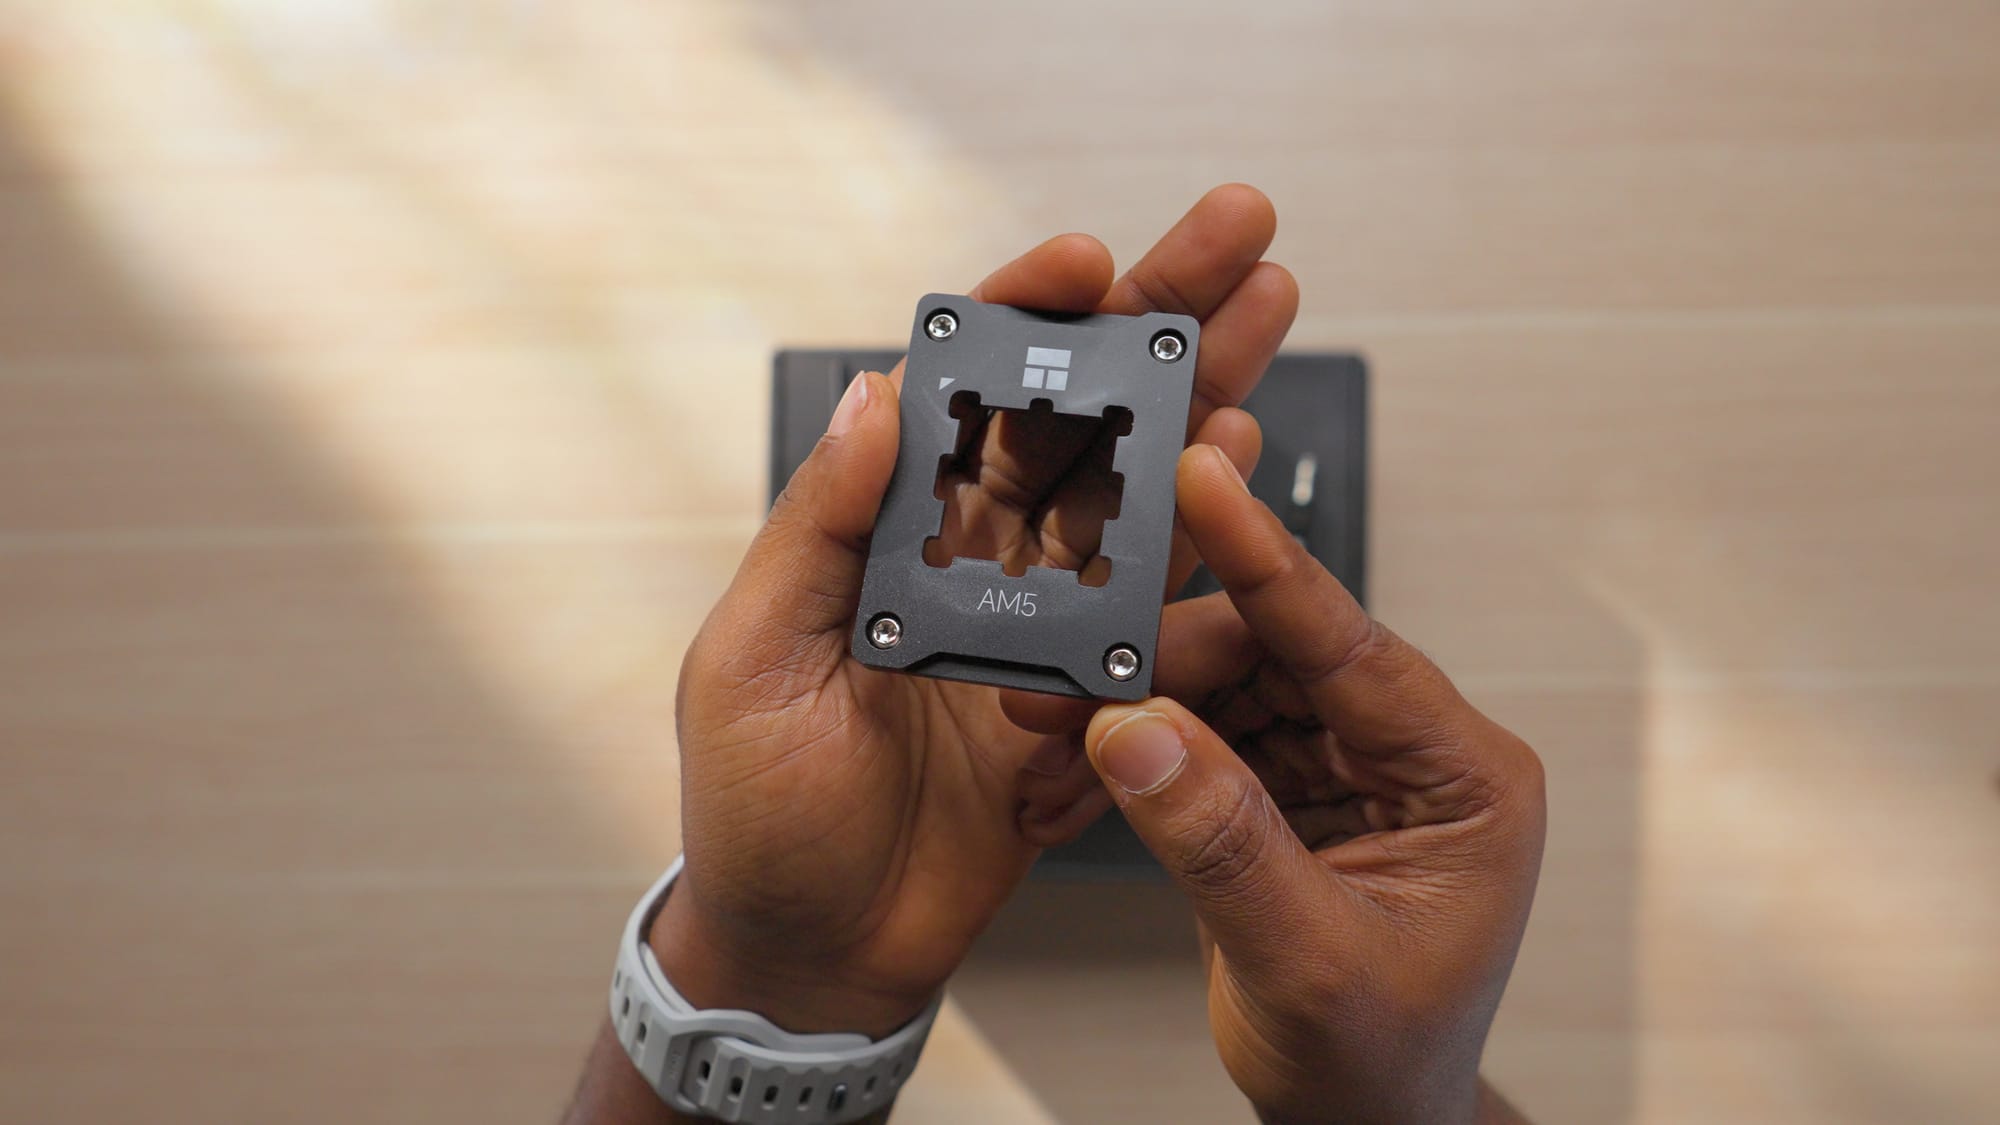
Installing the Thermalright AM5 contact frame
CPU Links
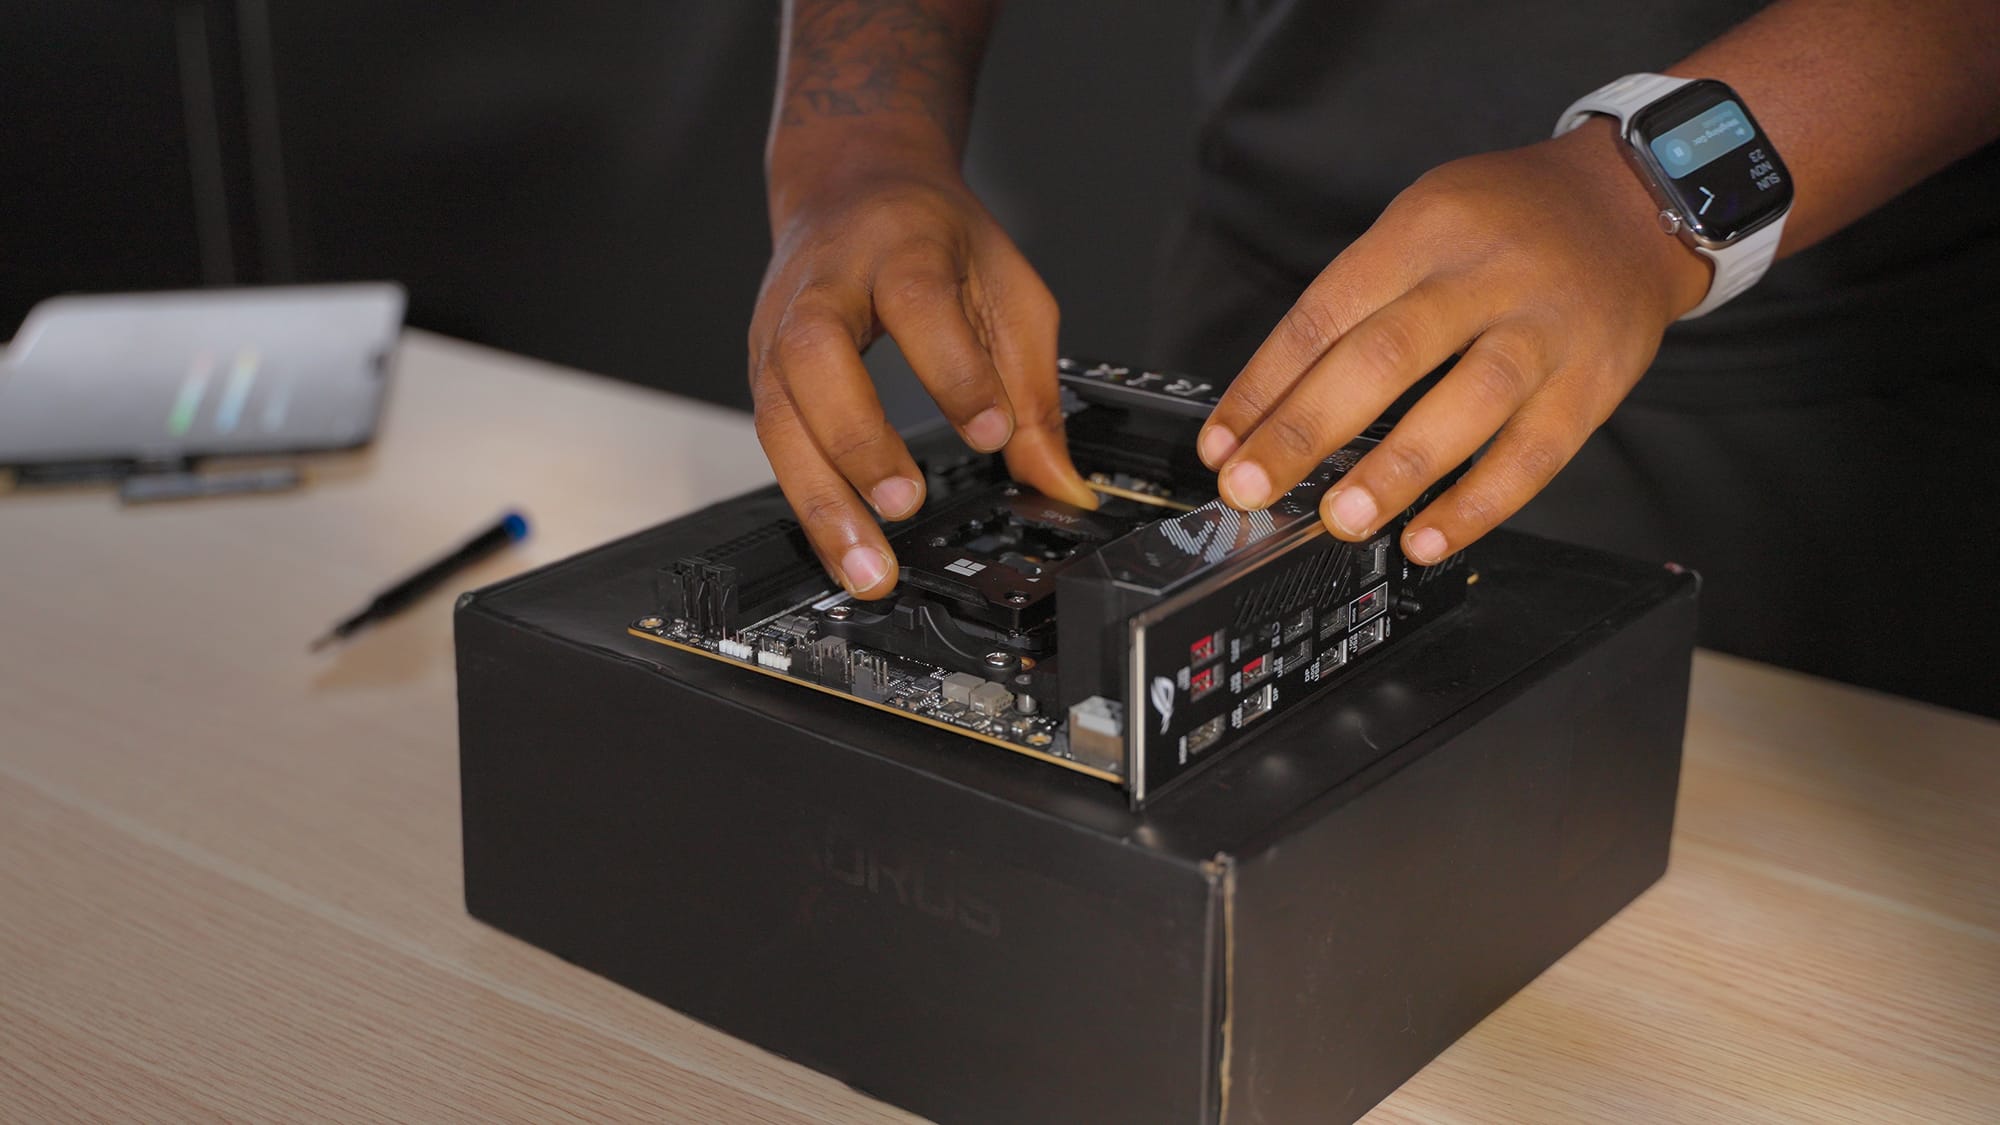
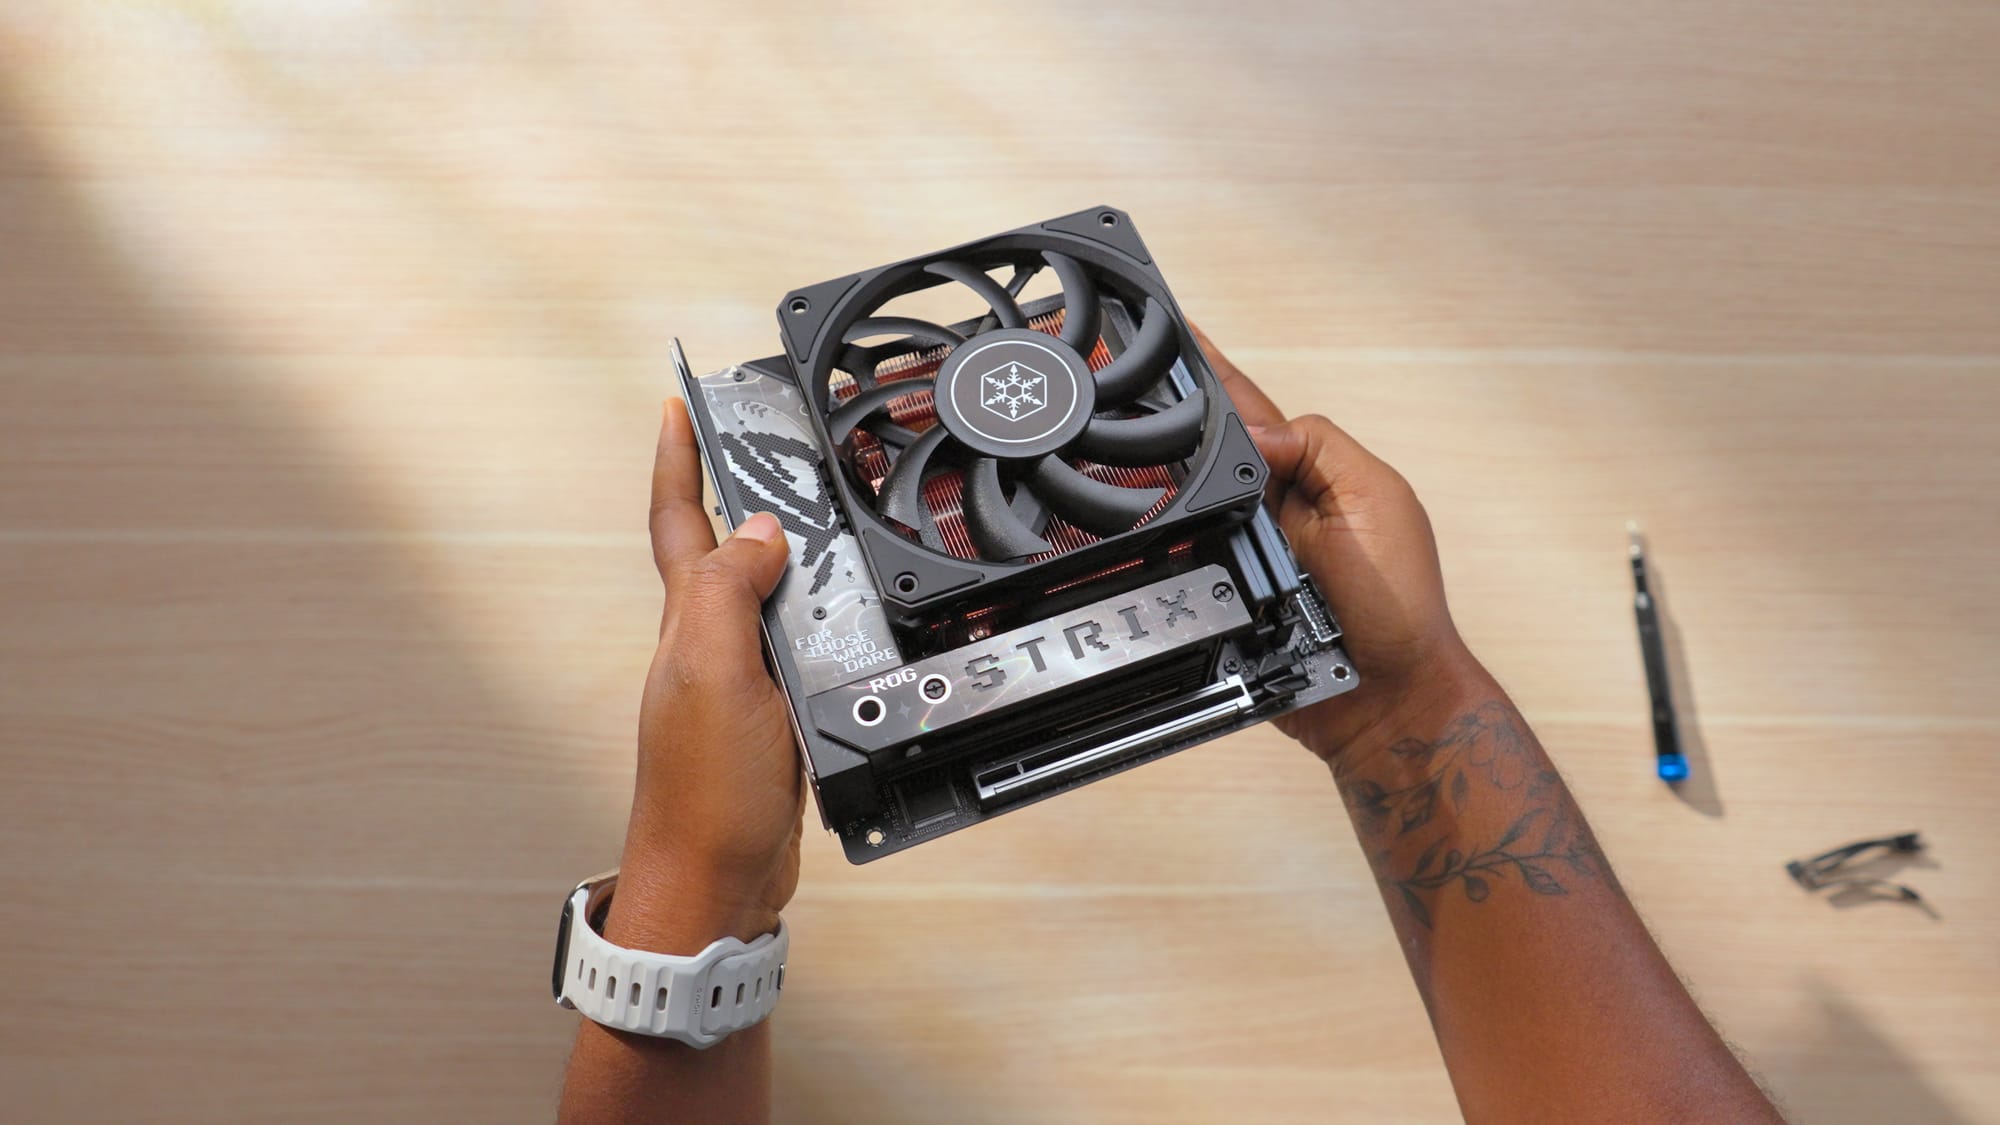
Motherboard: ASUS ROG Strix X870i
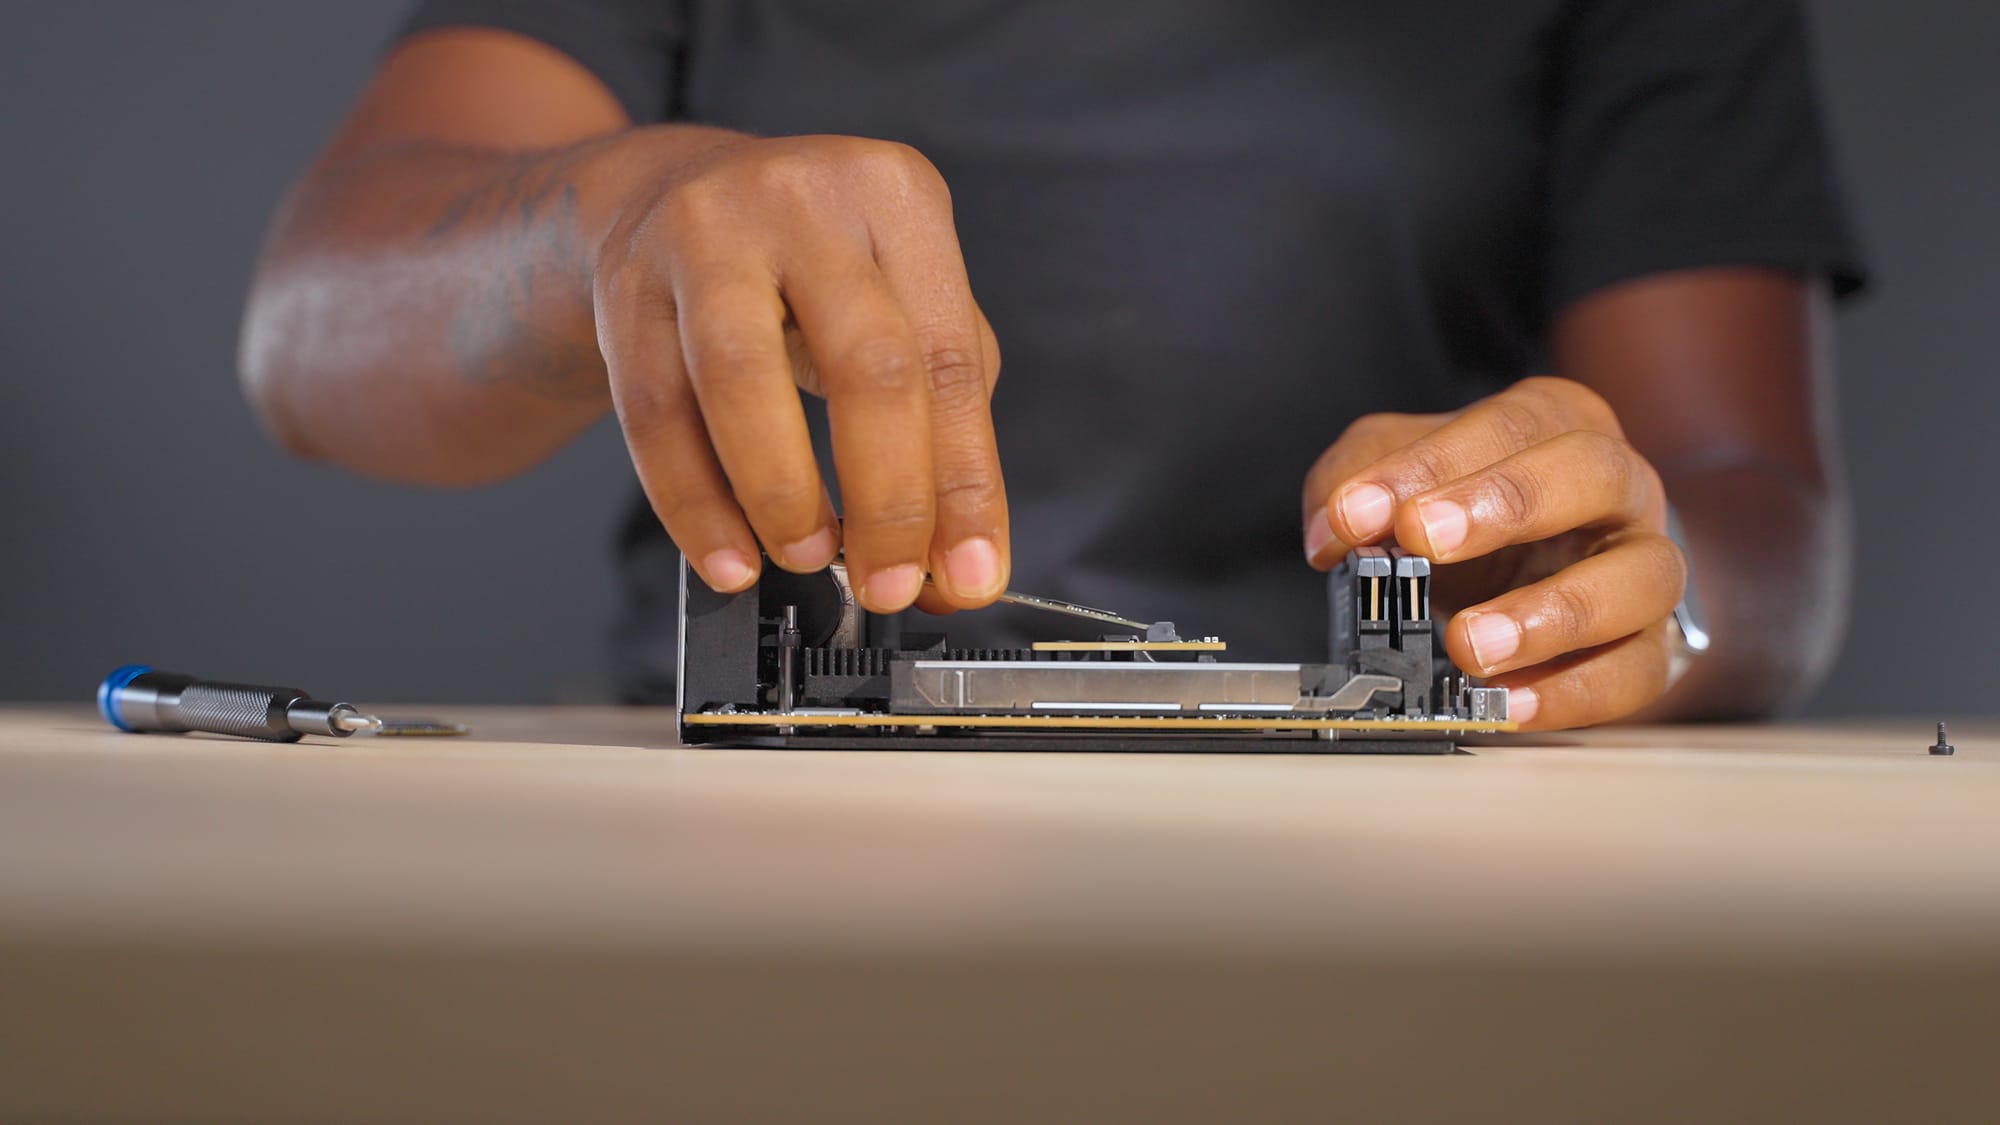
For a Mini-ITX motherboard, the X870i has a lot going on. The main reason I chose it: two M.2 slots stacked on top of each other. That lets me run 6TB of NVMe storage directly on the motherboard without adapters or extra cables.

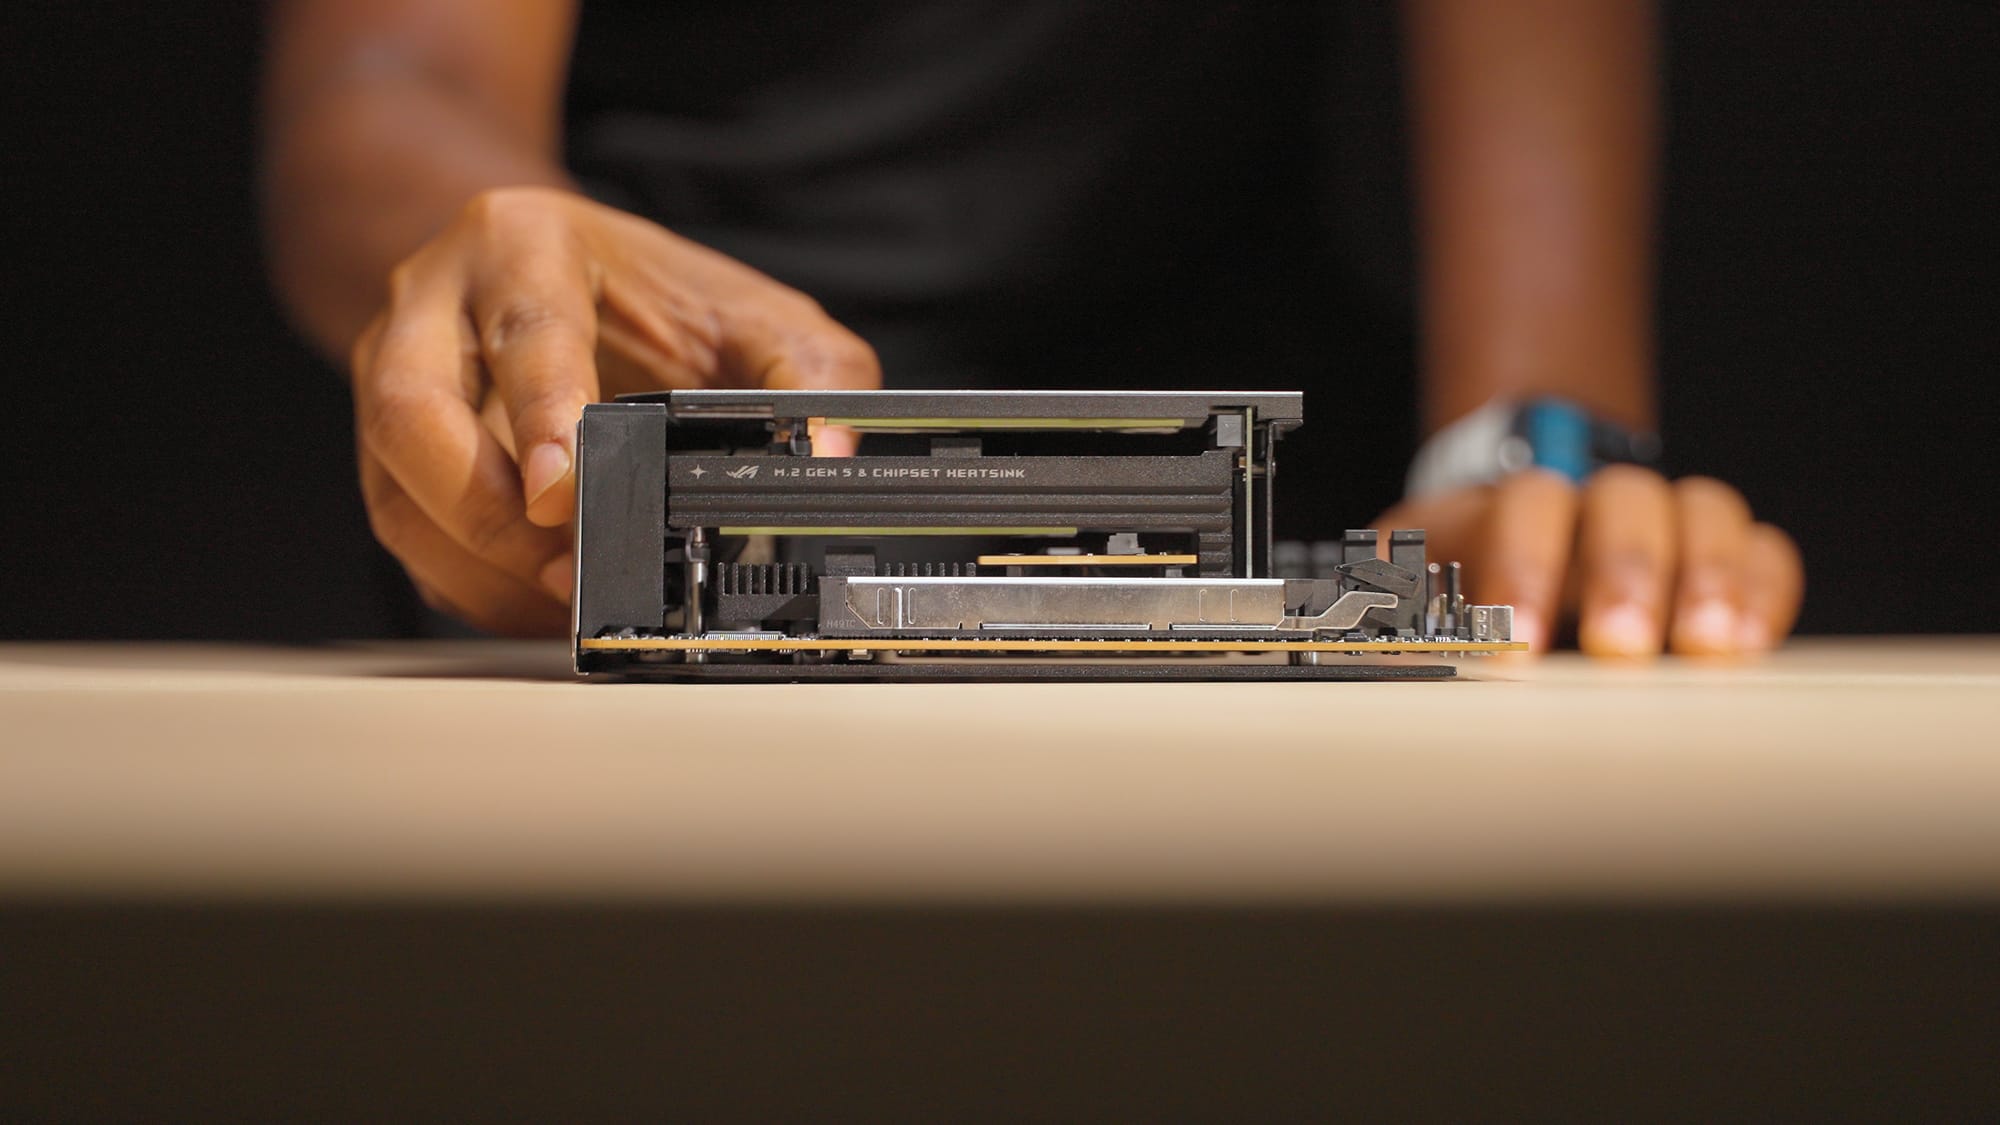
Preparing the ASUS ROG Strix X870i motherboard and showcasing its stacked M.2 Slots on the right.
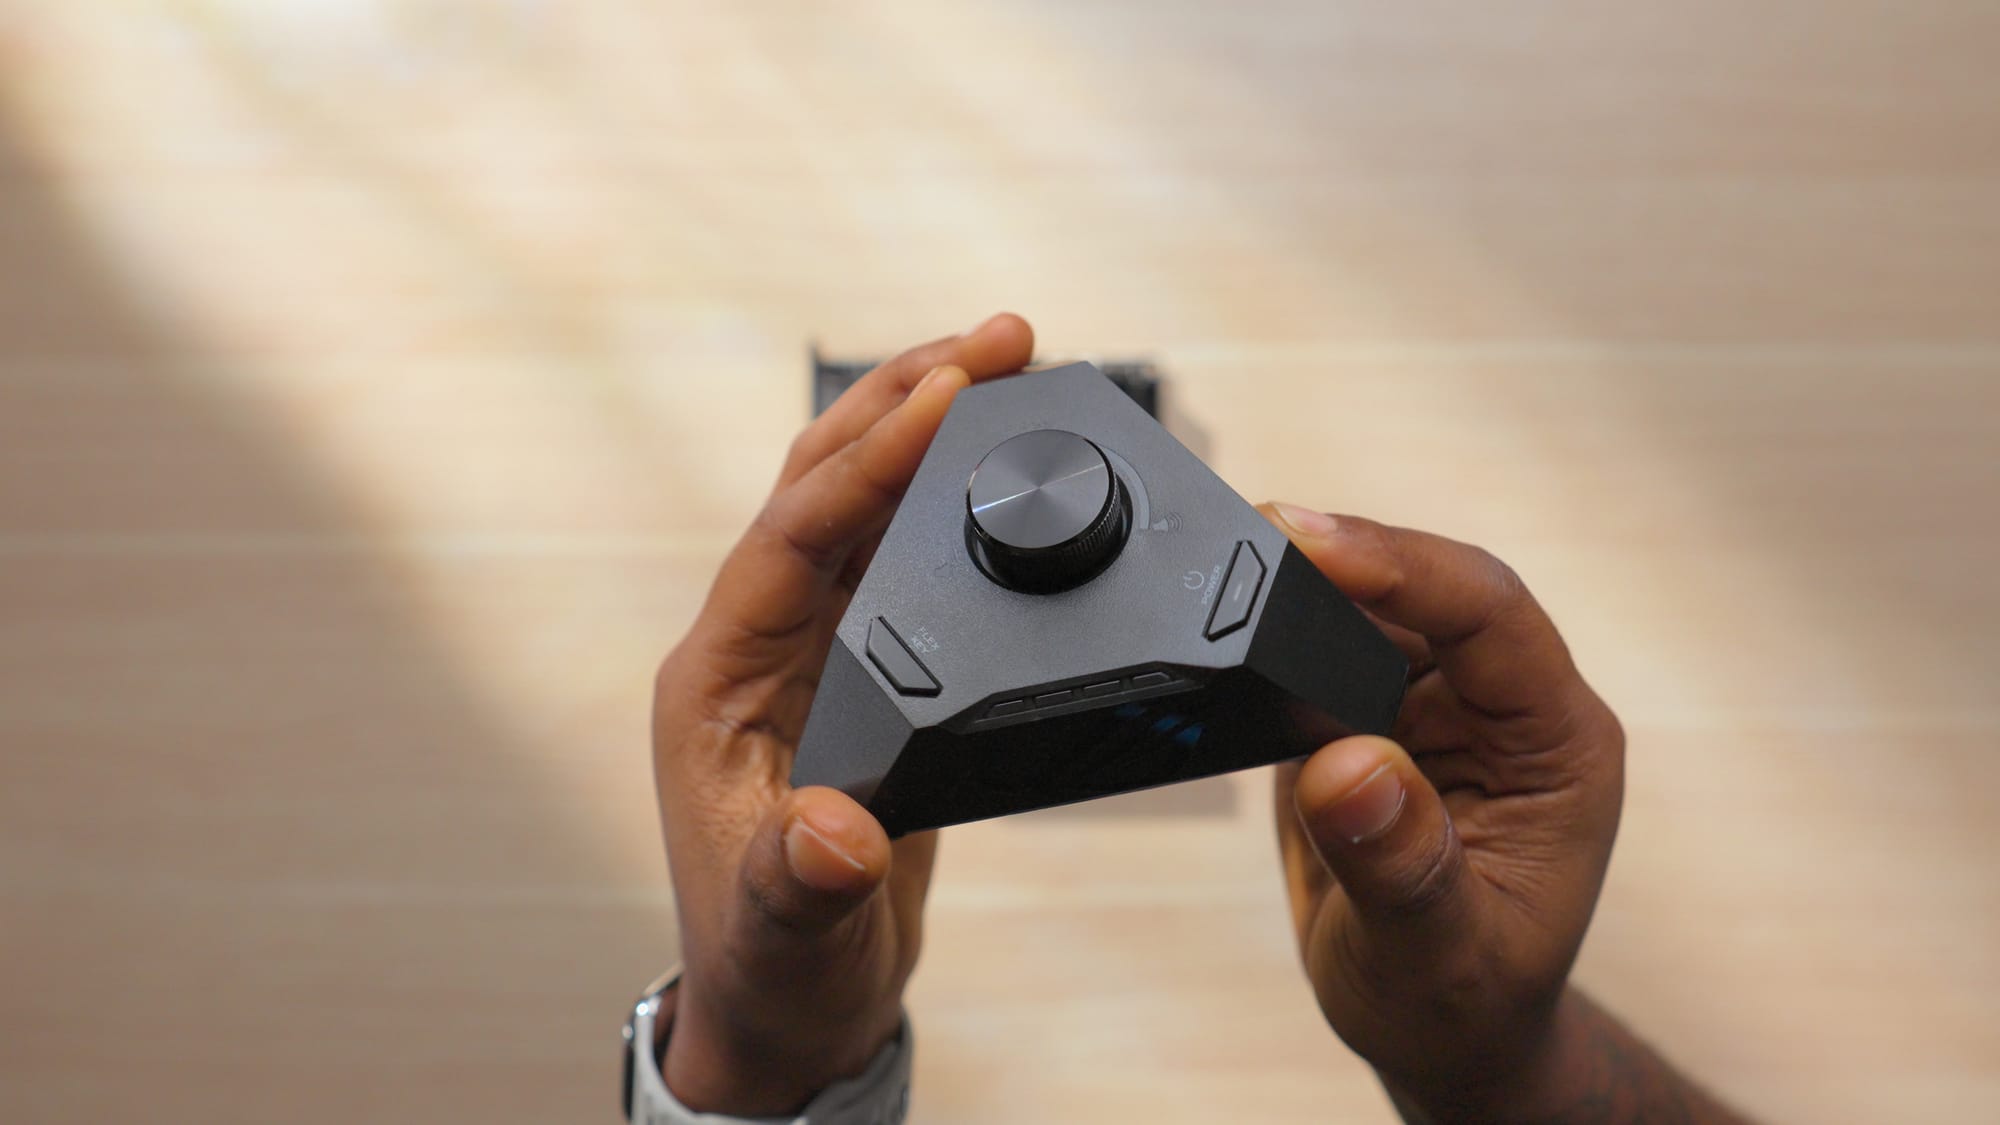
It also comes bundled with the ASUS ROG Hive 2, a small USB audio interface. I initially thought it was a gimmick, but I've been using it regularly for testing monitors and peripherals. It's convenient to have quick audio output without setting up a full interface. That alone saves around $120 compared to buying a separate unit.
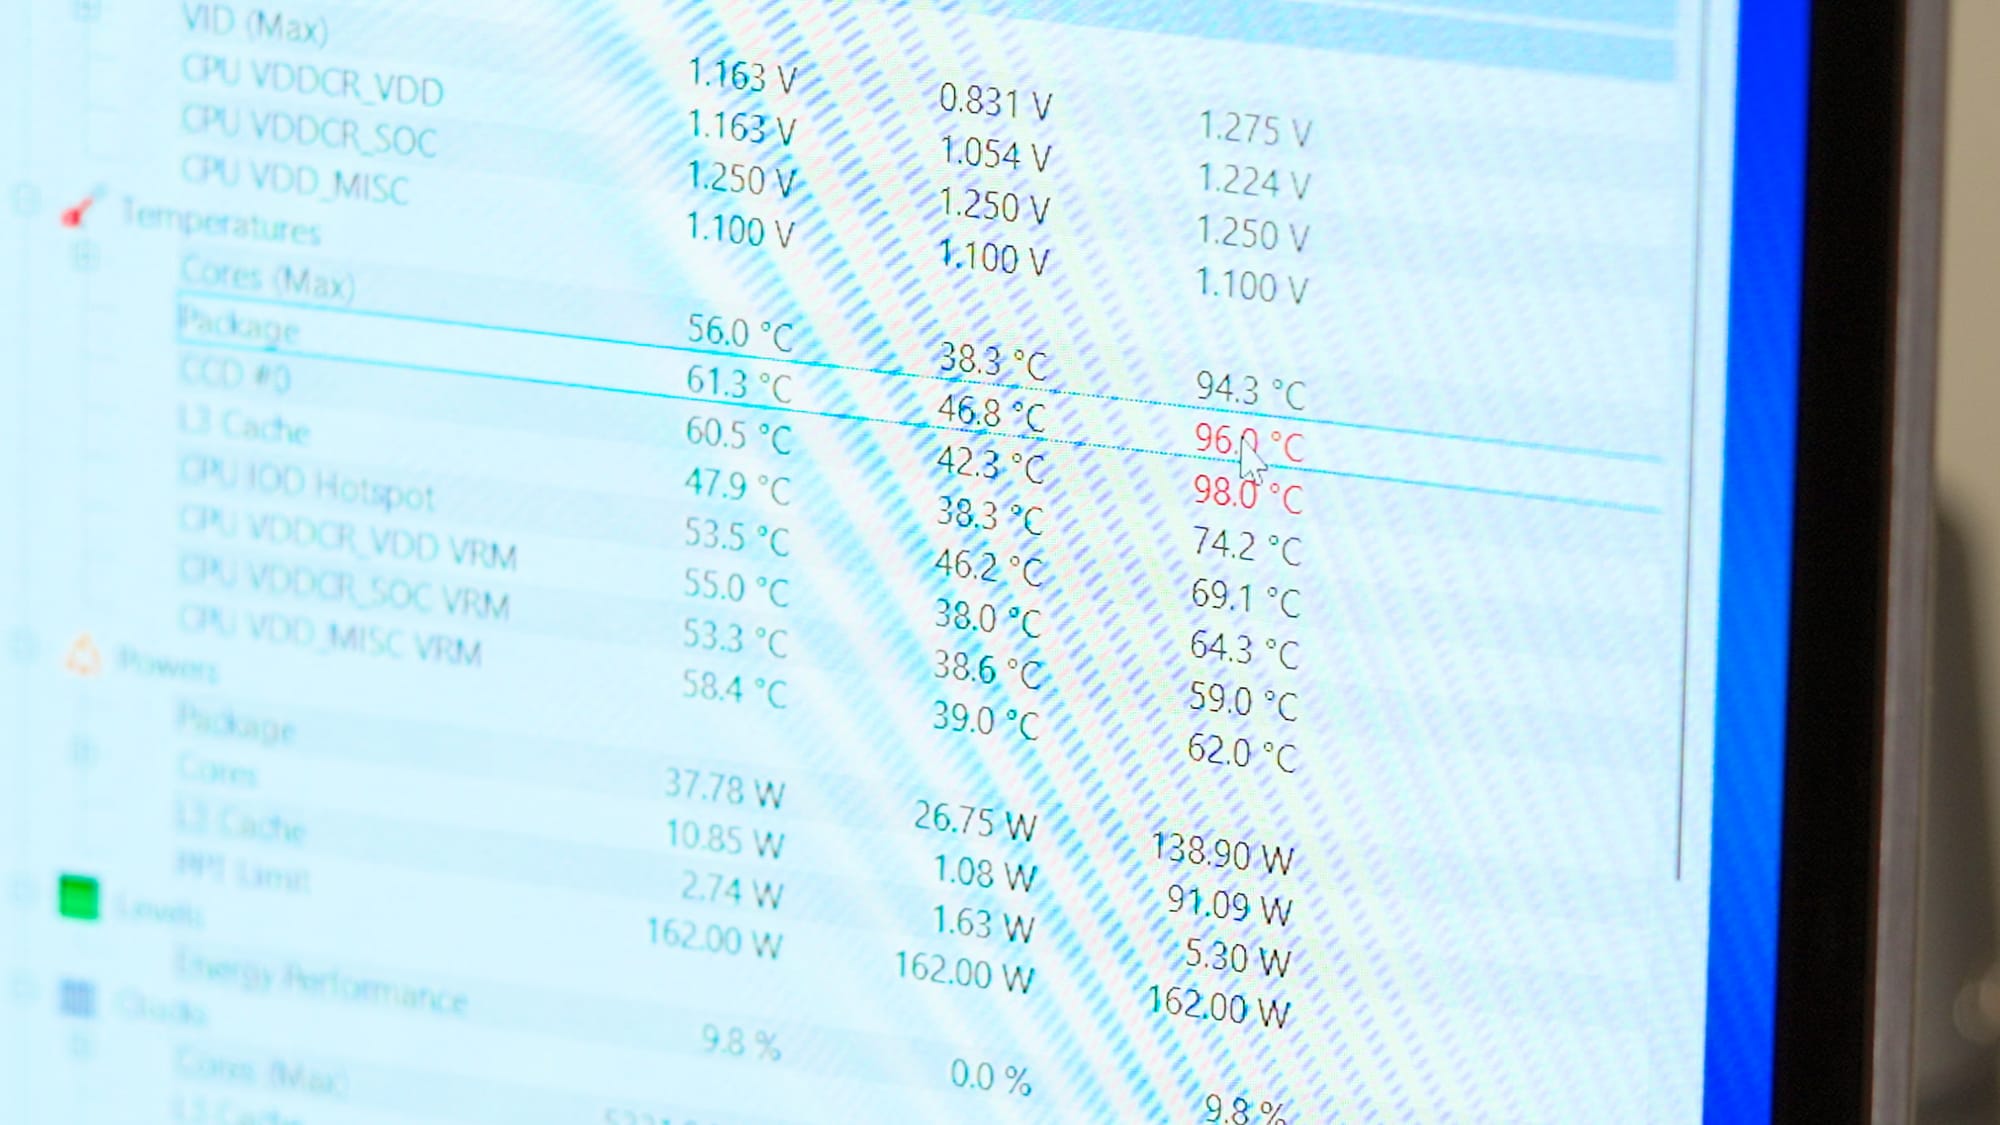
One note: the X870i pushes more voltage to the 9800X3D than my previous Asus B650 motherboard did and I'm not sure why this happens. This directly affects the CPU temperature, and i noticed this after testing the sample CPU and GPU configurations on both motherboards. I'll go into more details about this in the thermal section of the article.
Motherboard Links
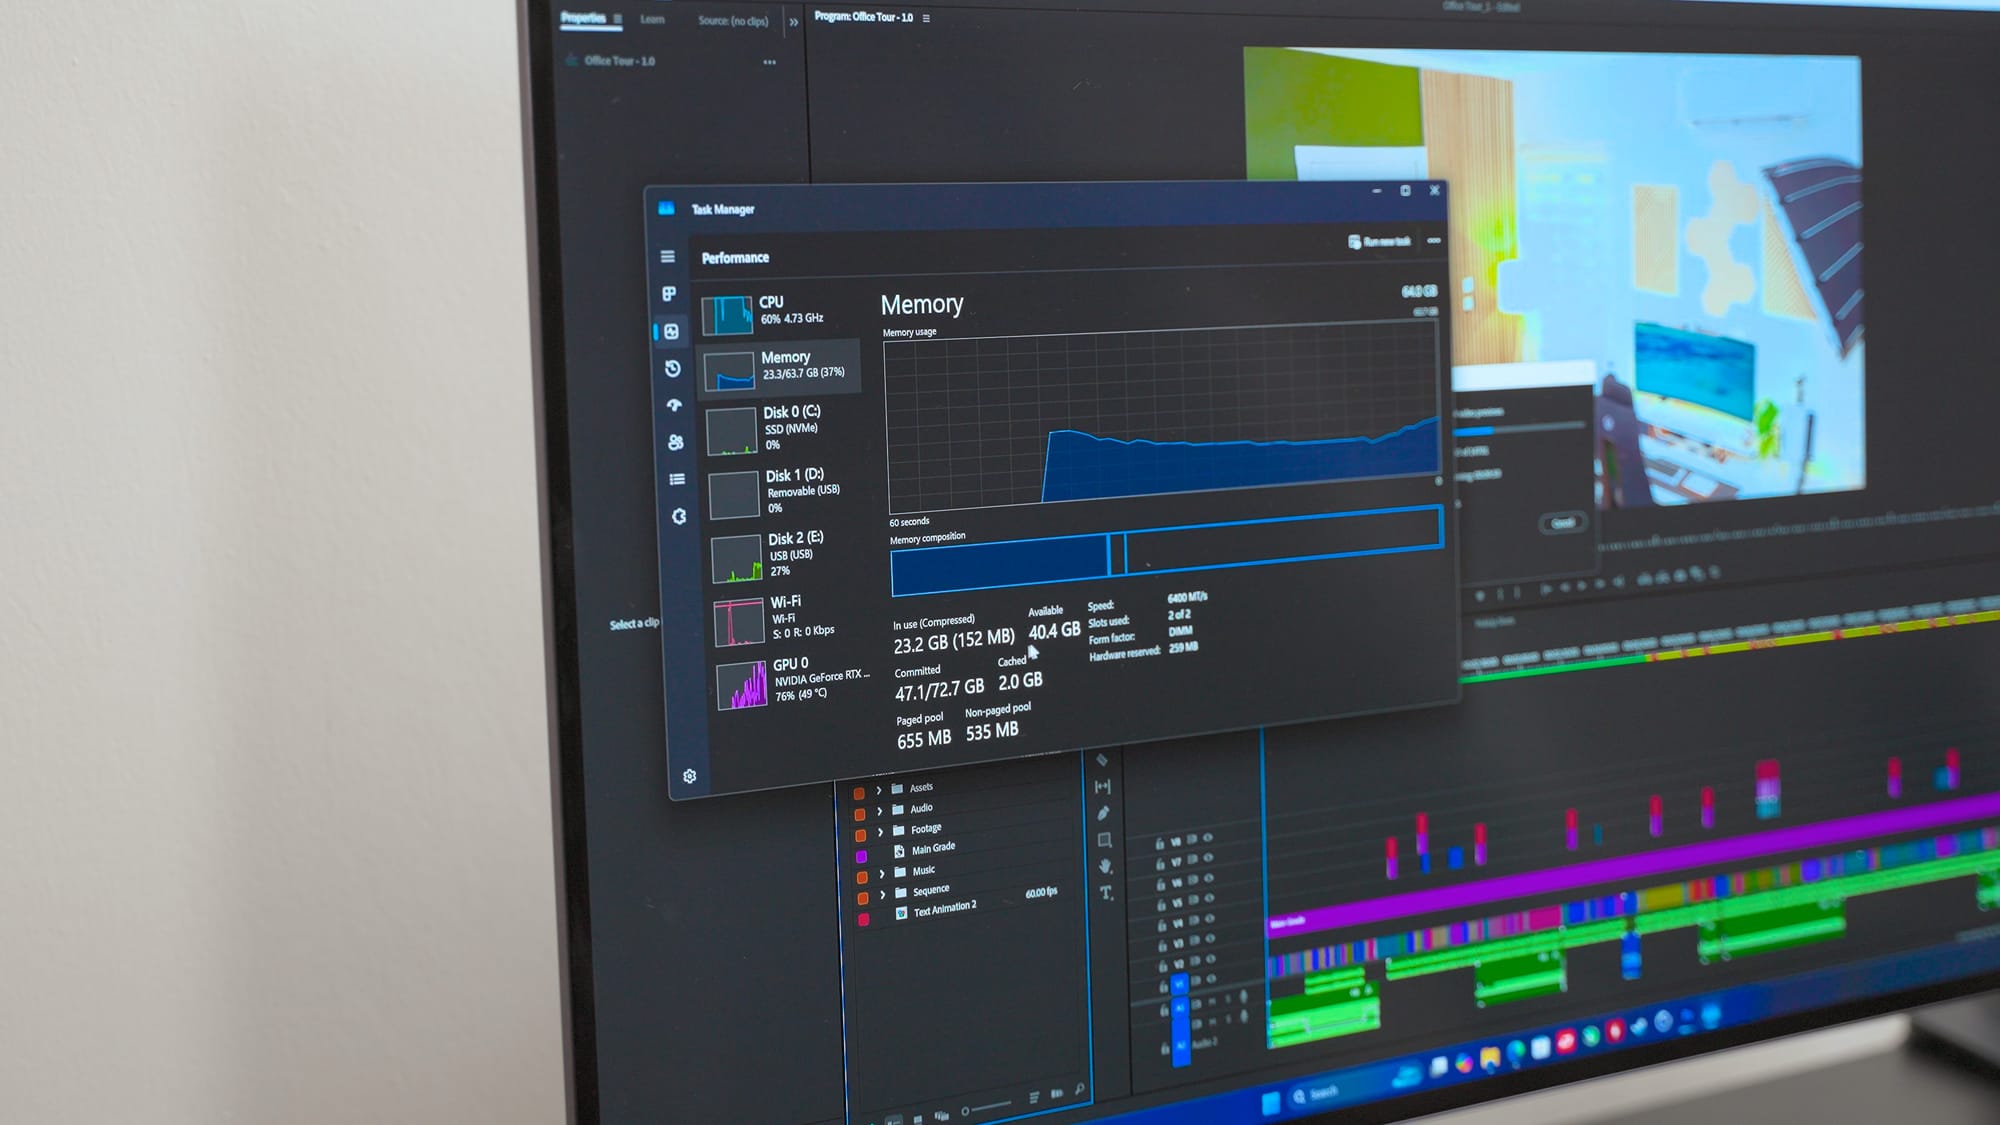
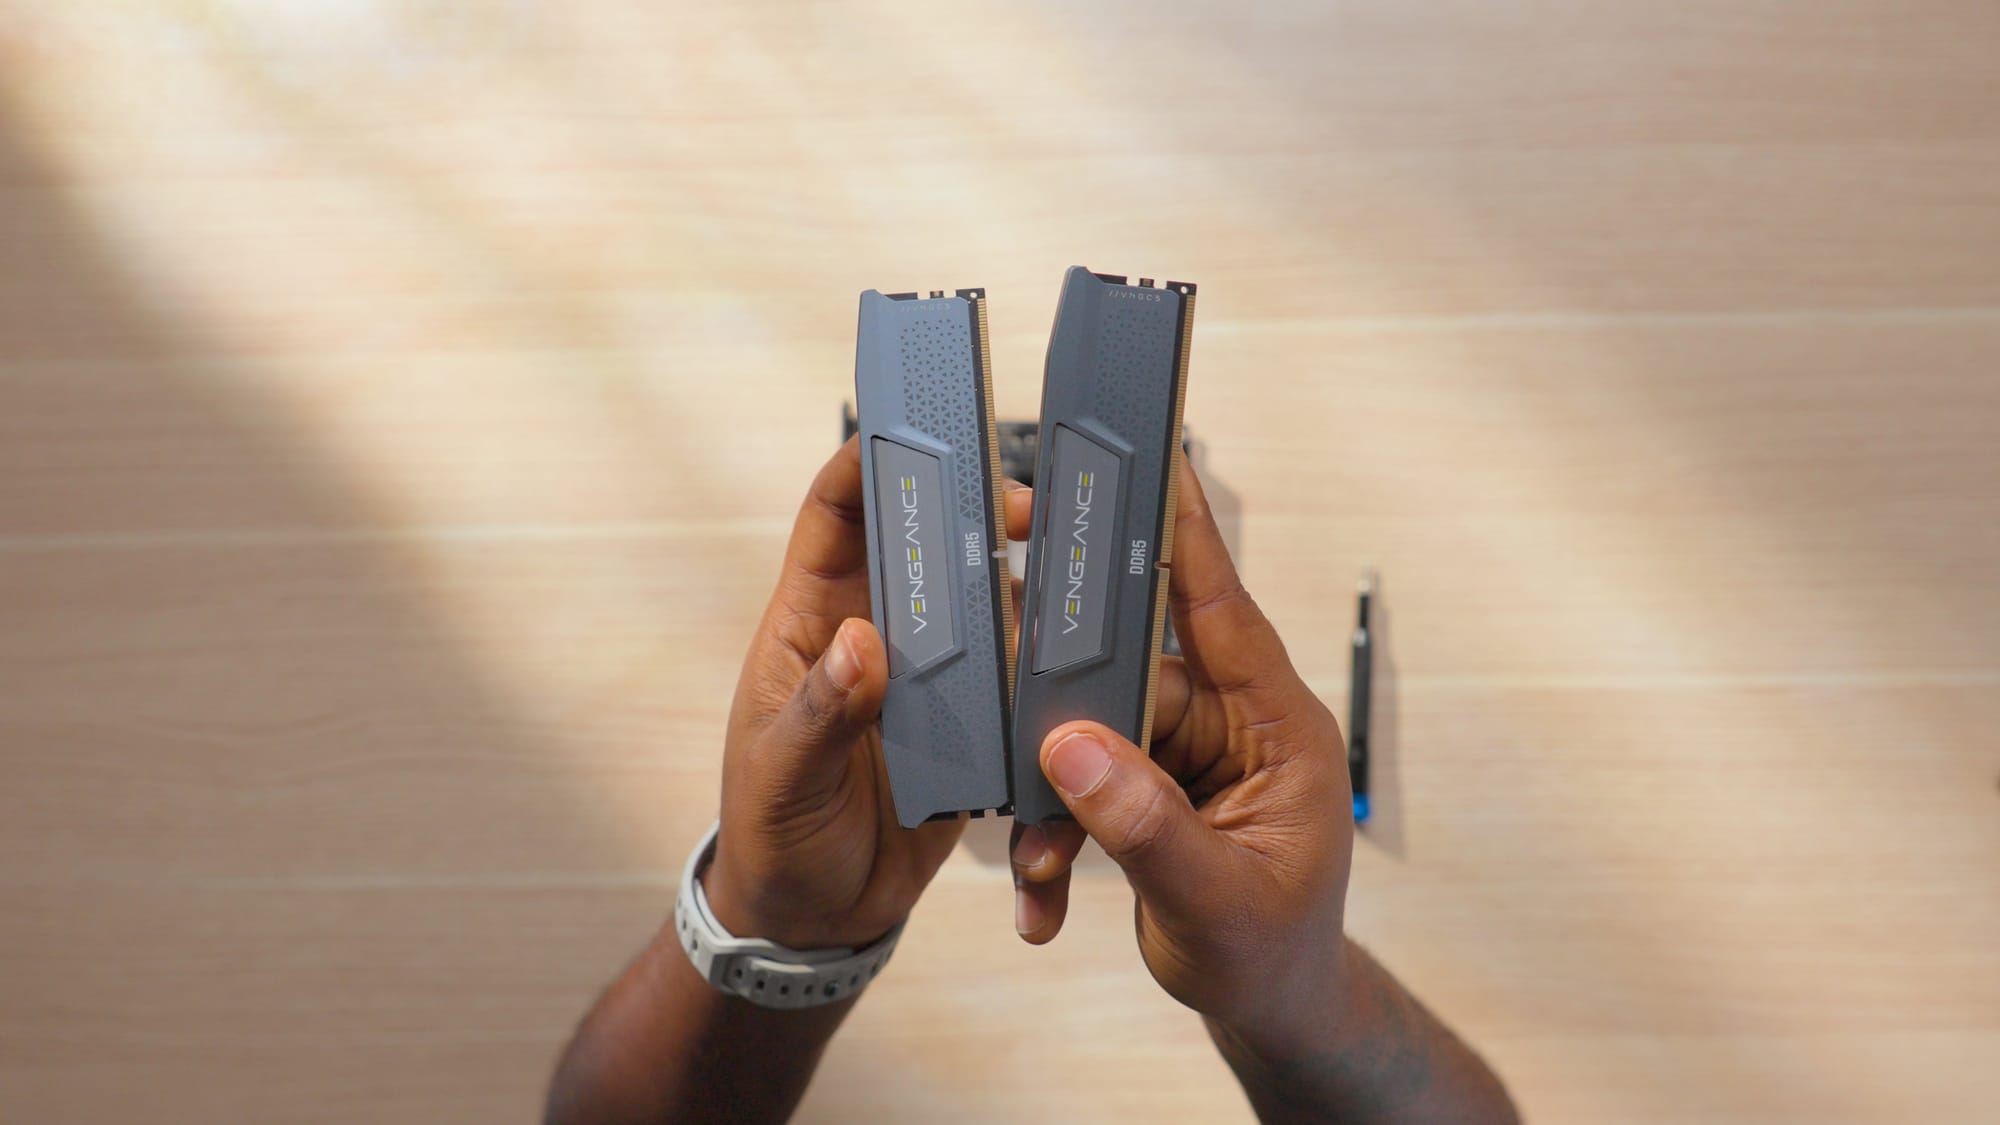
RAM: 96GB Corsair DDR5
I went with 96GB because of how I use this PC. Heavy multitasking with creative apps, learning Fusion 360, and I wanted to build a PC that can handle anything i throw at it, whether its high intensive gaming or rendering complex video edits or 3d renders. Basically, one that would hopefully outlast the current RAM and Storage crisis and so when I saw the Corsair 96GB DDR5 kit on Amazon for around $300, I bought it.
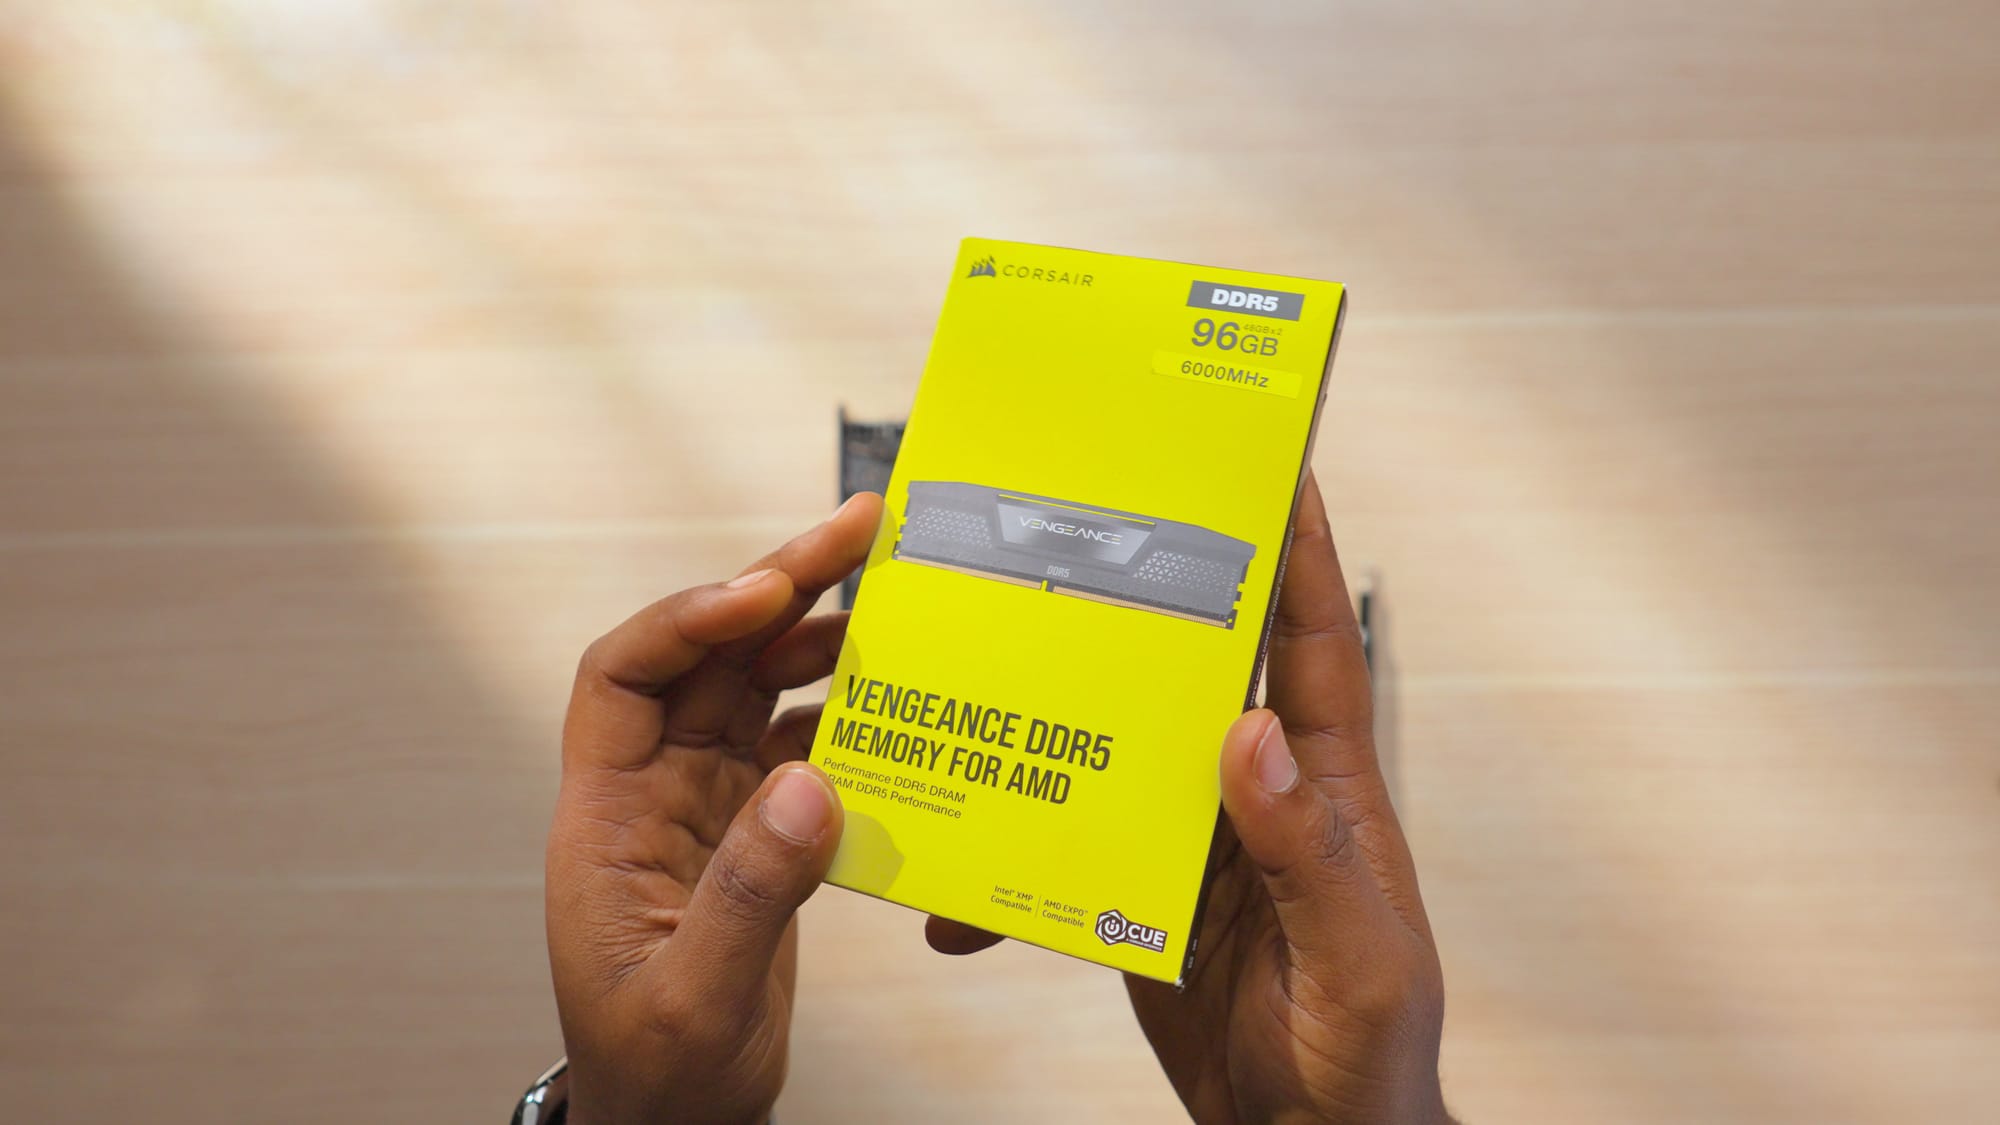

But, what I didn't know was that a few days or weeks later, DDR5 prices would spike and that same kit jumped to over $1,000.

If you're shopping for RAM right now and prices are still elevated, it may be worth waiting for restocks rather than paying a premium. But if you are only looking to build a PC mainly for gaming, I'd definitely recommend going for DDR4 RAM kits with a DDR4 motherboard to save some cost.
RAM Links
- Corsair DDR5 96GB Kit (check current pricing, it fluctuates)
- DDR4 Ram kit alternatives
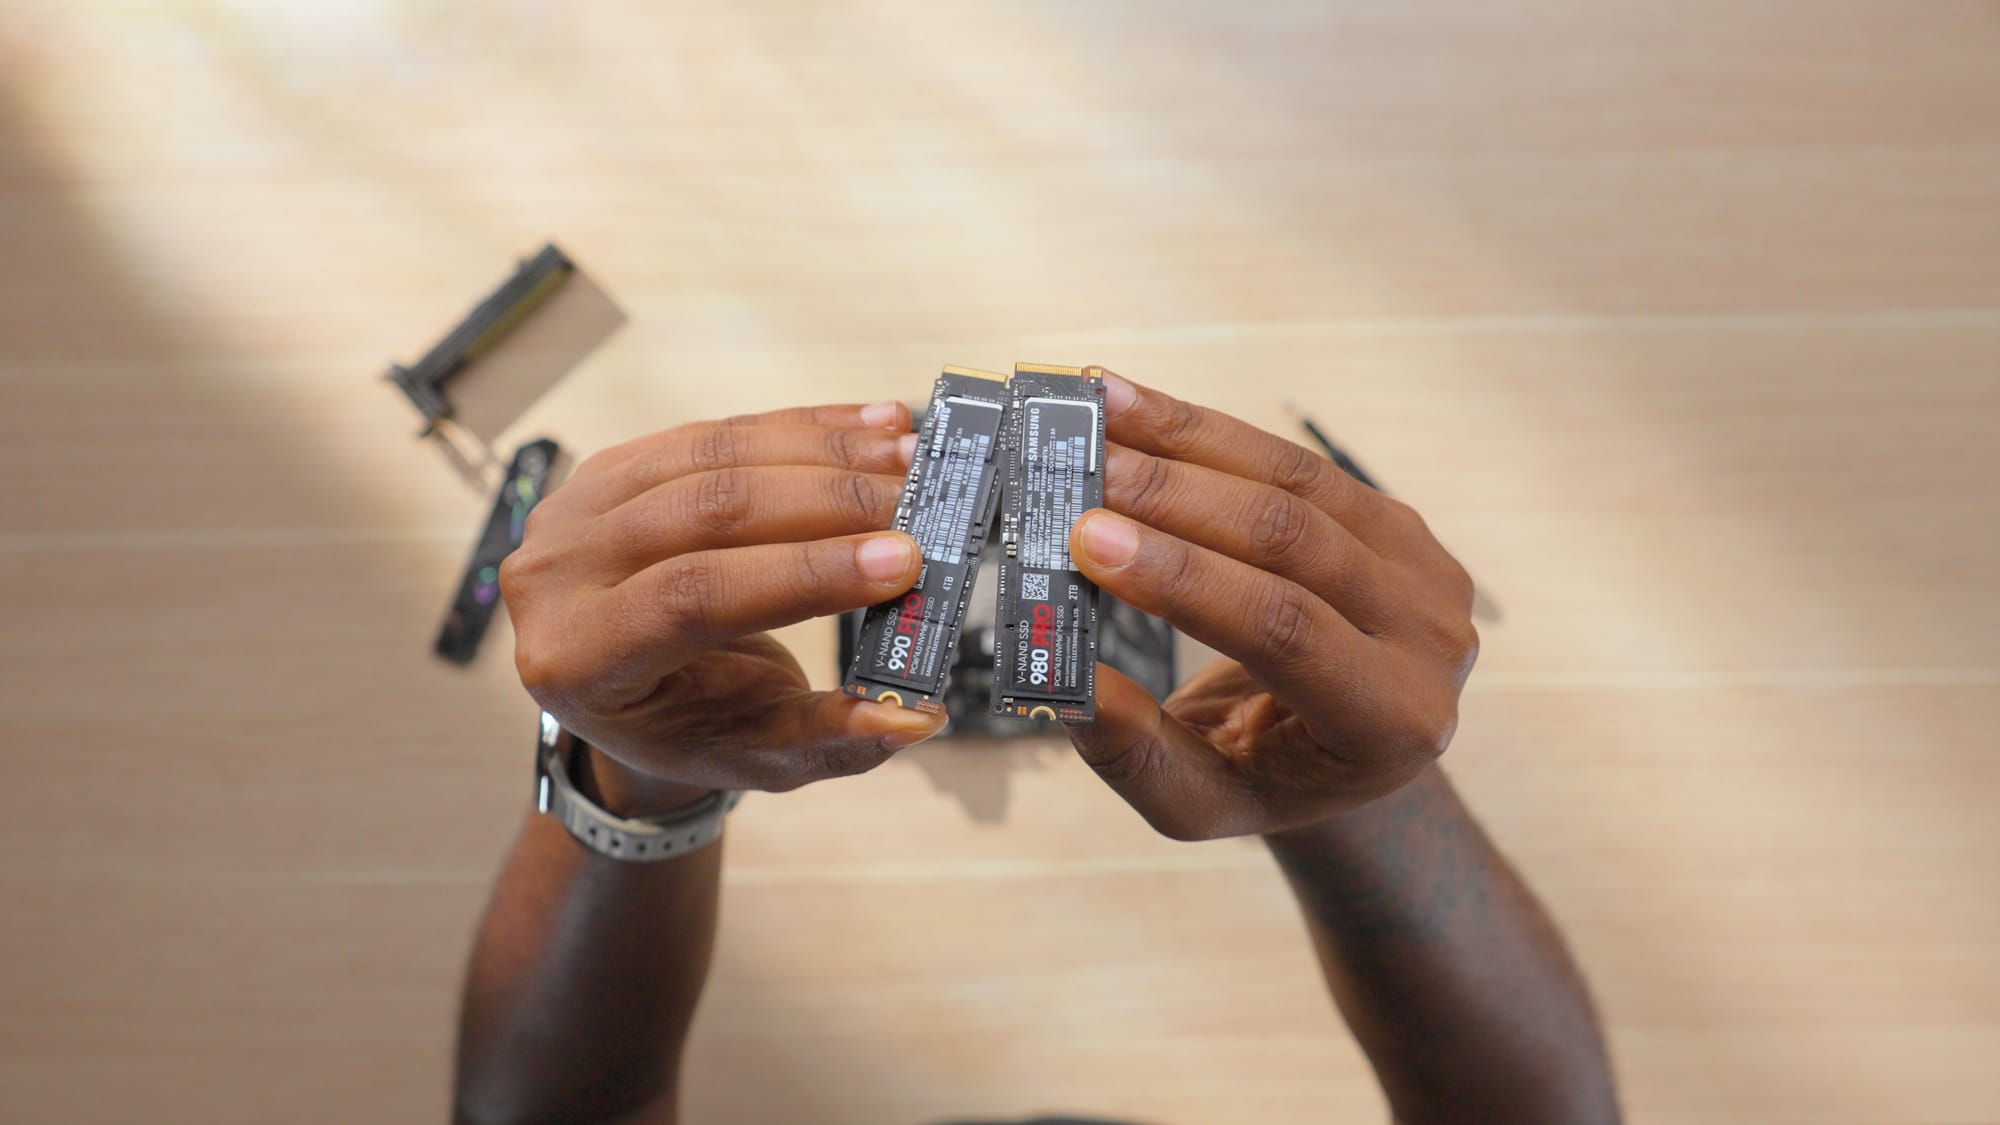
Storage: 6TB Samsung 990 Pro
Two drives: a 4TB Samsung 990 Pro and a 2TB Samsung 980 pro NVMe SSDs, both installed in the stacked M.2 slots on the Asus ROG strix X870i motherboard. My workload has shifted over the past year with Fusion 360 added to the mix alongside video editing. Project files, renders, and game installs add up quickly. 6TB gives me room to not think about storage management for a while.
Storage Links
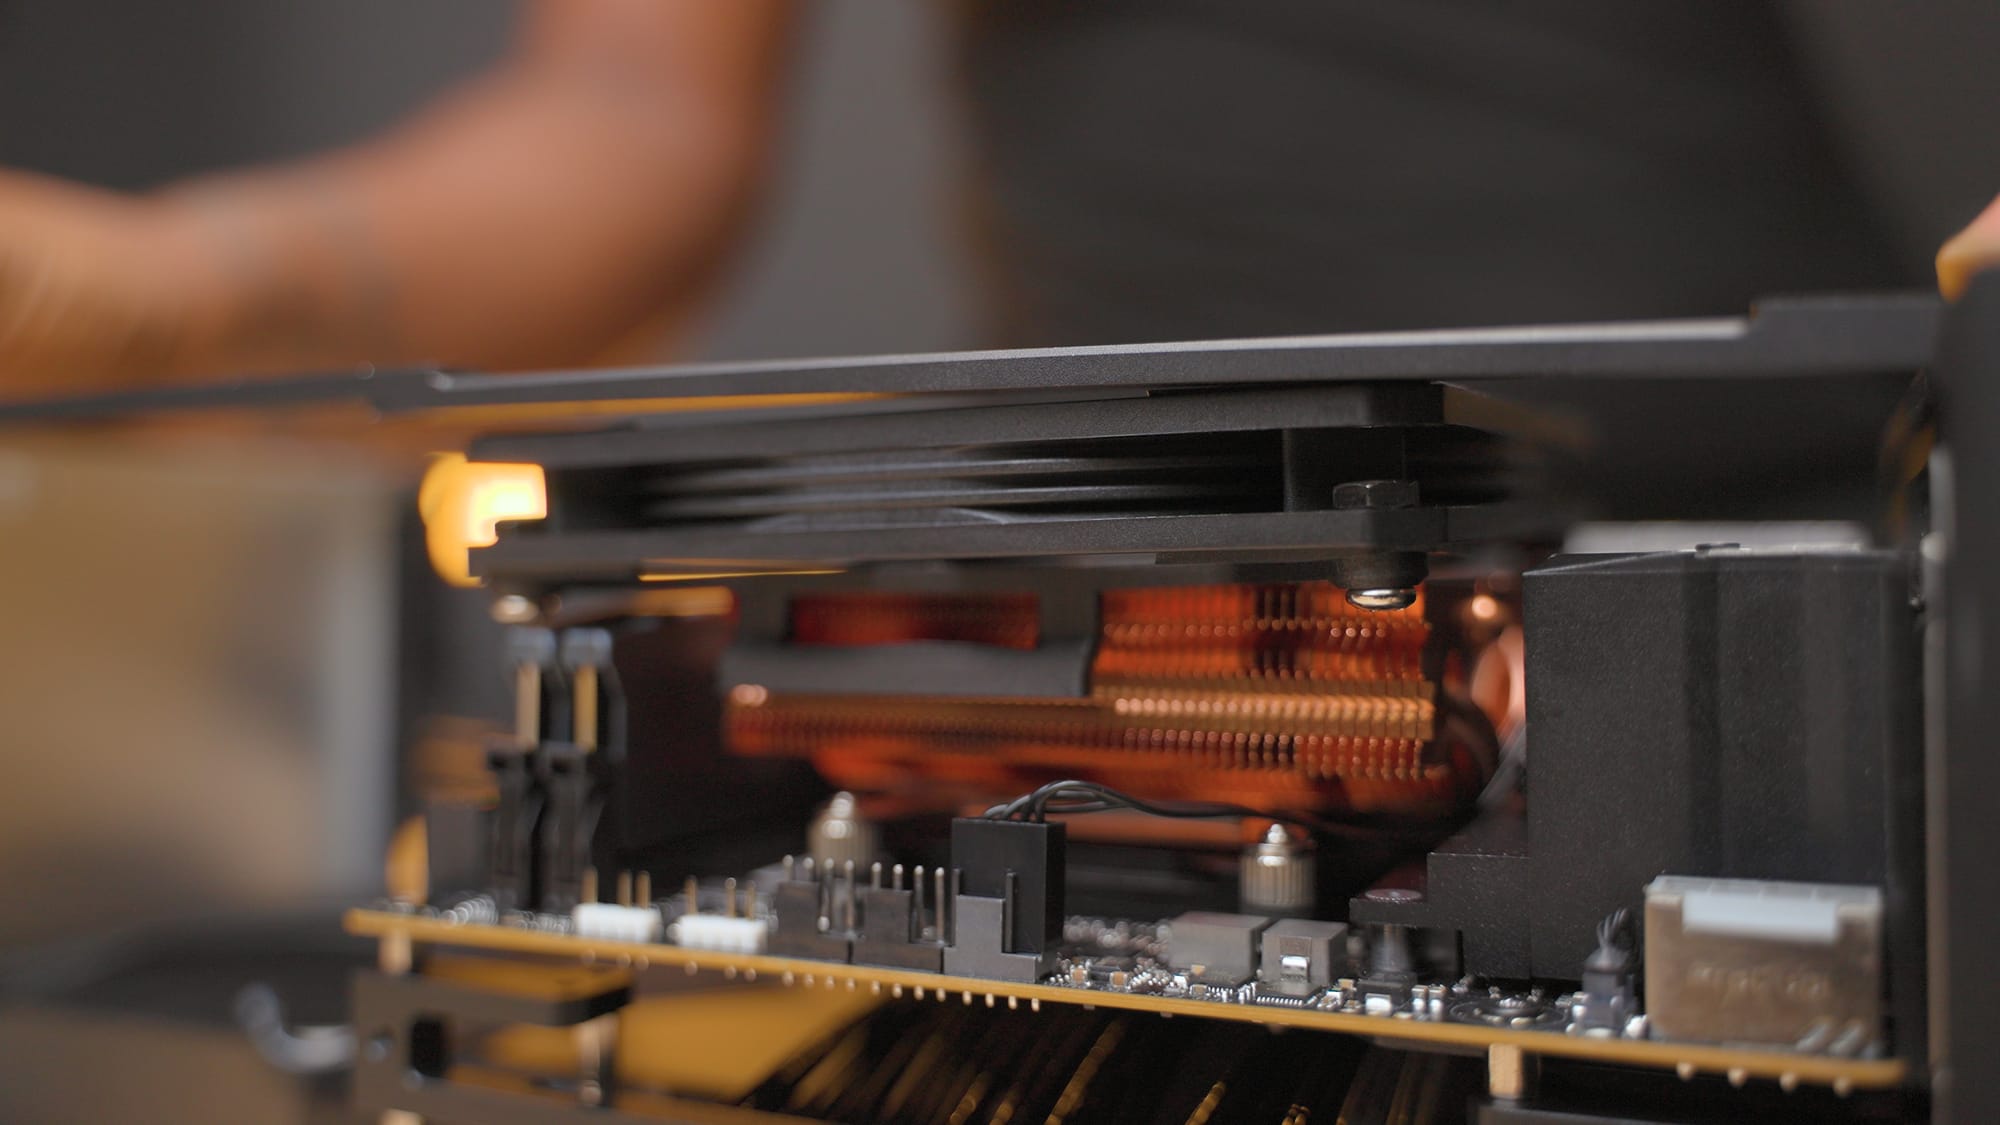
Cooling: Thermalright X47 Full Cover
I went with air cooling over a 240mm AIO. I had used liquid cooling in this case before with the Ryzen 7800x3D and RTX 4090 combination, but since I travel with this PC, air cooling is simpler and less risky during transit.
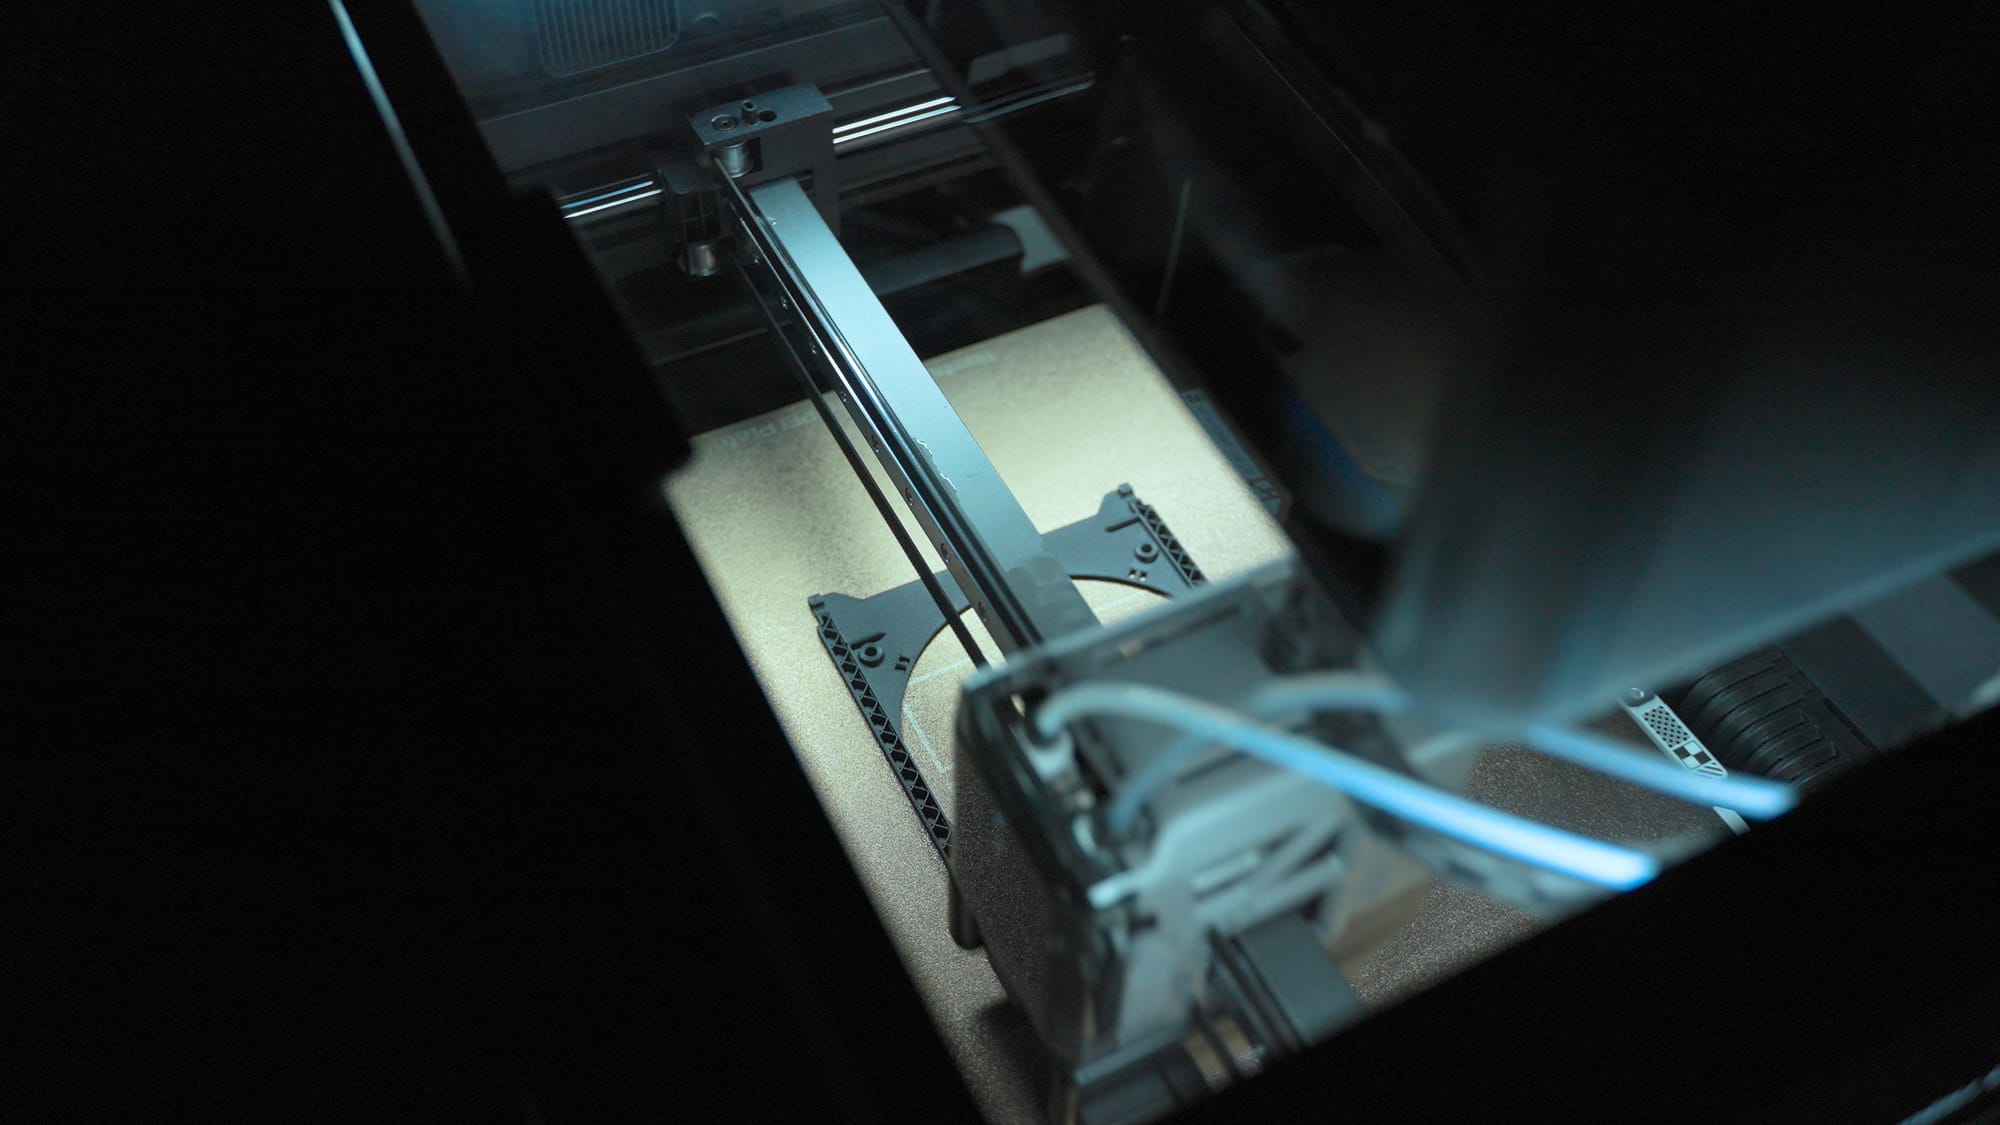
The Thermalright X47 full copper CPU cooler is a 47mm low-profile cooler that fits perfectly in the Formd T1. It ships with a 92mm fan but I tried mounting a 120mm fan on top for better airflow by 3D printing a custom mounting clip on my BambuLab printer.

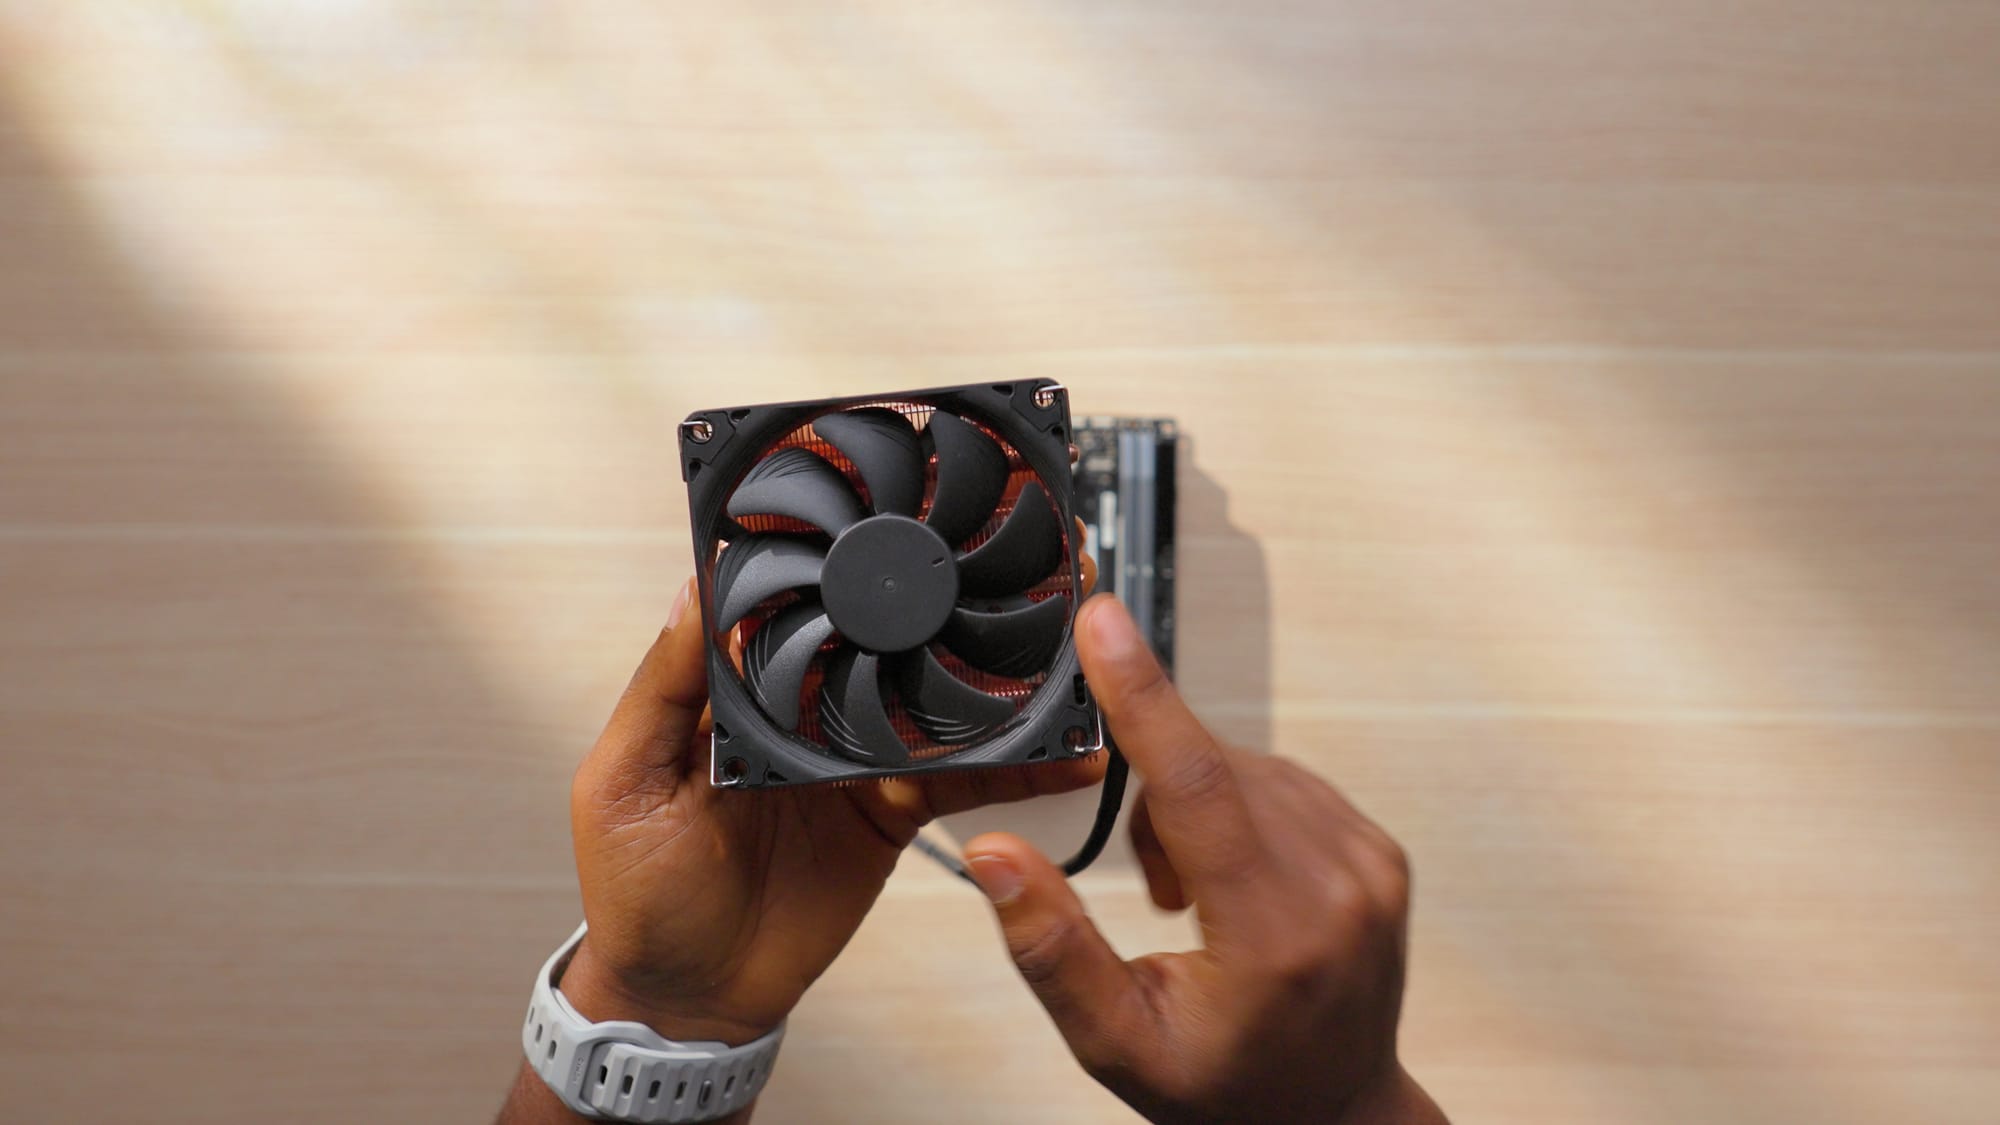
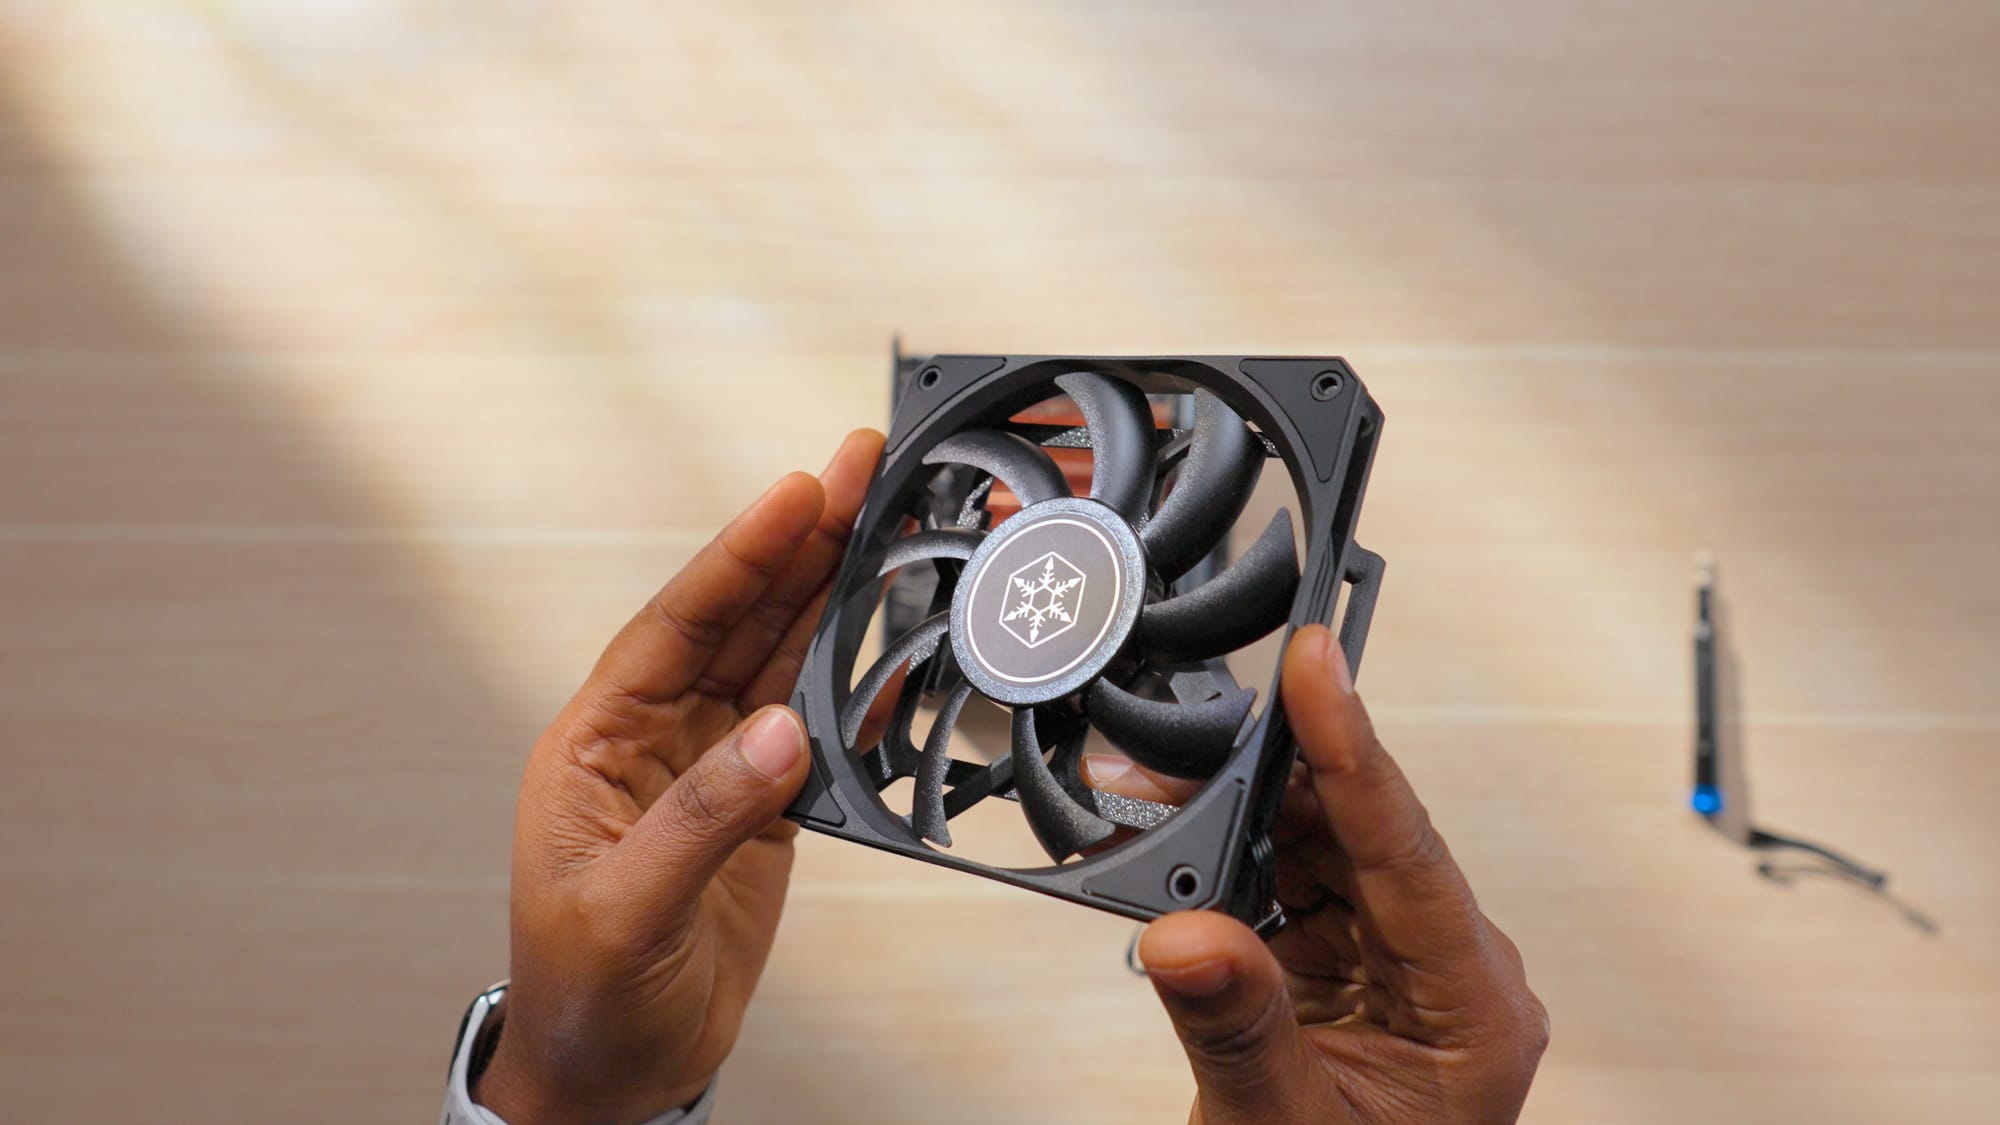
Showcasing the Noctua 92mm fan (left) and the silverstone 120mm fan with 3d printed attachment installed (right)
The 3d printed 120mm fan clip for the silverstone 120mm fan
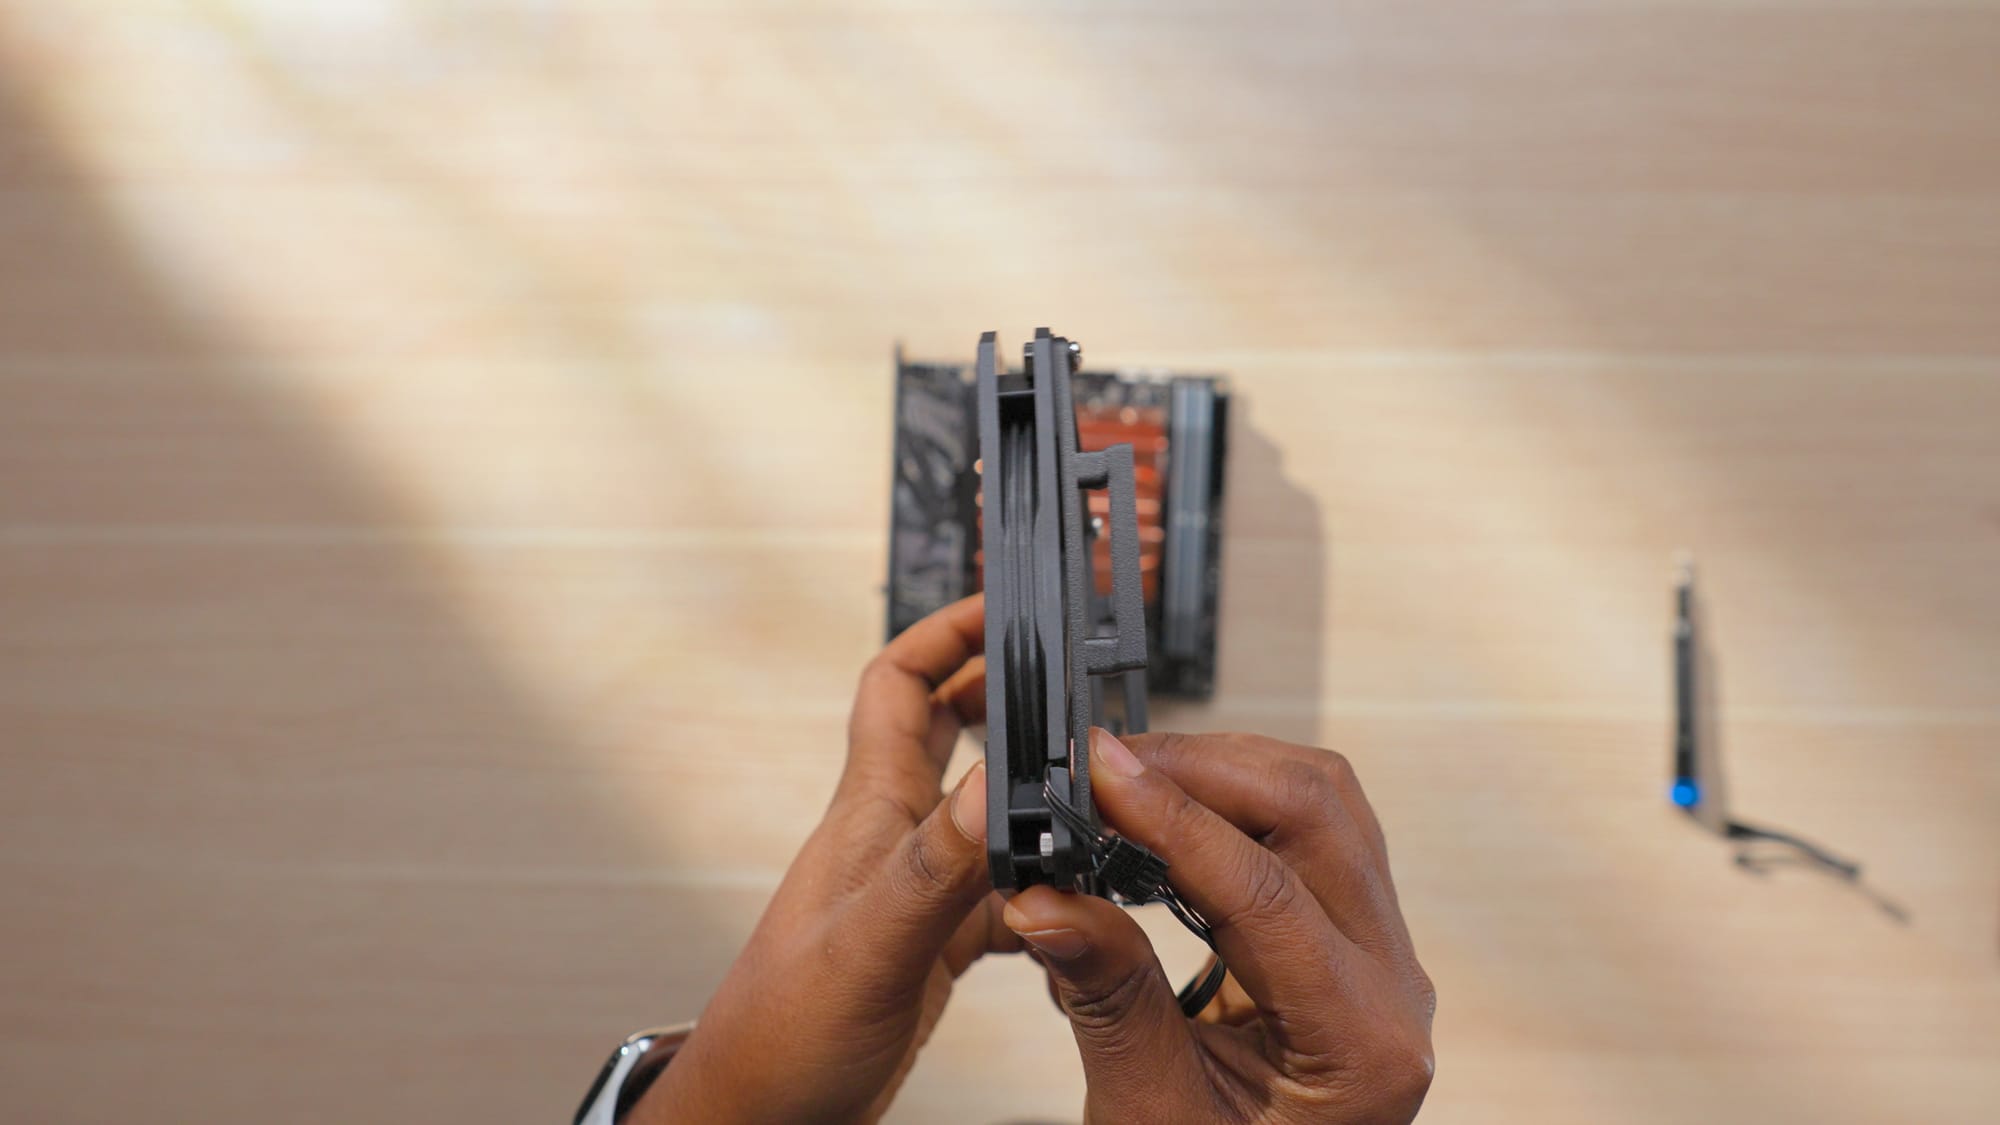
The clip worked on the bench, but when i placed the assembled motherboard inside the case, the 120mm fan did not fit without offset brackets from Dinky to lower the fan position slightly. I didn't have those on hand, so I went back to the stock 92mm fan. The Dinky brackets are on my list for a future revision.
Cooling Links
- Thermalright X47 full copper CPU cooler
- Phanteks T30 120mm Fans
- BambuLab 3D Printers
- Dinky Offset Fan Brackets
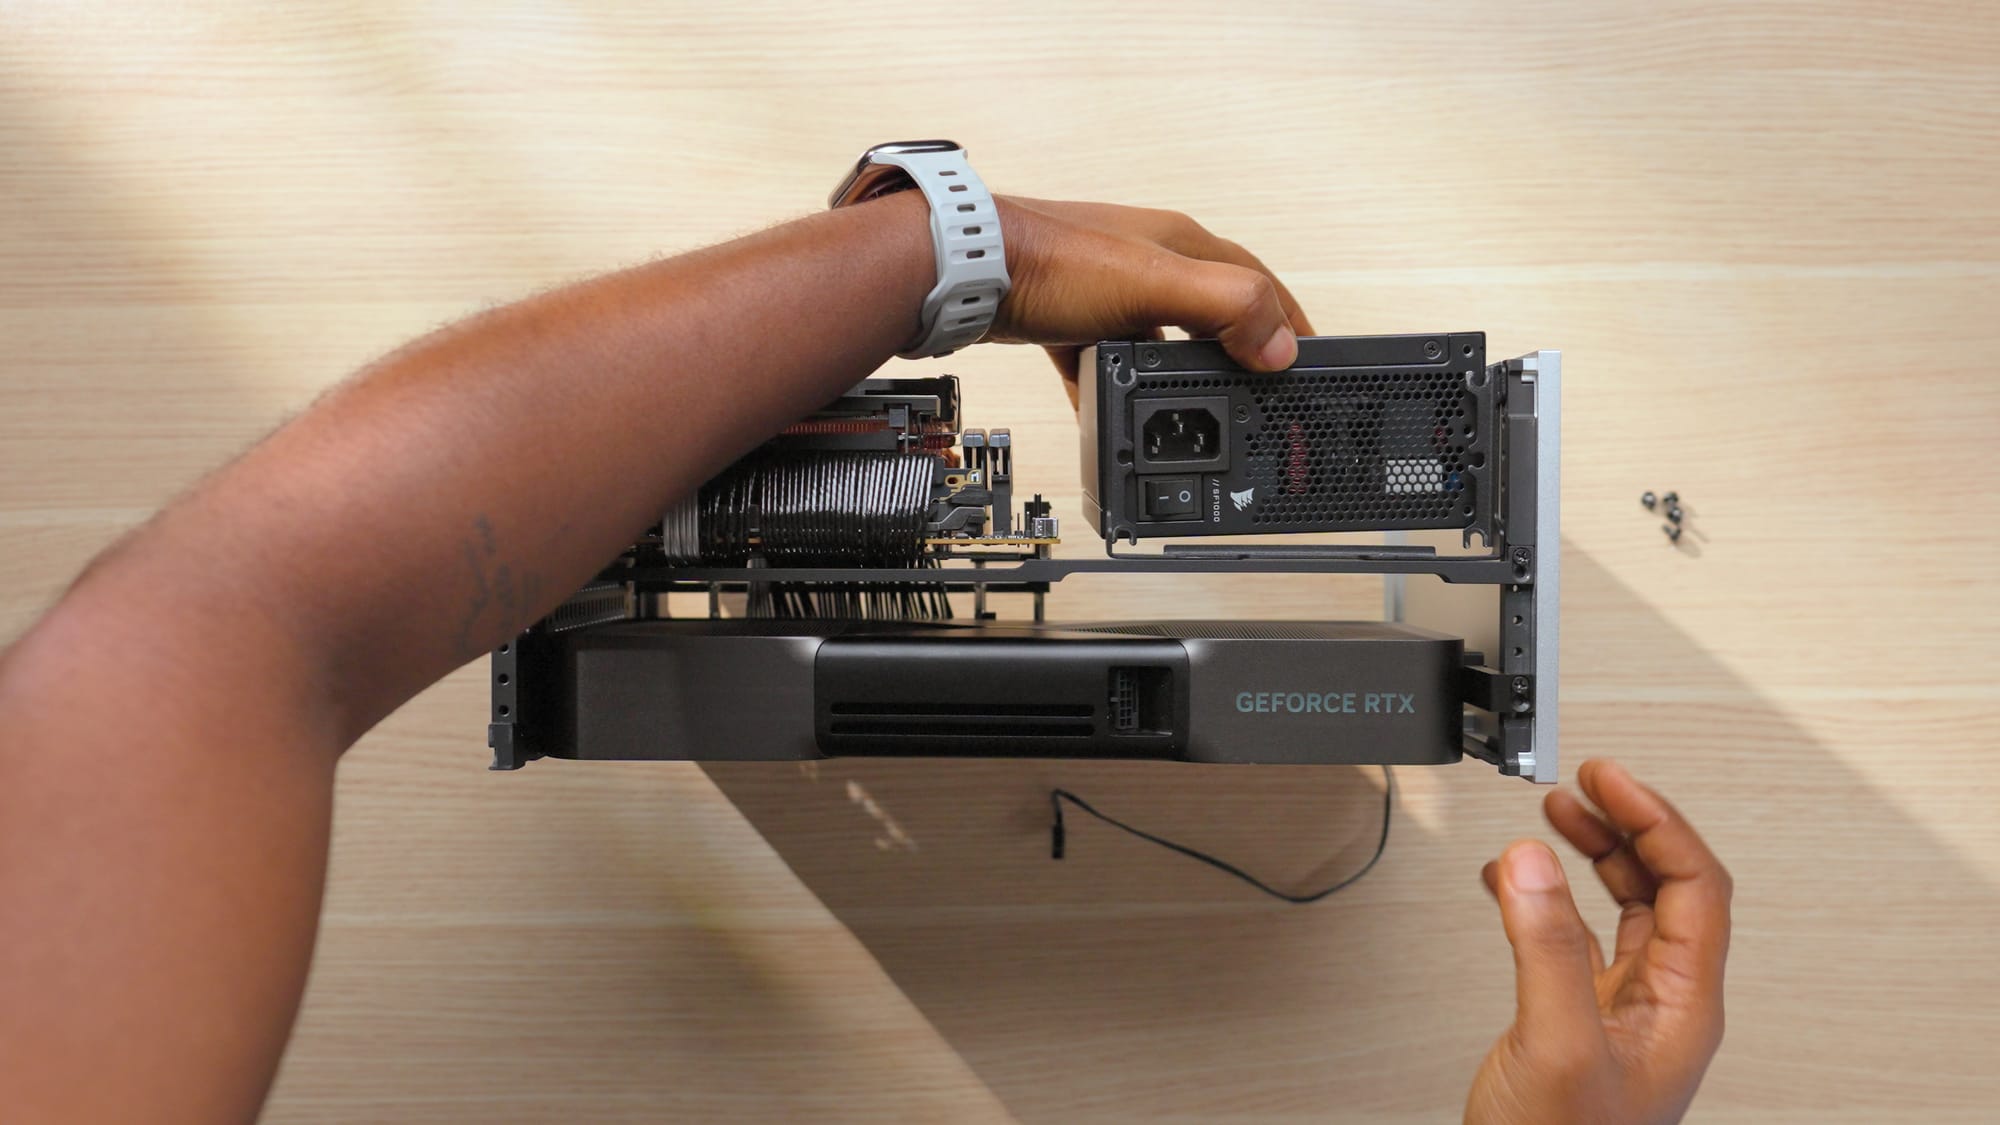
PSU: Corsair SF-1000W
The RTX 5090 draws serious power, so a 1000W SFX unit is the safe choice for this build. The Corsair SF-1000W has been reliable in this case across multiple builds. It fits the SFX form factor required by the T1 and provides enough headroom for the 5090 and 9800X3D running together.
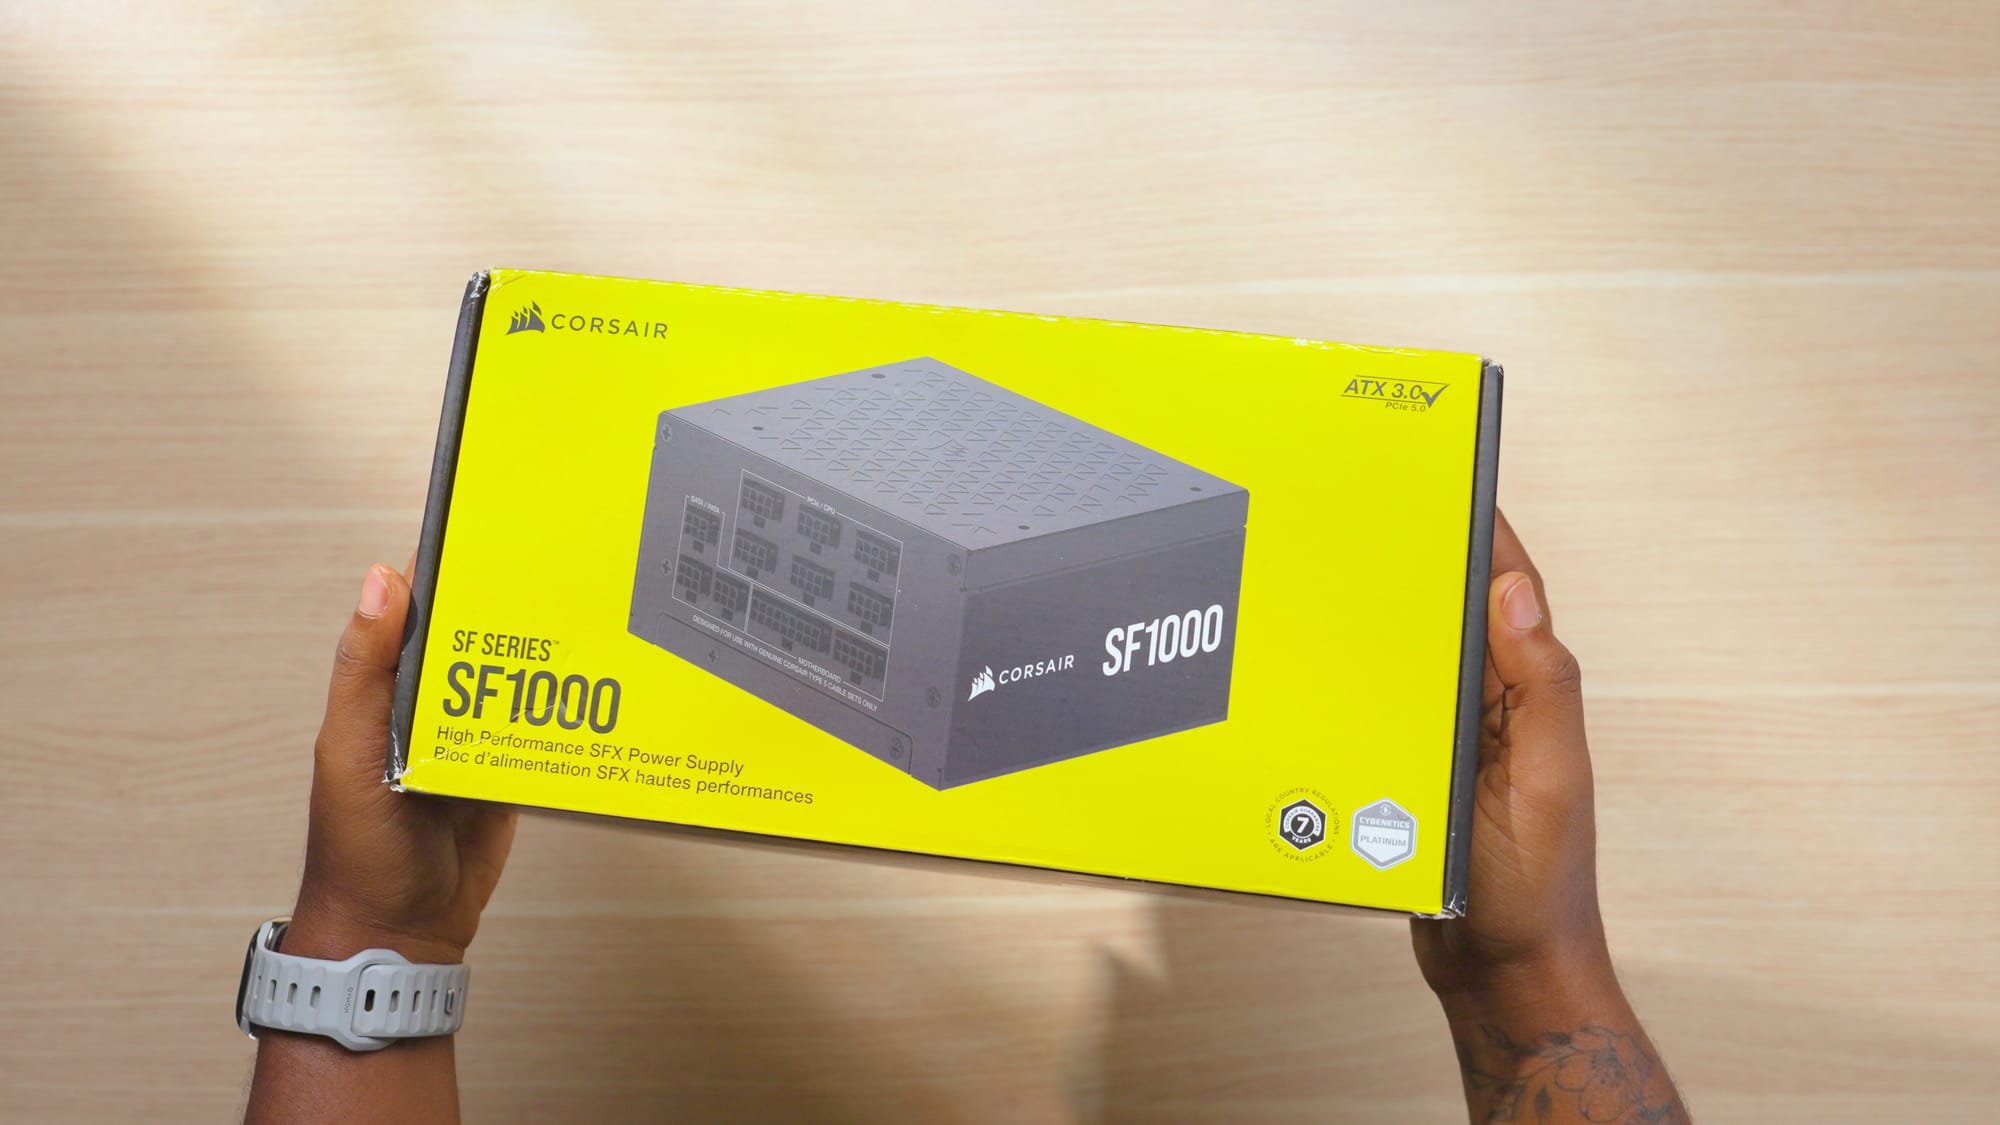
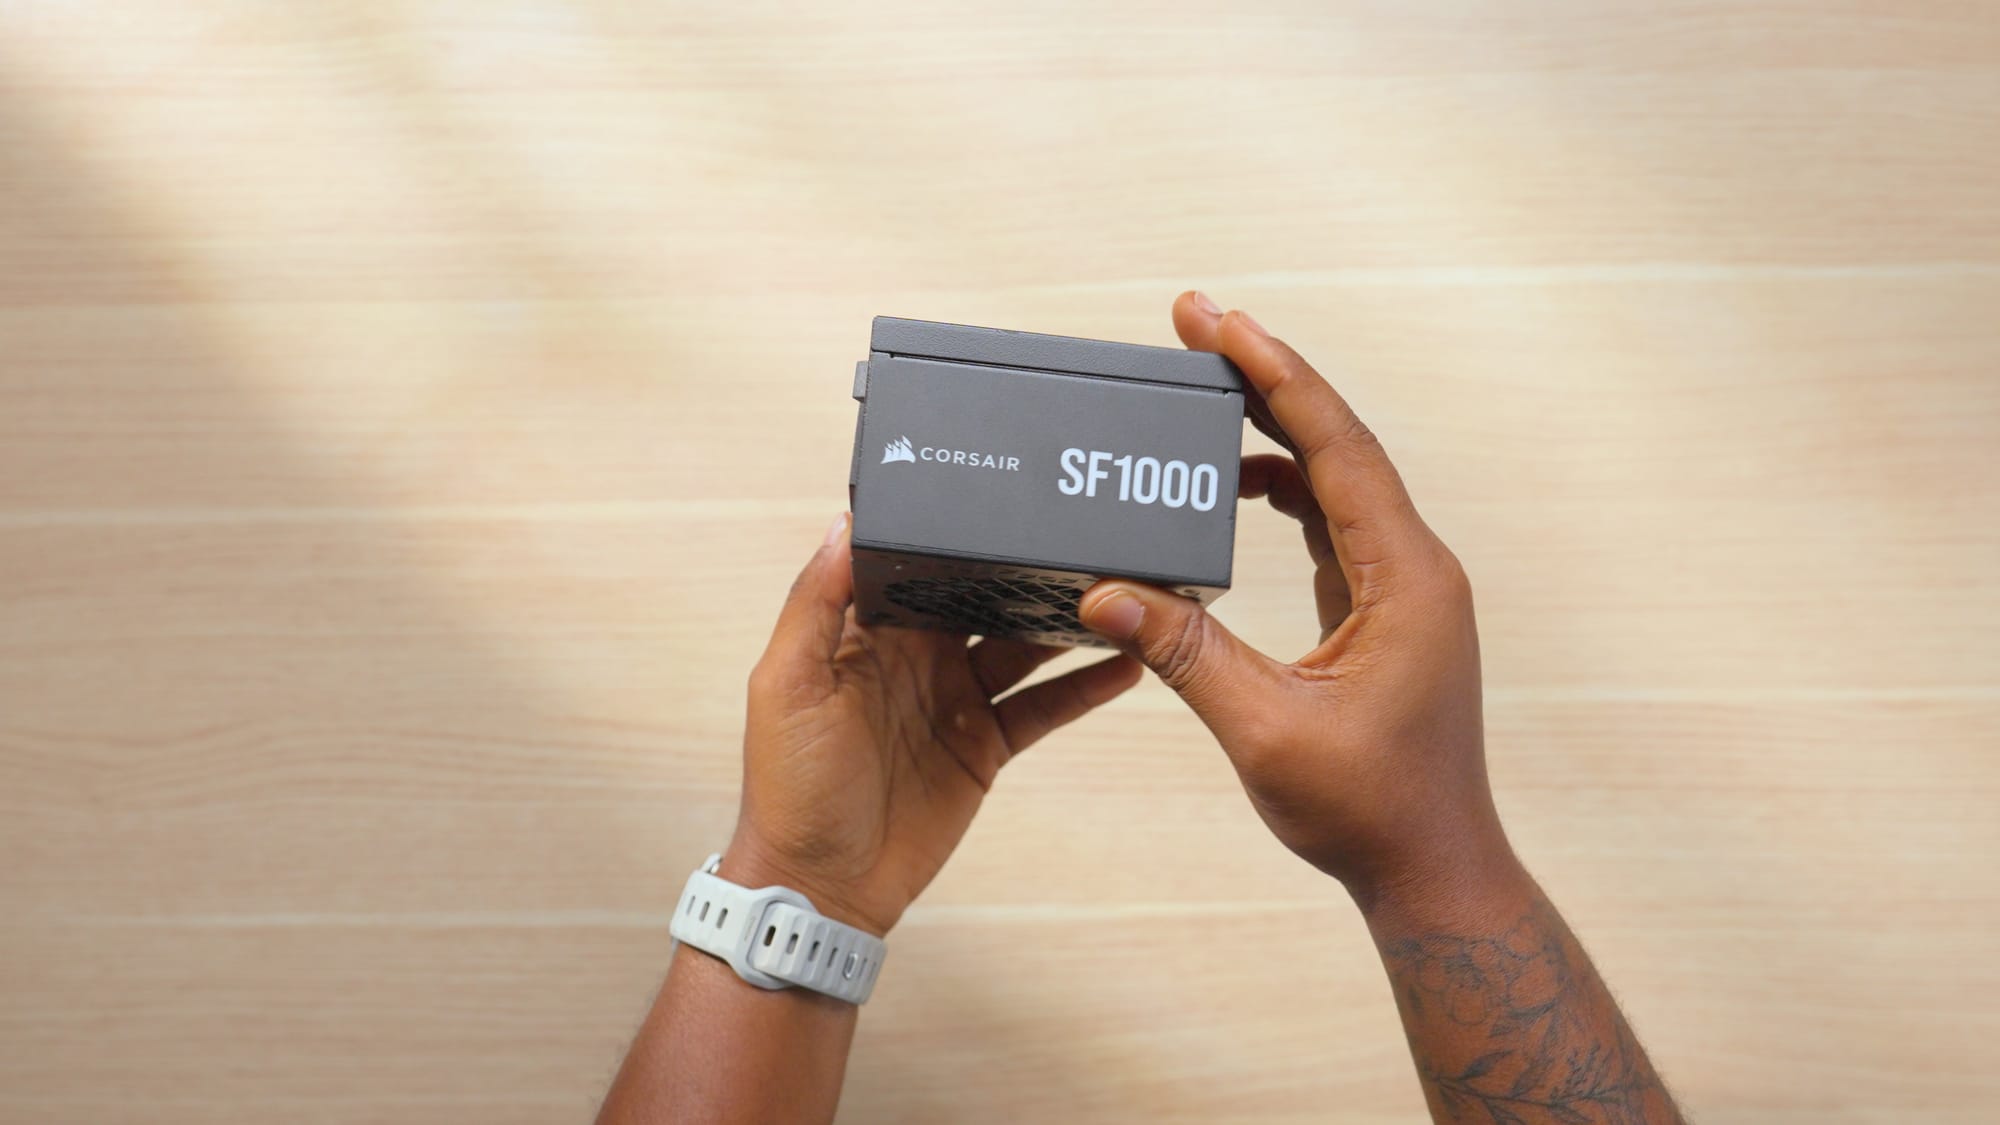
Corsair SF-1000W
PSU Links
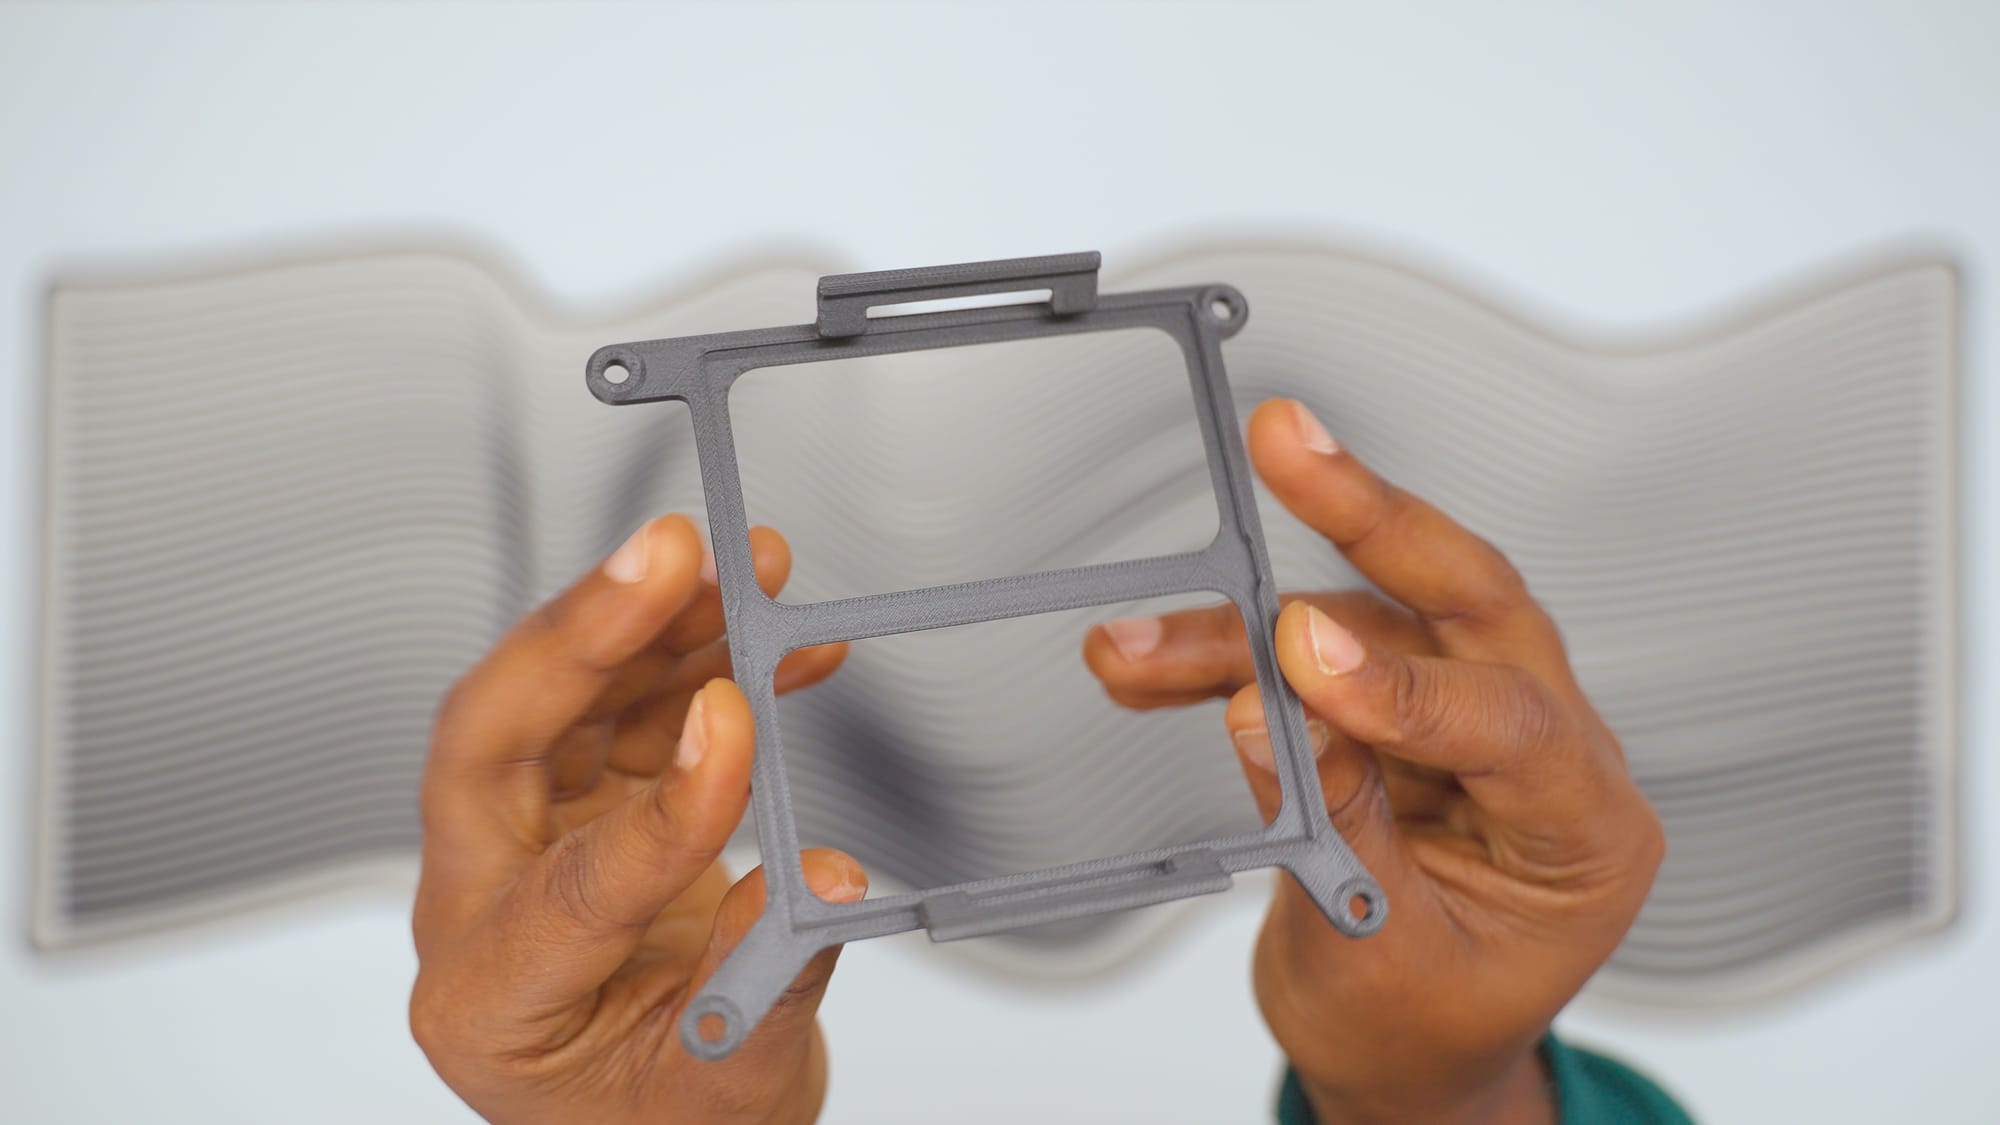
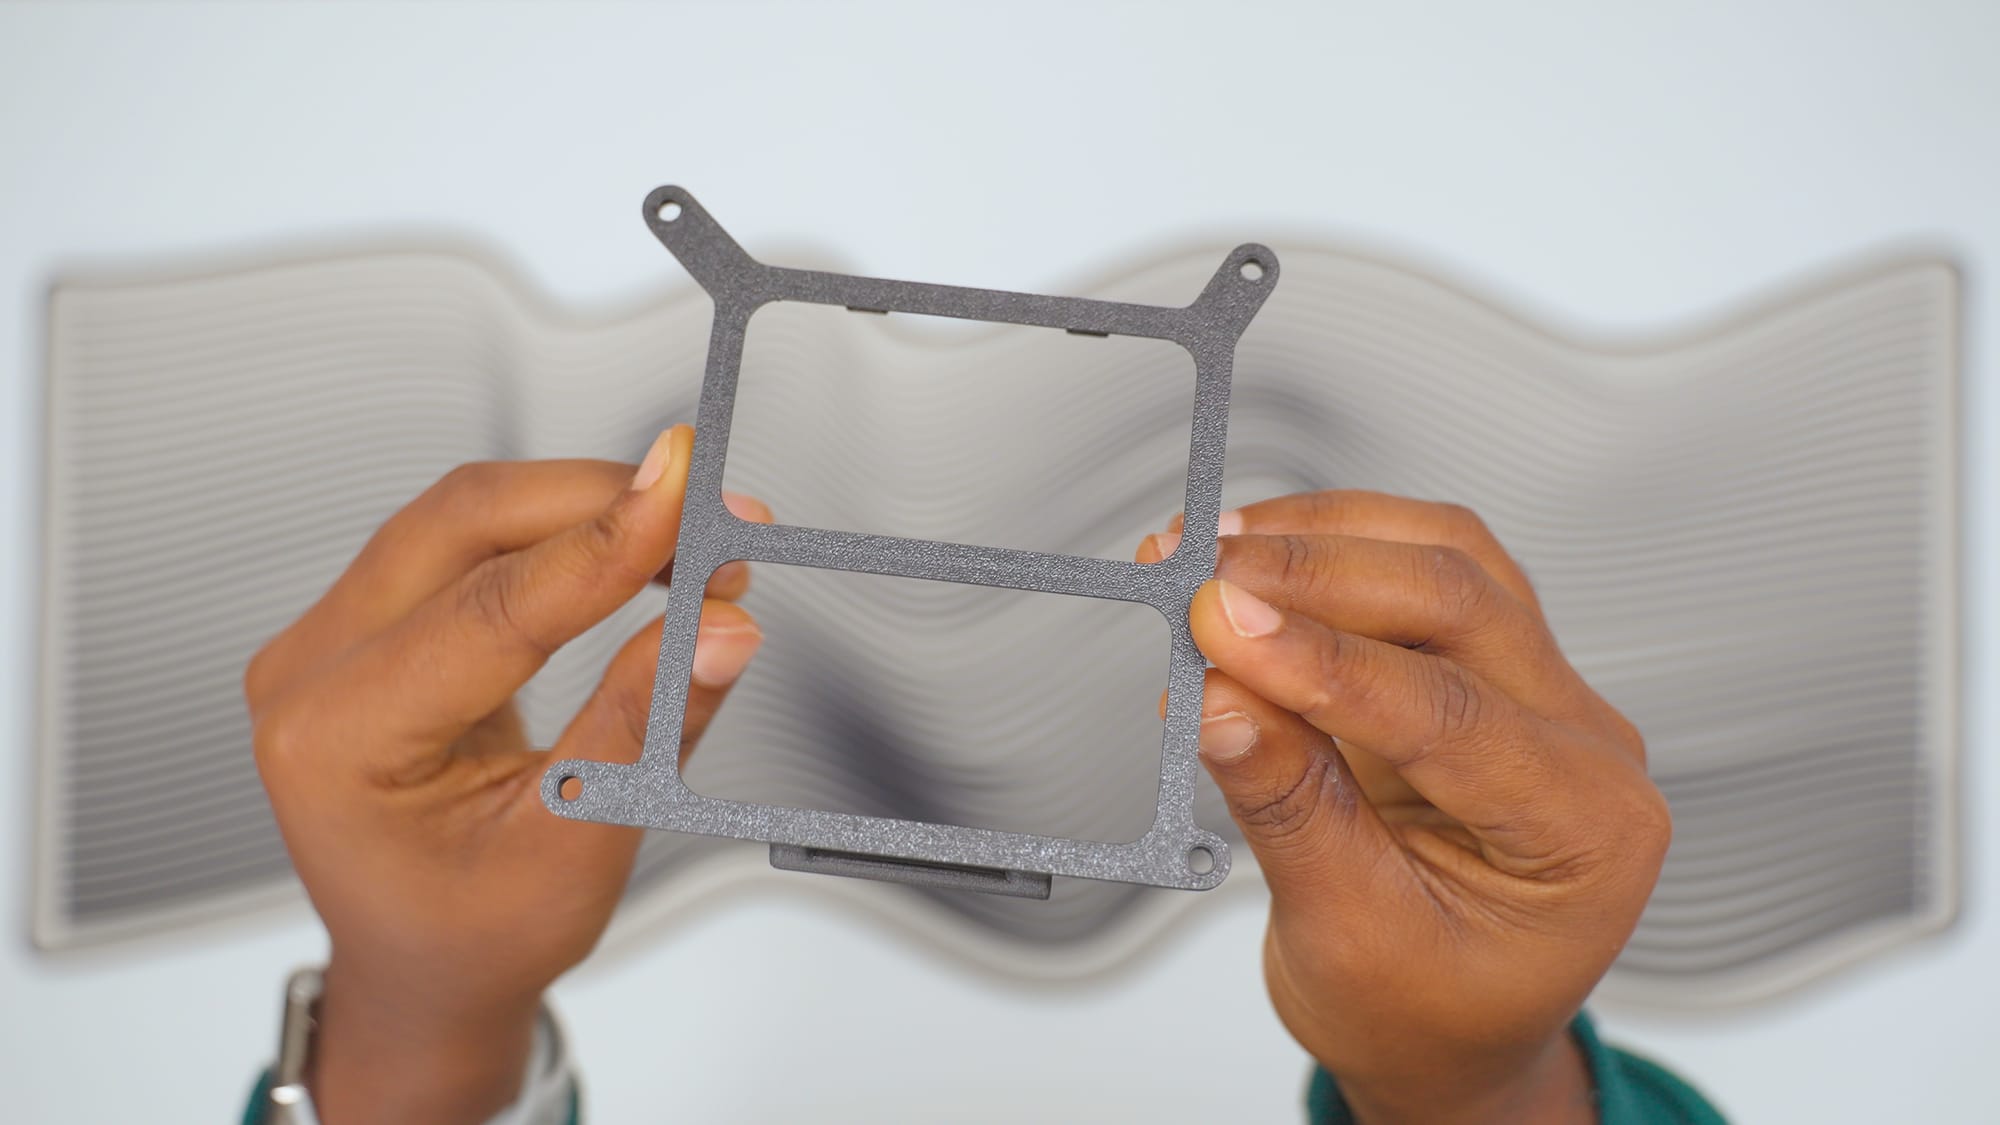
3D Printed Exhaust Shrouds
For the top exhaust, I 3D printed exhaust shrouds (designed by Eiga) in PETG-CF filament. These sit under the Phanteks T30 fans at the top of the case and directly pull all the heat out of the case through the top of the PC. I used PETG-CF specifically because it's heat resistant. PLA starts softening around 60°C, which the area near the CPU and PSU will absolutely reach during gaming. If you're printing parts for a high-performance SFF PC build, its best to avoid PLA.
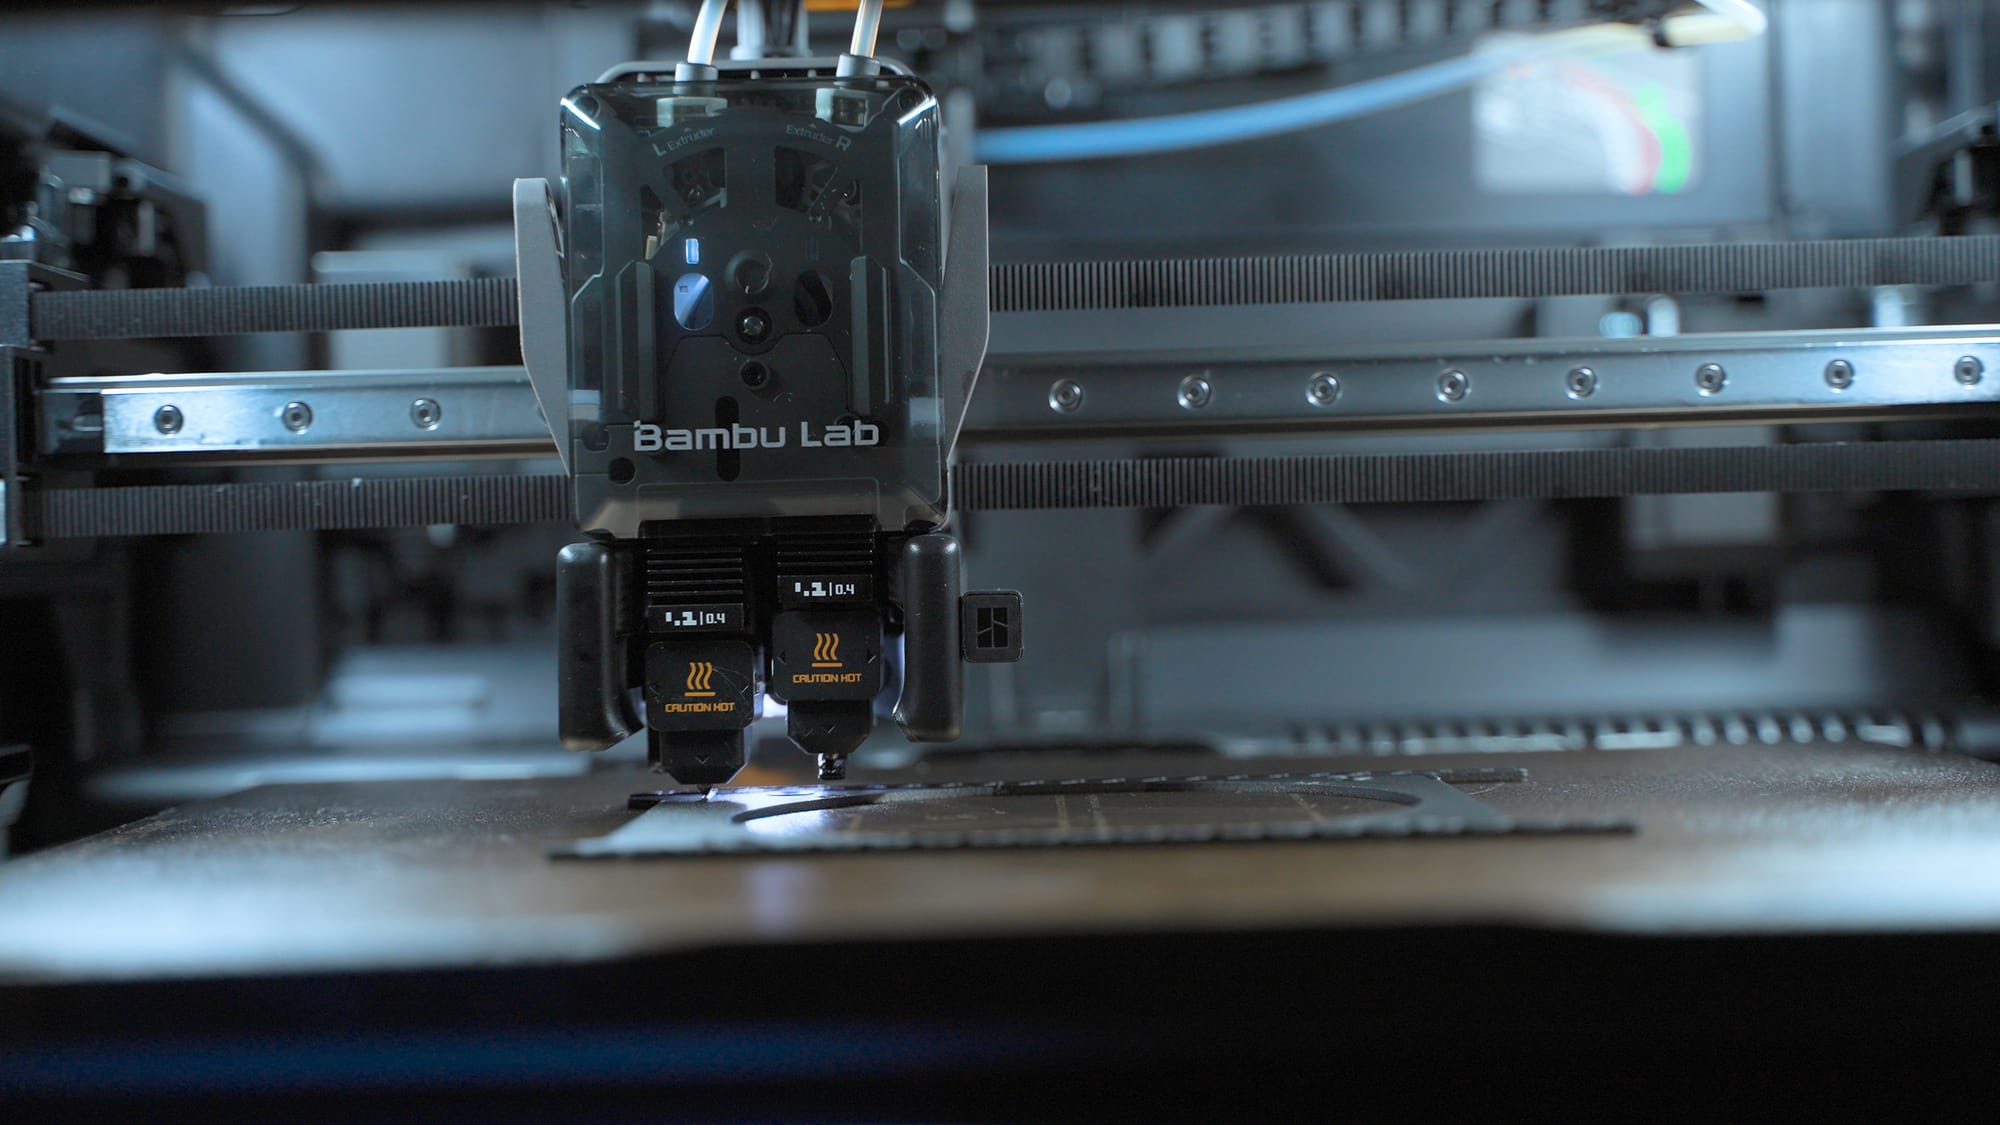
3D printing the exhaust shrouds using PETG-CF filament

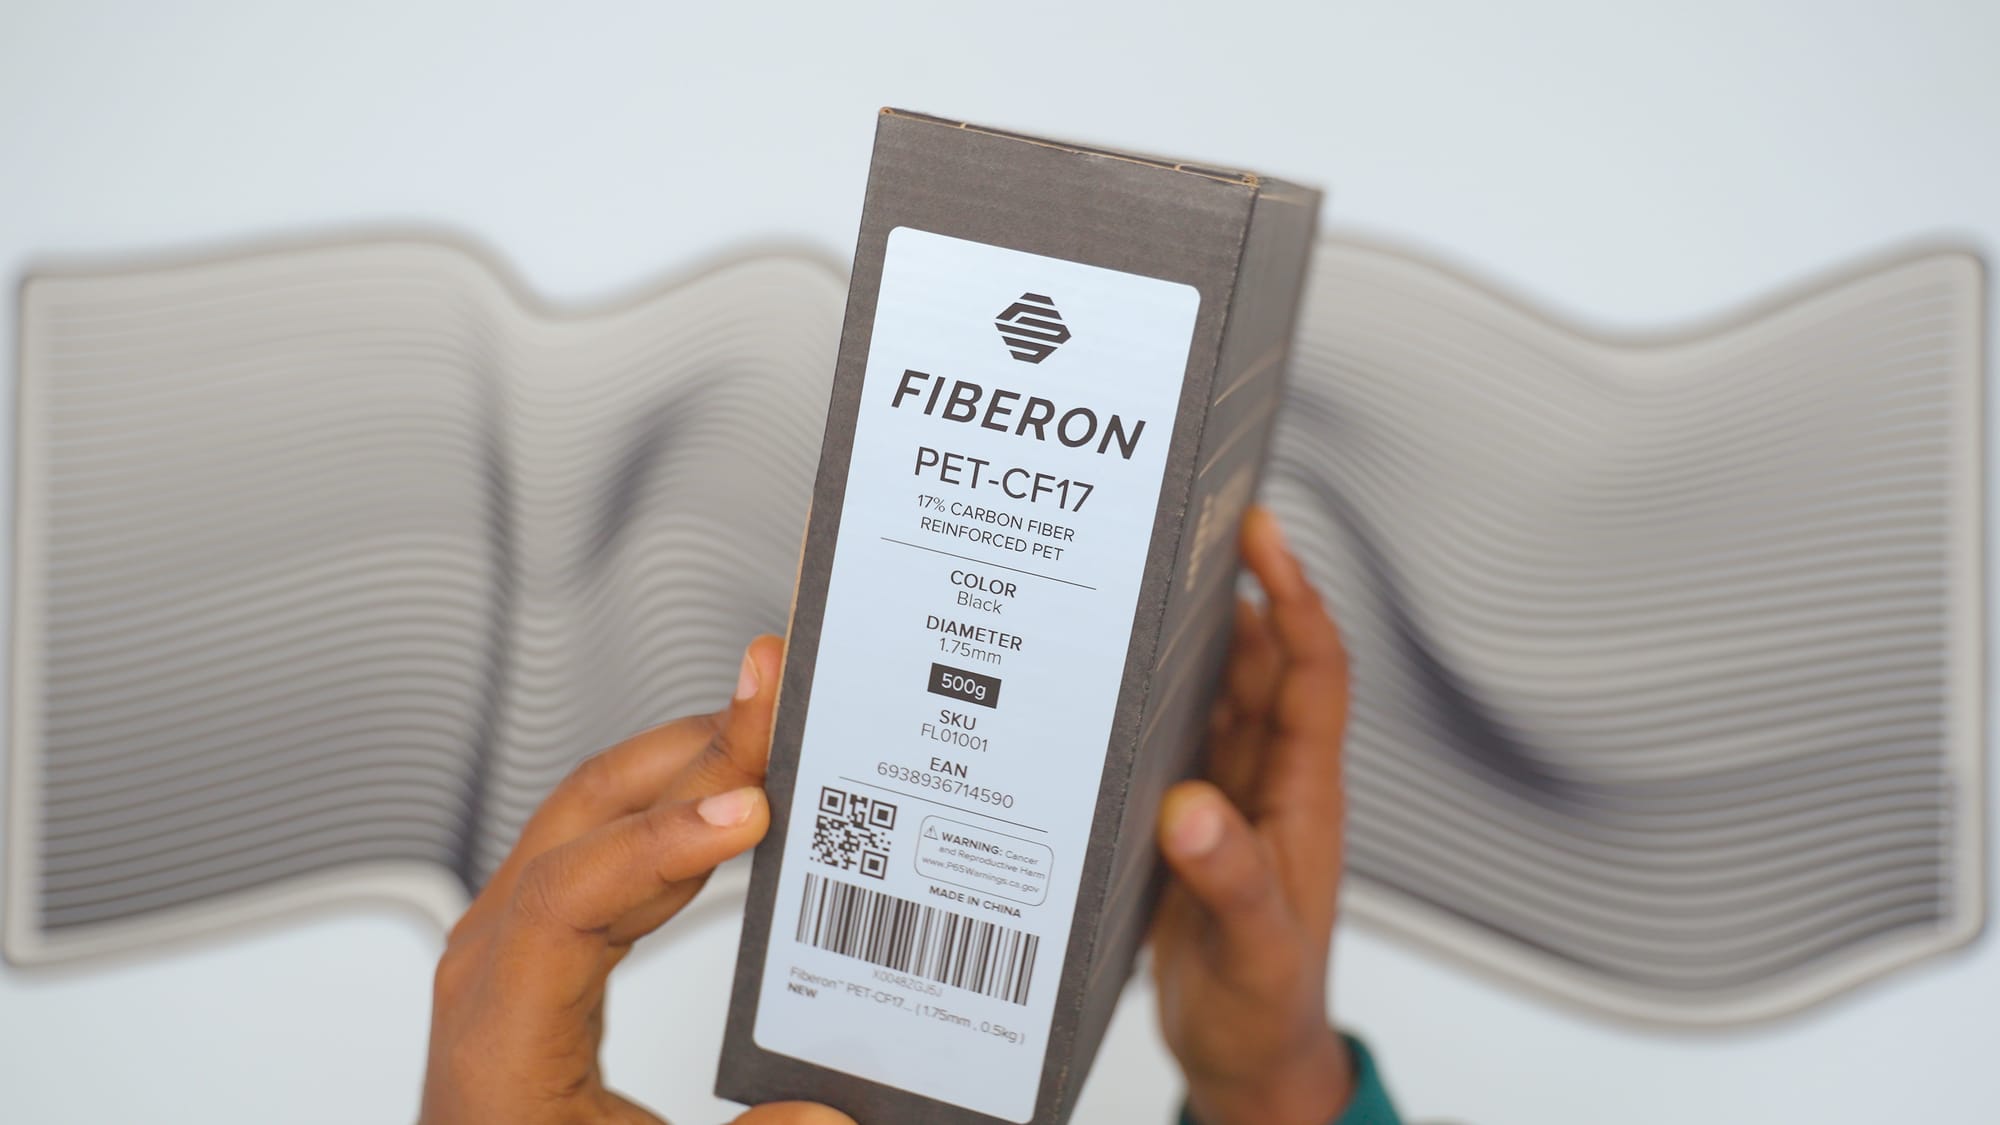
Fiberon PET-CF17 filament
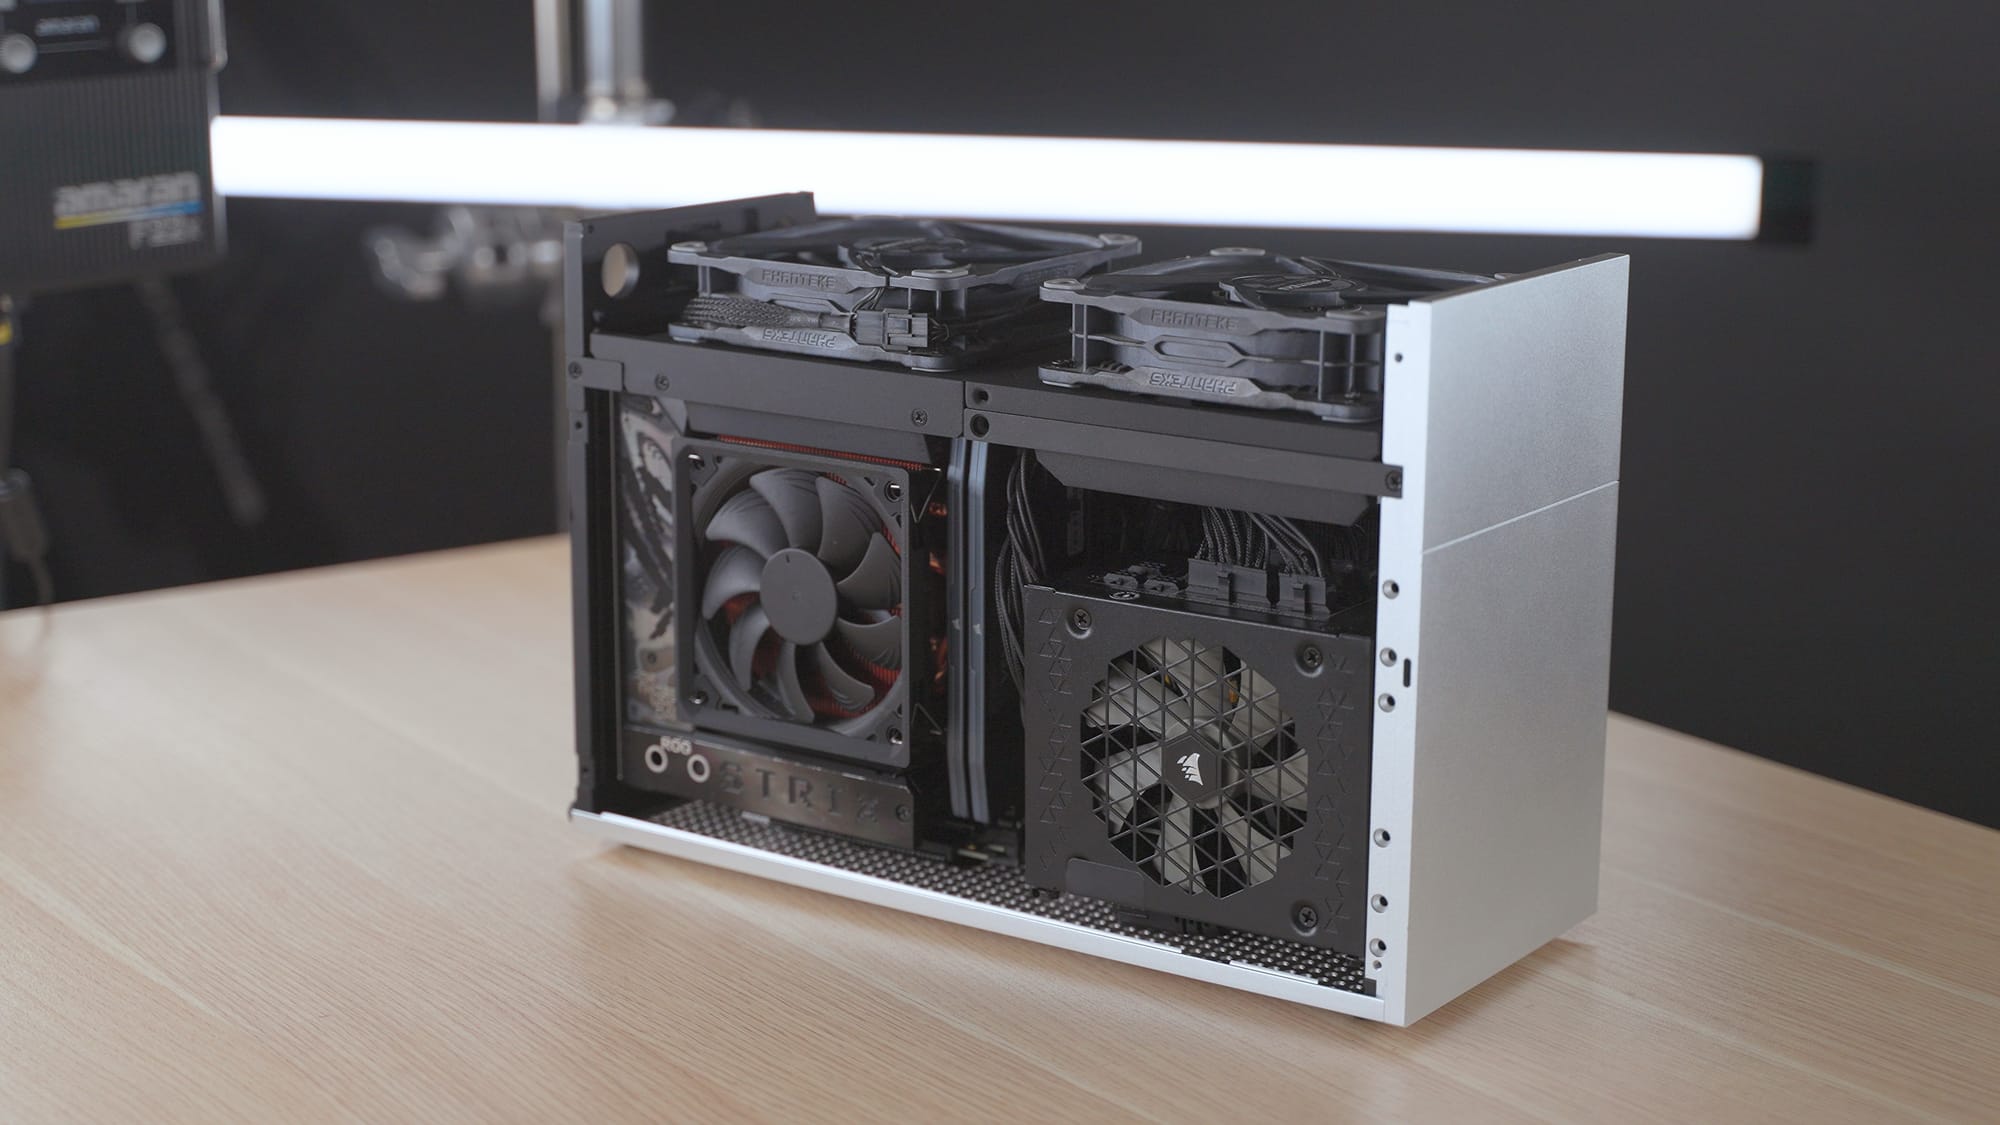
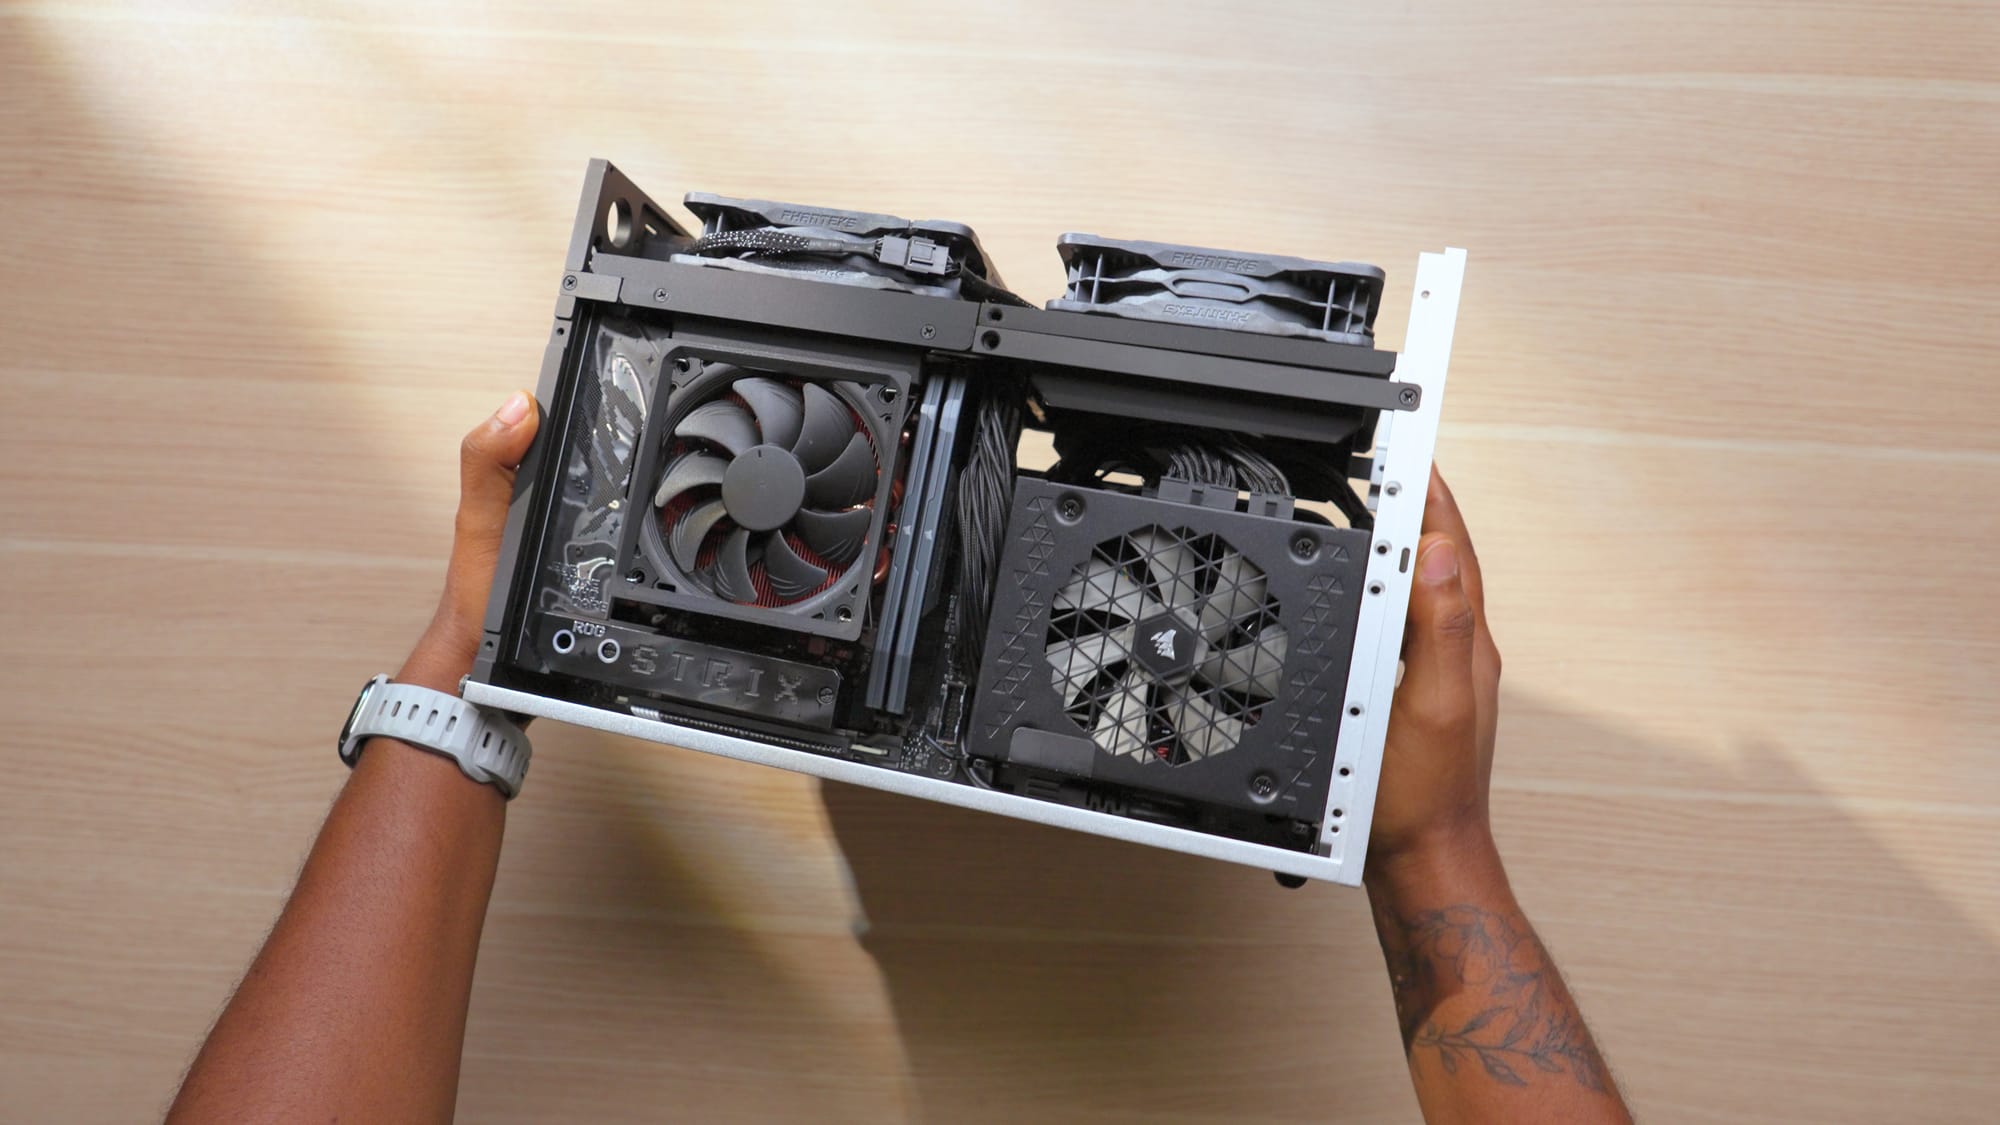
Final assembly, the build is complete
3D printed Shroud Links
Thermals and Undervolting
This is the section to pay attention to if you're planning a similar build.
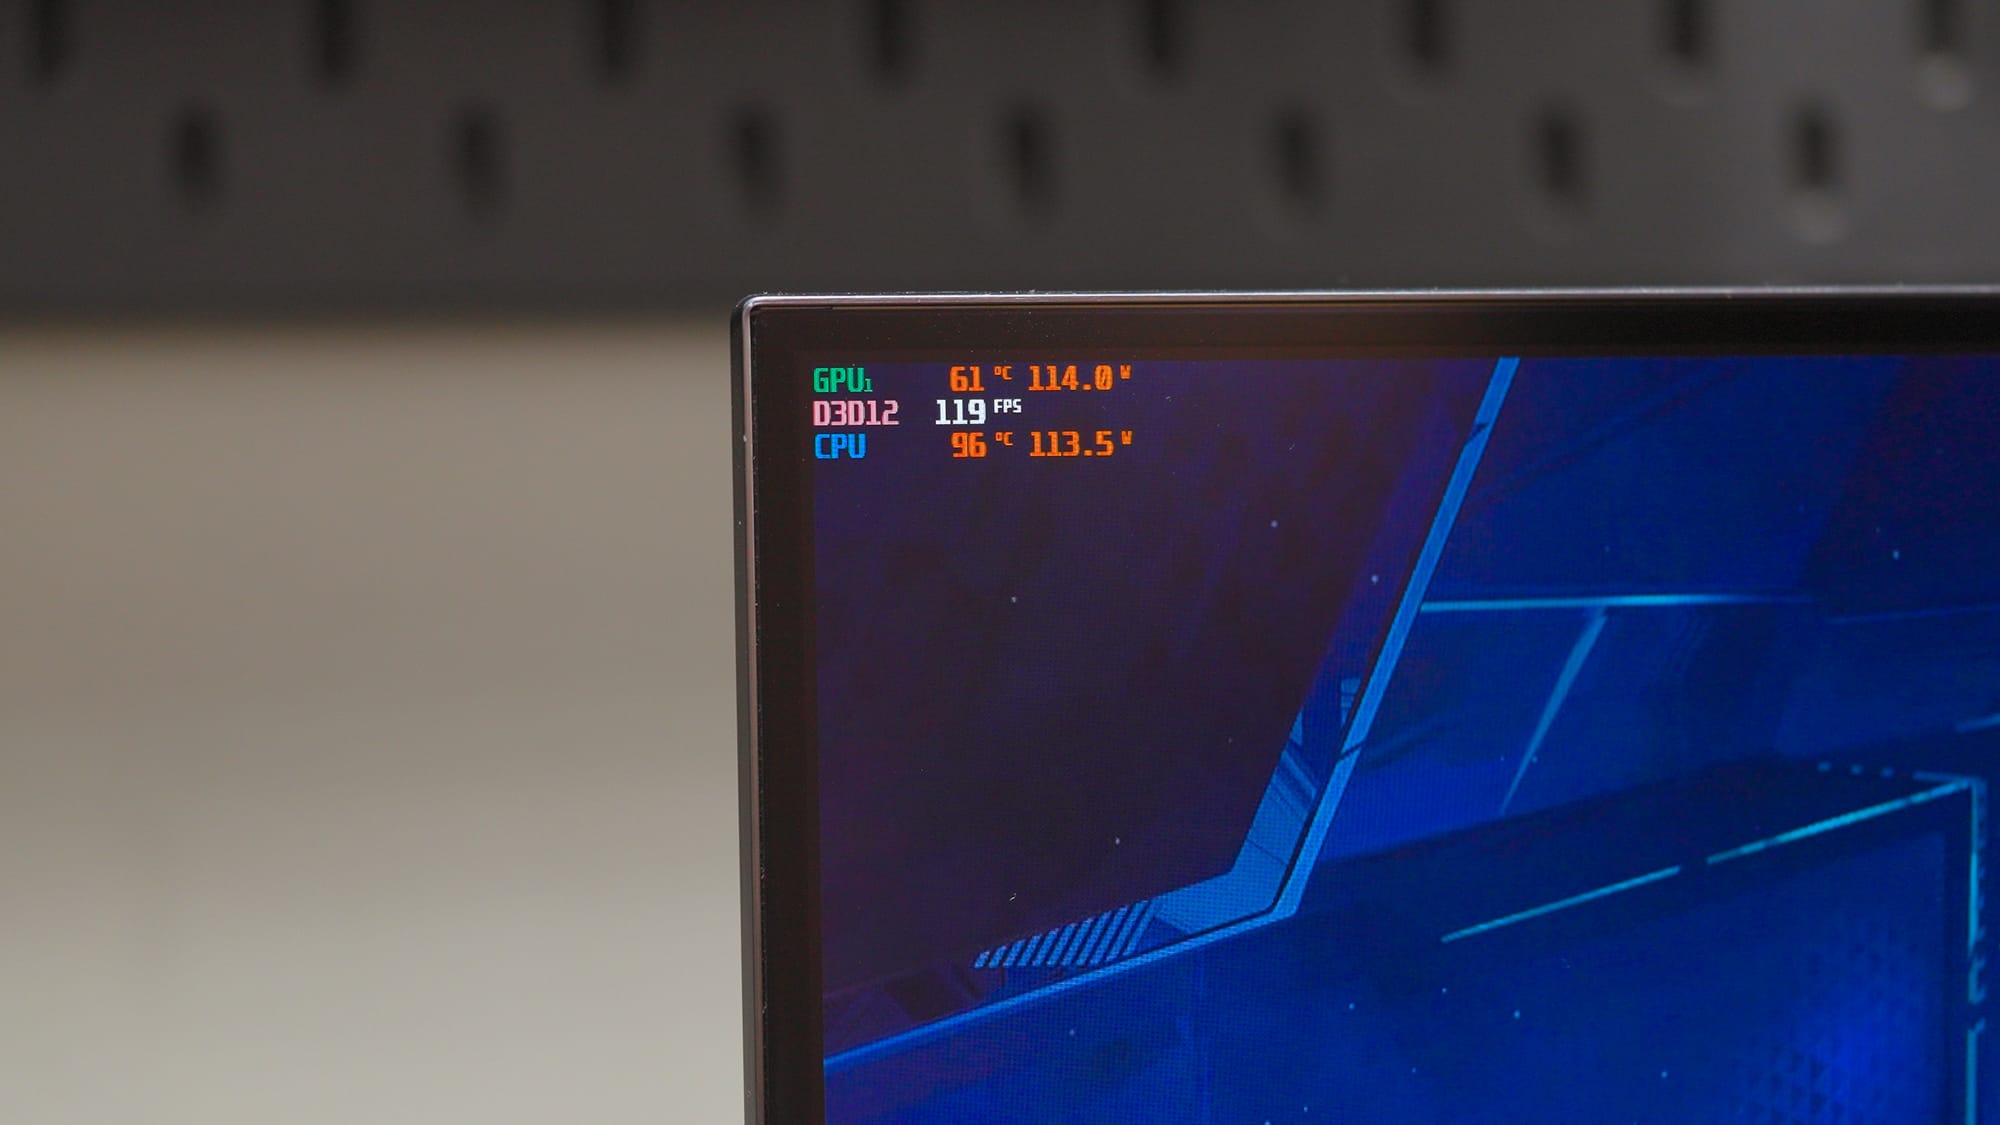
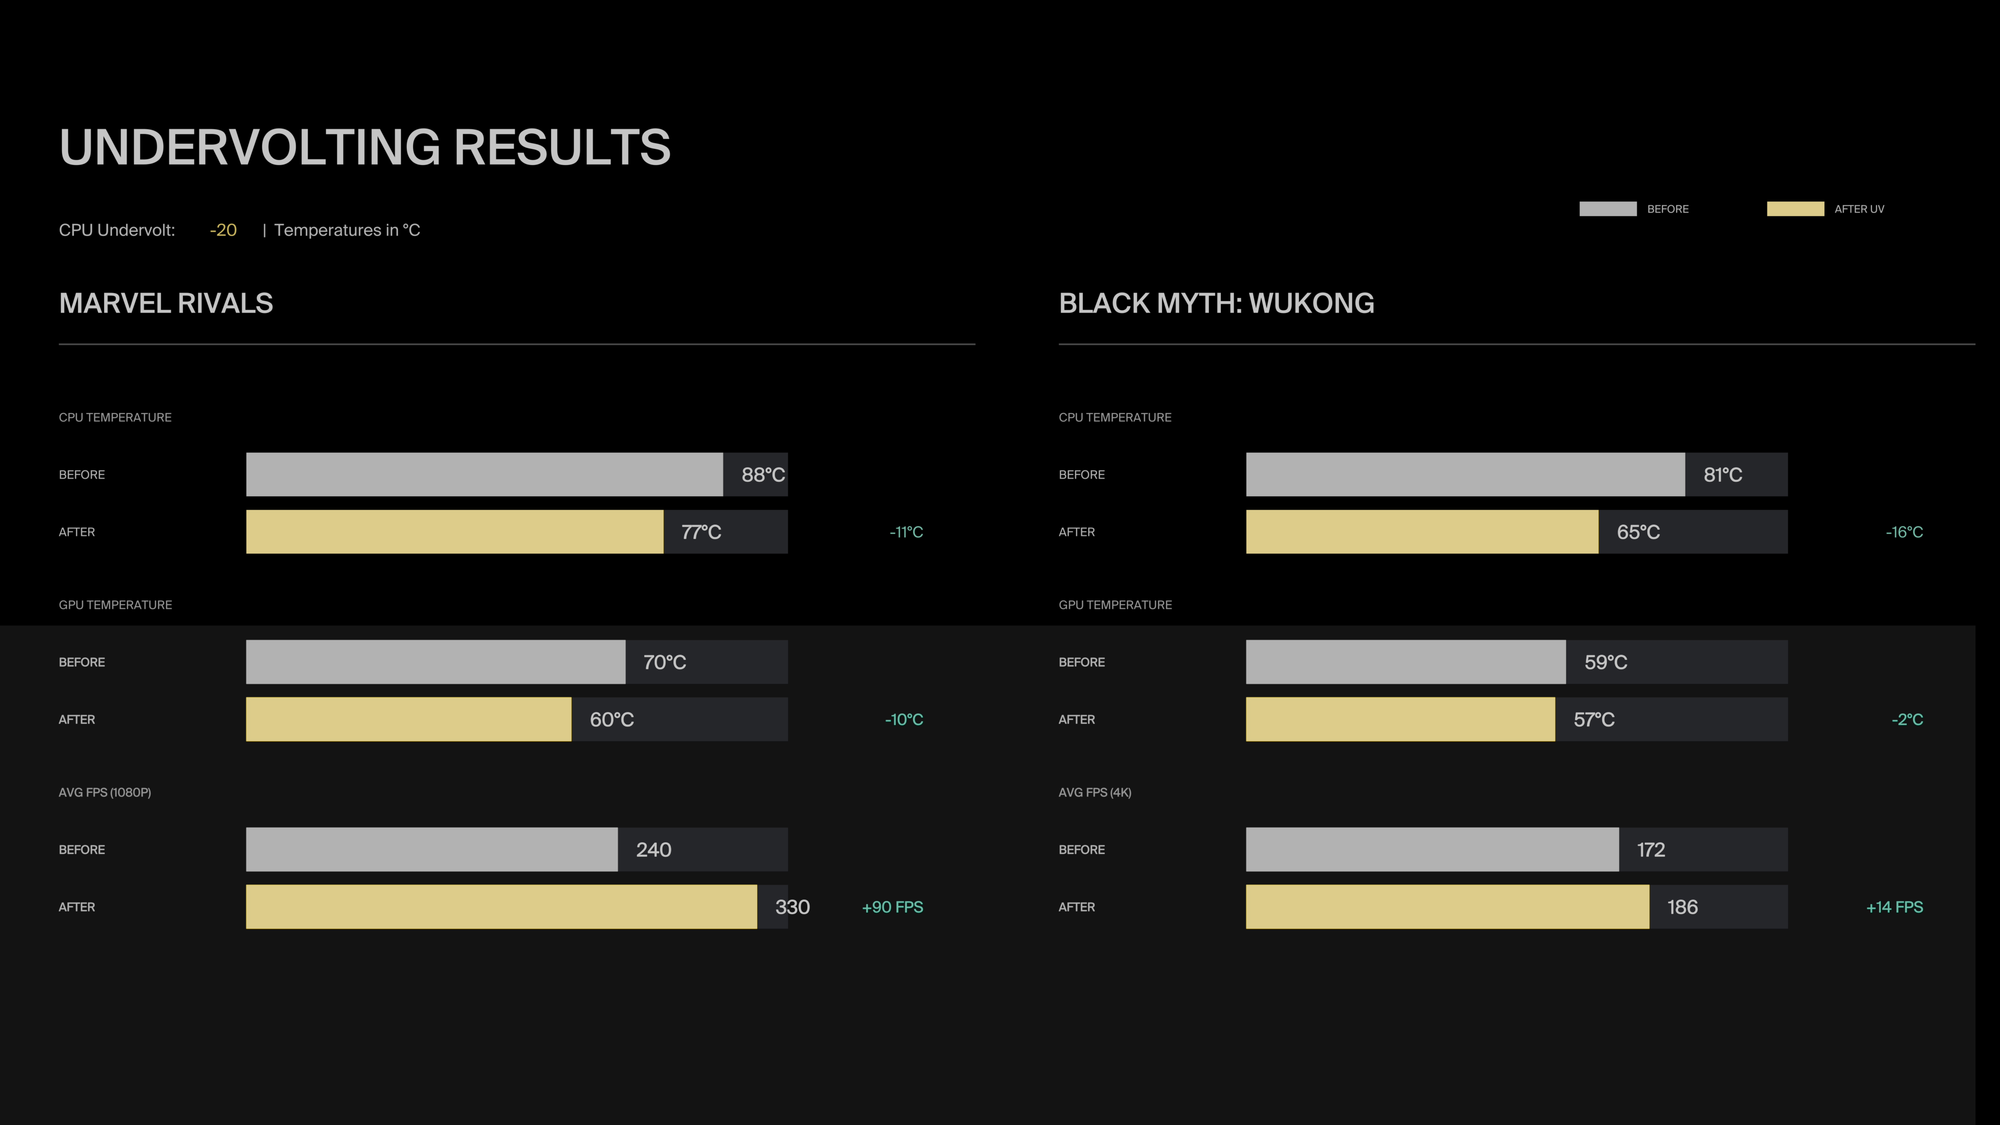
After completing the build, I booted Marvel Rivals and the CPU was running toward 95°C. I tried again with Black Myth: Wukong just to be sure my eyes weren't deceiving me and got similar results. The RTX 5090 may be smaller than the 4090, but it still generates significant heat. Combined with the 9800X3D, which runs hot by nature, you end up with more heat than the cooling can manage at stock settings in a case this size.
To manage this I decided to undervolt both the GPU and the CPU.
For the RTX 5090, I adjusted the voltage-frequency curve in MSI Afterburner. The goal is capping voltage at a point where the card still maintains its boost clocks without the excess power draw. I didn't notice any performance difference in actual gaming after the undervolt. The card just runs cooler and the fans are quieter.
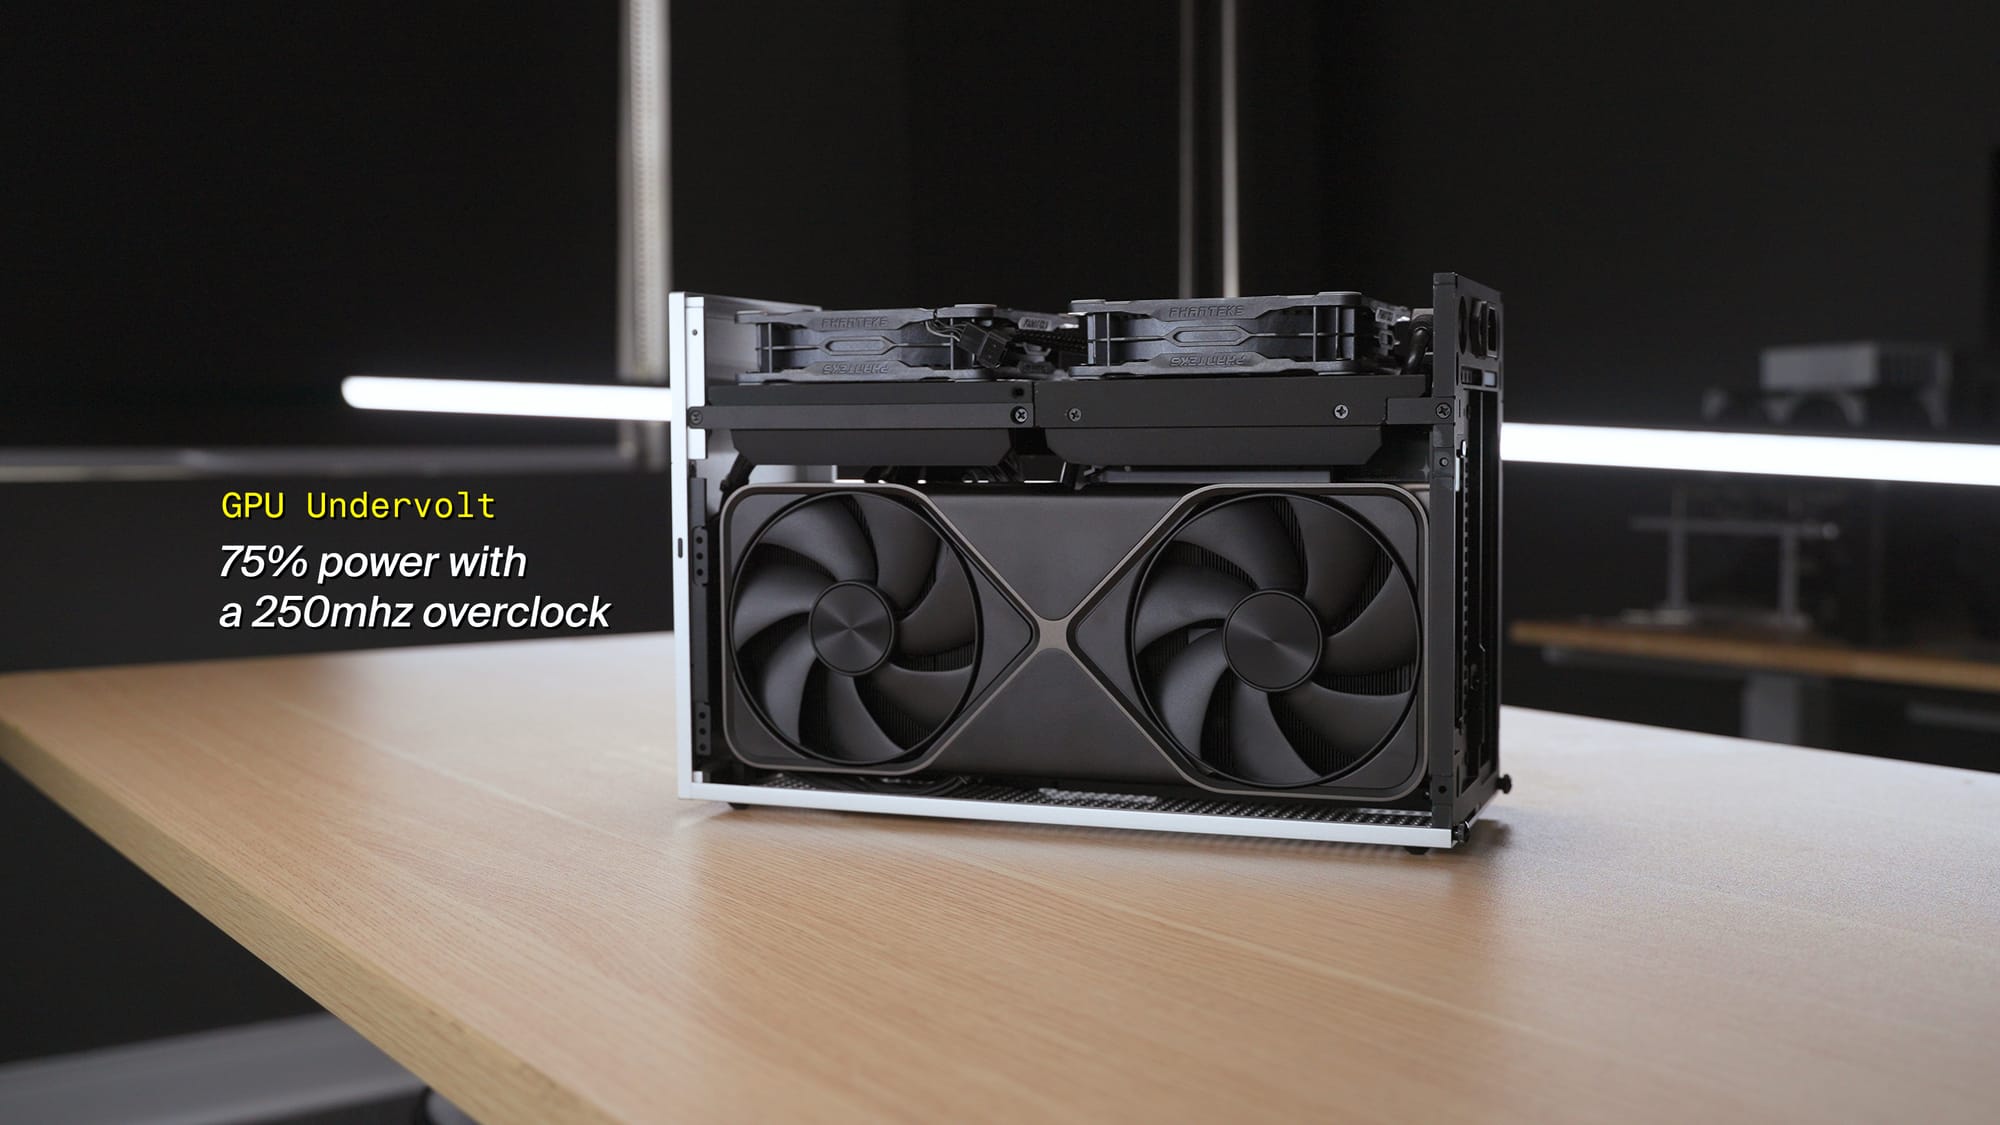
For the 9800X3D, I applied curve optimizer negative offsets in BIOS and set a thermal throttle limit. I wasn't comfortable with 95°C on a daily driver, even if AMD considers it within spec.
The motherboard matters here. The X870i pushes noticeably more voltage to the 9800X3D than my previous B650 board. Not all Mini-ITX boards push the same voltage, and in an SFF build, that difference directly affects your thermal headroom. Worth researching before you buy.
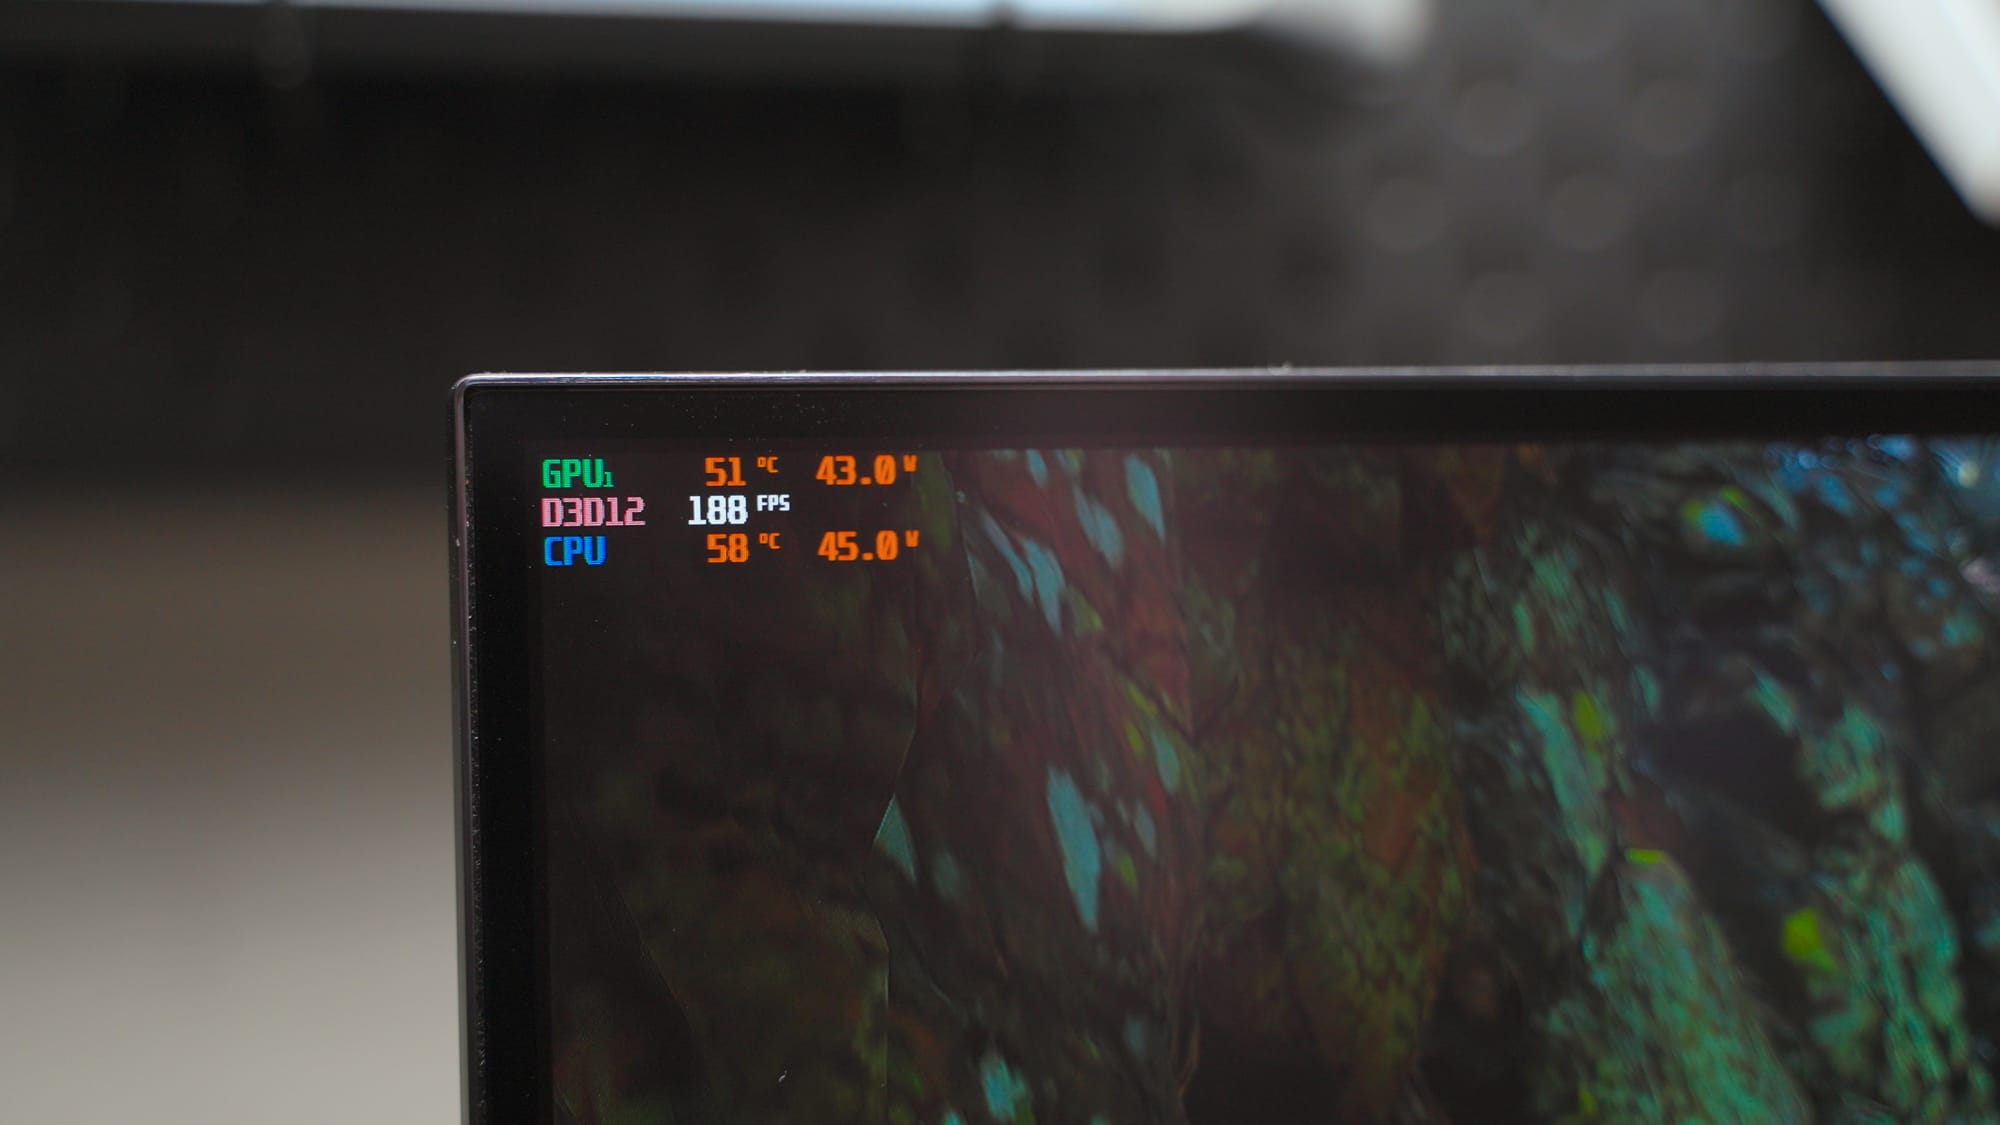
After undervolting both, temperatures dropped meaningfully, fans got quieter, and I couldn't feel any performance loss in day-to-day use. If you're building an RTX 5090 SFF system, plan for undervolting from the start.

Final Notes
I went overboard with this build on purpose. I wanted a PC that handles both gaming and creative work without compromise, and that's what I got. If you're considering a similar RTX 5090 FormD T1 build, the main things to plan for are the thermal situation (undervolt both CPU and GPU), the riser bar gap trade-off between GPU airflow and cooler clearance, and the travel kit if you plan to move the PC at all.
If you end up building something similar, I'd like to hear about it. What case are you using? What did your thermals look like?